Measuring Length: 4 Smart Missions for Happy Kids
Equal units, aligned ends, and a reason to compare: four practical missions turn paper strips and everyday materials into thoughtful length investigations.
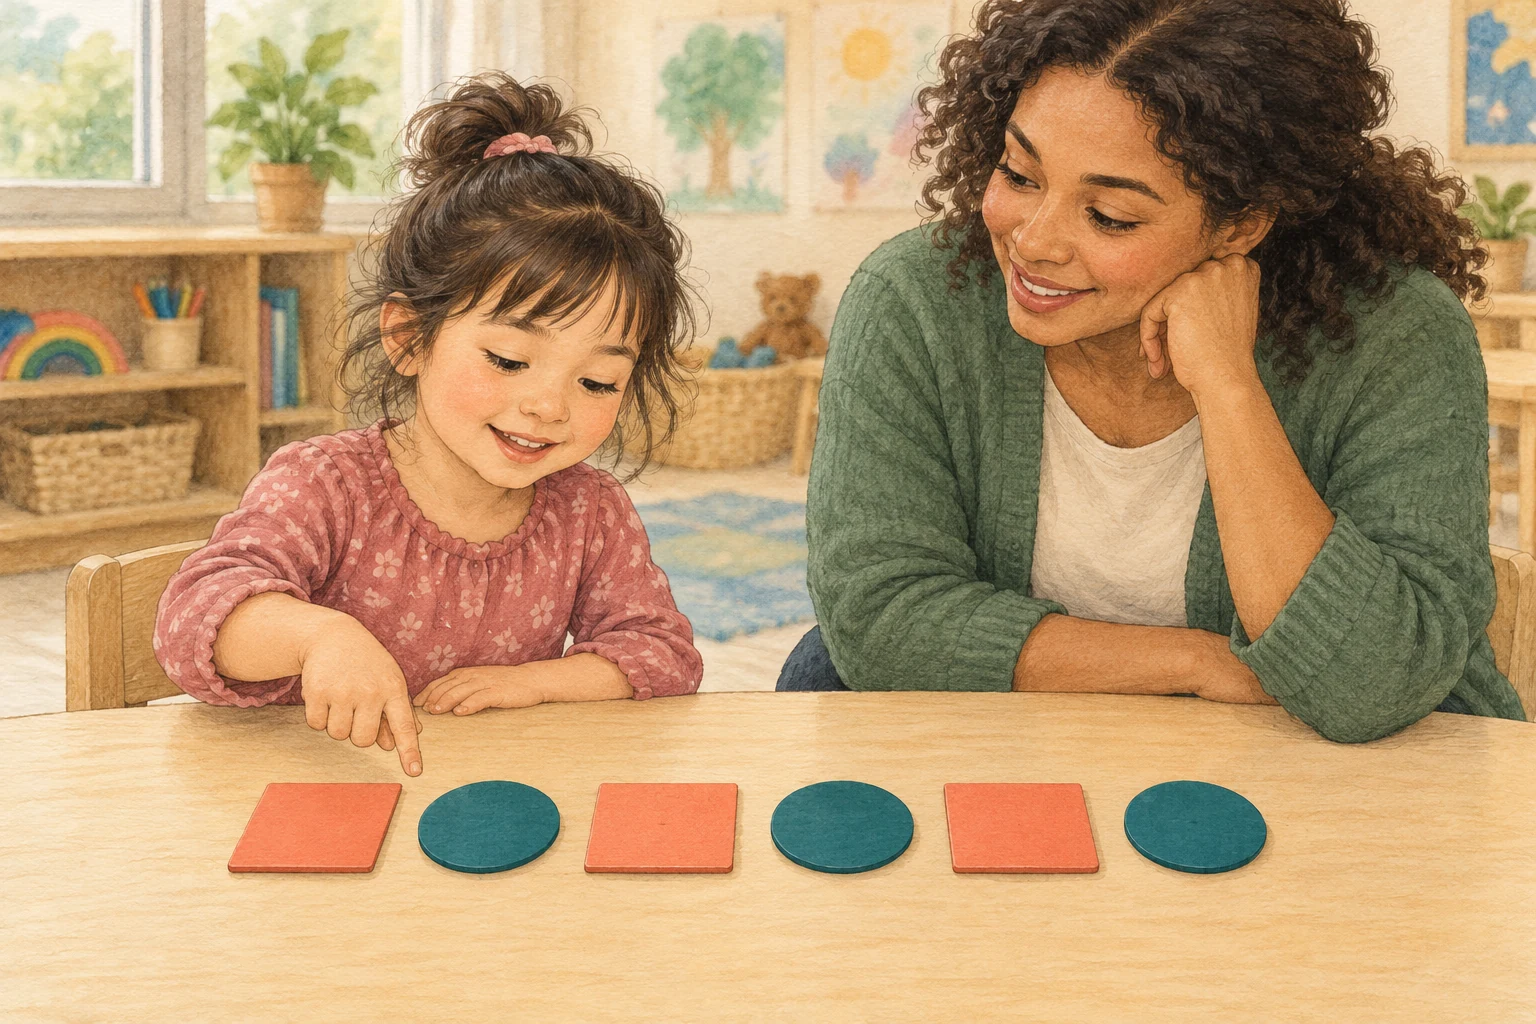
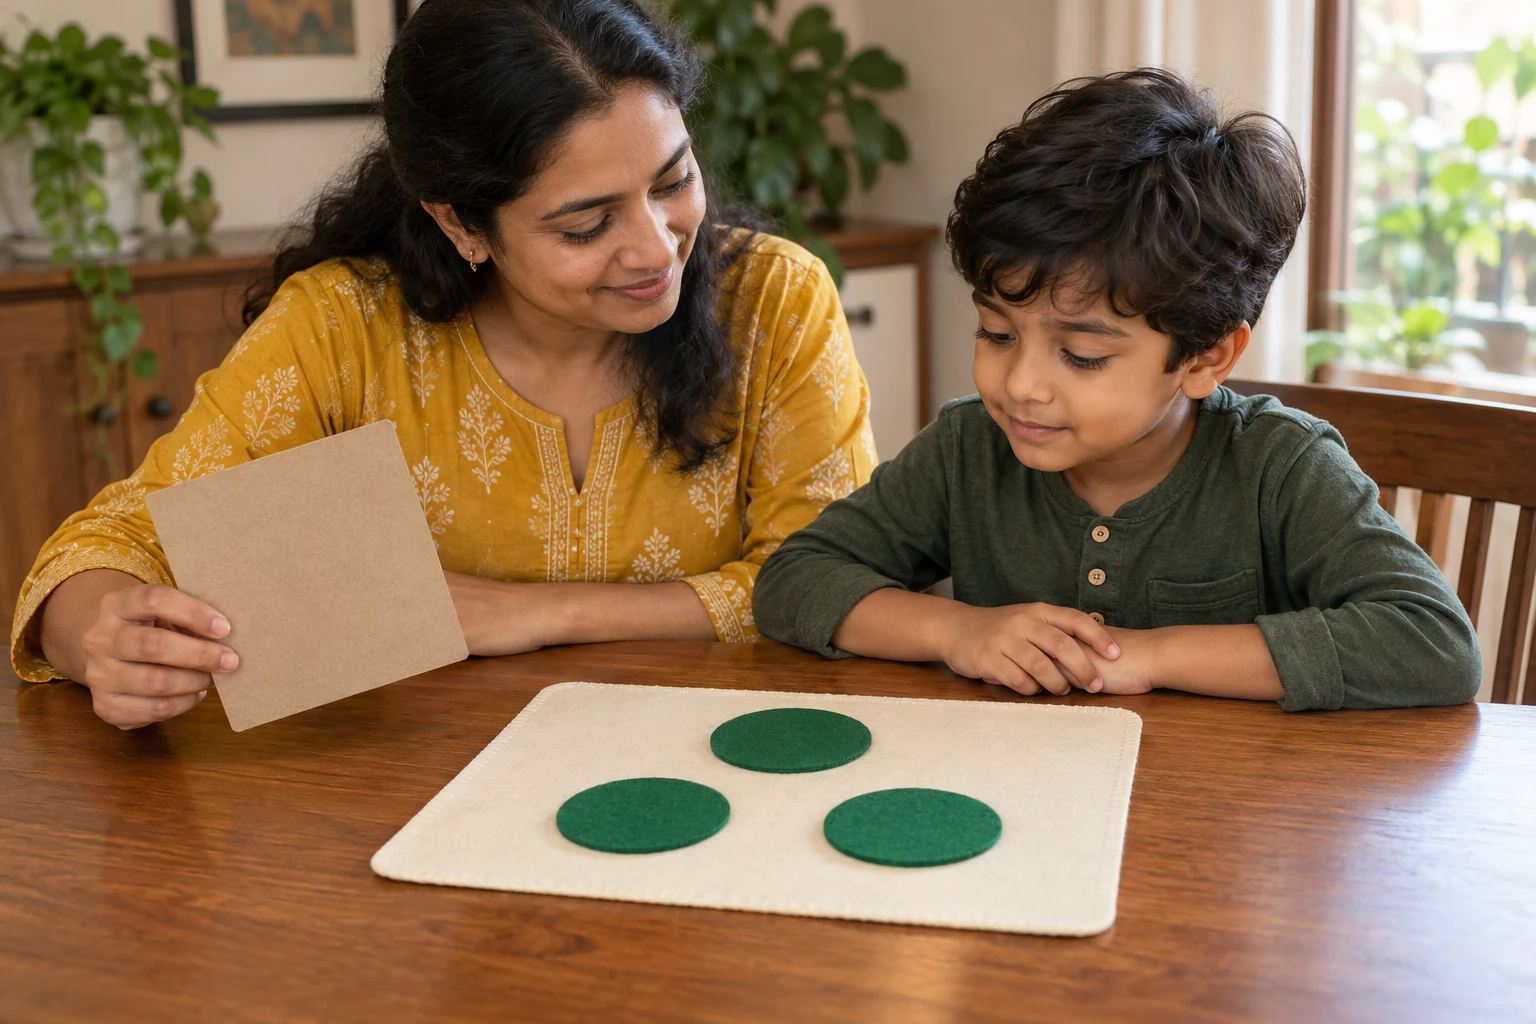
Six blocks long—or only three? Both answers can describe the same paper strip when the blocks are different sizes. Measuring gives children a practical reason to notice that detail. For learners around three to six, comparing lengths and placing equal units can be more revealing than filling a page with ruler marks. These four missions connect measuring with small decisions: choosing a toy's mat, checking a trail, sorting paper strips, and explaining a result. Parents and teachers can use the questions, pictures, and simple paper records to follow the child's reasoning.
Measuring starts with choosing what to compare
“Bigger” can mean many things. A box might be taller, wider, or heavier than another box. Today, narrow the question to length: the distance from one chosen end to the other along a straight object or path.
Begin measuring ideas through direct comparison. Lay two straight paper strips side by side with one end aligned. The strip that reaches farther is longer. Turning a strip around does not change its length, although shifting its starting point can make a comparison misleading.
When objects cannot be placed together, equal units give measuring another job. A row of identical rectangles can describe a strip's length in rectangle-lengths. Stanford DREME's measurement overview explains using consistent units, lining up endpoints, and avoiding gaps or overlaps. Those details make a count meaningful.
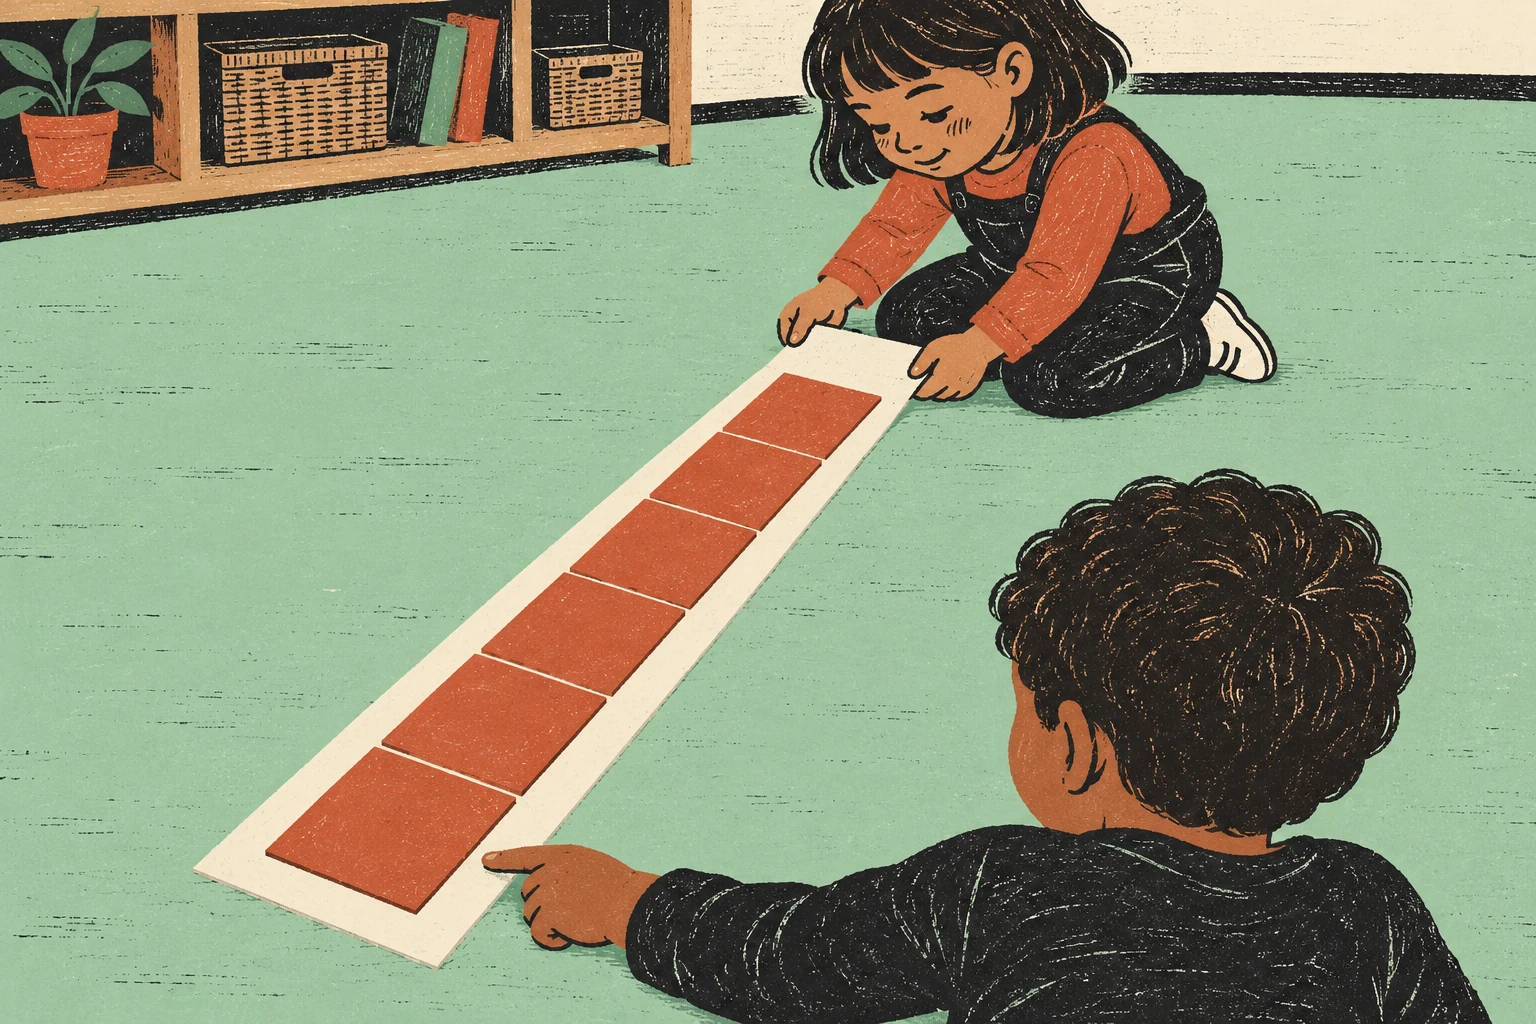
The paper extends beyond the tiles, and narrow spaces interrupt their row. This is a measuring check to discuss, rather than a completed six-unit measurement. Ask what needs changing first.
A steady measuring routine: choose, line up, check, count
Use a short, straight object and large units that suit the learner. Identical square tiles or equal paper rectangles are easier to align than rounded or mixed-size pieces. Stay nearby and keep the first measuring attempt small enough to examine together.
- Name the question. Decide which length you want to find, and point to both endpoints.
- Choose one unit. Check that all its copies have the same length in the direction being measured.
- Start at the beginning. Align the first unit's edge with the object's chosen starting edge.
- Continue along the length. Place equal units end to end, keeping the same orientation without gaps or overlaps.
- Inspect the far end. Notice whether the row reaches exactly, stops short, or extends beyond the object.
- Count and name. Touch each unit once and report the number with its unit, such as “four tile-lengths.”
Start with an object that fits a whole number of units. Later, measuring can include a result such as “between four and five tiles.” An honest description is more useful than forcing an exact whole number.
Inspect the measuring method before correcting the number
A counting error is only one possible explanation for a surprising measuring result. First look at the placement. The picture above offers several places to start the conversation.
| What you notice | What it changes | A useful invitation |
|---|---|---|
| A late start | Part of the object's length is left unmeasured. | Show where the first unit should begin. |
| Gaps | Empty space adds distance without adding a unit. | Slide neighbours together and inspect the far end again. |
| Overlaps | Some distance is covered more than once. | Let each unit have its own stretch of the row. |
| Mixed units | The count no longer refers to one consistent unit length. | Choose matching units and rebuild the row. |
During measuring, ask the child to change one feature and look again. Moving pieces makes the checking process visible without treating the first attempt as a failure.
Four measuring missions with a decision at the end
Give measuring a purpose before introducing a recording page. Each mission can stand alone. Begin with direct comparison if counting units is not yet comfortable, and increase the challenge only when the child wants another question.
Mission 01
Choose a resting mat for a toy
Begin the measuring mission by placing a toy animal straight on the floor and offering three paper strips as possible mats. Compare their lengths from the same starting edge. Which strip reaches from the toy's head to its feet? Explain that this question concerns length; a usable mat also needs enough width.
For measuring practice, remove the toy and place identical tiles beside the chosen strip. Keep the unit row available while the child explains the result. A small sketch can show the strip, its starting edge, and the units used.
The decision: Choose a strip long enough for the toy. Measuring has helped answer a question, even if the first comparison used no number at all.
Mission 02
Check a straight trail to the reading corner
For this measuring mission, lay a straight paper trail between two marked places on the floor. Offer large, equal rectangles and ask whether the available pieces can span the trail. Predict first, then arrange them along its length.
Measuring a longer distance can expose how small gaps accumulate. Invite one partner to place units while another checks each join. If the trail has bends, simplify it to a straight route for now; following curves introduces a different placement challenge.
The decision: Do you have enough matching units to reach the endpoint? Keep any leftover pieces separate from the measuring row so the count refers only to the distance covered.
Mission 03
Organise a little strip library
Prepare a measuring library with three straight strips cut to different whole-unit lengths. Place them separately and ask the child how to organise them from shortest to longest. Let the learner bring the strips together and align an edge to check.
After comparing, try measuring each strip with the same tile. Record a tiny drawing of that tile beside every count. Matching units let the numbers help compare the strips; changing unit size between strips would make that shortcut unreliable.
The decision: Where does a new strip belong? The child can compare directly before measuring, or use its count when all the recorded results share the same unit.
Mission 04
Exchange two reports about one object
Prepare one strip that fits three long rectangles or six short rectangles, with each long unit twice as long as a short one. Measure it once with each set, rebuilding the complete row between turns.
Ask a partner to explain the two measuring reports. Has the strip grown? Put both unit rows beside the unchanged strip to check. The different counts describe different-sized units, not different object lengths.
The decision: What information must travel with a result? “Three long rectangles” and “six short rectangles” tell a clearer measuring story than an unexplained 3 or 6. Let the child draw the units if their names become cumbersome.
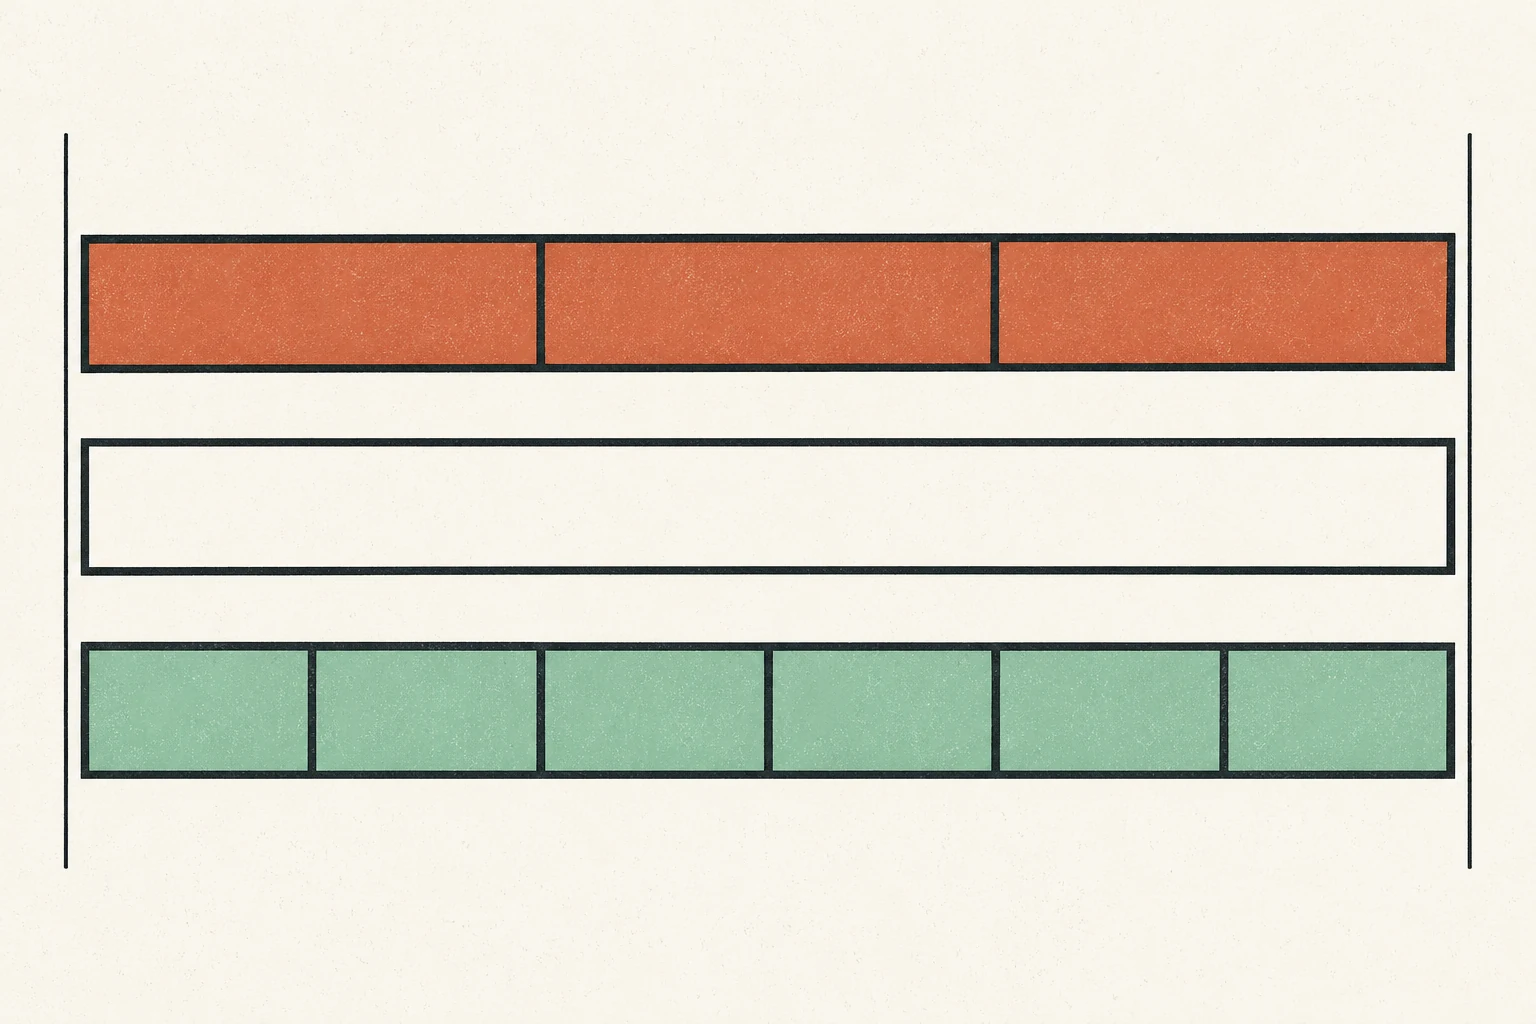
The three long units and six short units share the central strip's endpoints. This comparison supports measuring conversations about why a result needs both a number and a named unit.
Why “more units” does not always mean “longer”
A smaller unit fits along the same object more times. That can surprise a learner who associates a larger count with a larger collection. Keep the strip still, compare one long unit with two short ones, and reconstruct both rows.
For measuring comparisons based on counts, use the same unit length and the same careful placement method. Otherwise, return to direct comparison or explain the unit difference before interpreting the numbers.
Children's language can be useful even before it becomes precise. Herbert Ginsburg's 2026 discussion of measurement in block play follows how children's everyday comparisons introduce particular dimensions. Use that attention to language during measuring: “When you say bigger, do you mean longer from this end to that end?”
What if there is only one unit?
Keep early measuring experiences concrete with a complete row of matching pieces. When a ready learner has only one unit, an adult can help reuse it. First, align it with the object's start and mark its far edge. Next, move its starting edge to that mark and repeat in the same direction.
Count each completed placement, because the original starting mark is not a unit. This form of measuring is harder to inspect when earlier placements are no longer visible. If a mark gets lost or the unit turns, return to a full row. Measuring with support can remain accurate without rushing to independence.
Home note: the mat that looked too short
In this imagined family moment, Asha places a paper mat halfway along her toy rabbit and declares it too short. Her father asks where both objects should begin. She moves the mat back until its end meets the rabbit's head, then notices that the other end reaches the feet.
The useful measuring move was aligning the start, not learning a new number. Her father sketches their first placement and lets her draw the corrected one beside it.
Tomorrow, measuring might involve a different toy or two strips she can compare herself. The note to keep is specific: “Repositioned the strip after an endpoint question.” It records both her action and the support she received.
Classroom note: equal counts, unequal strips
Consider a kindergarten pair comparing reports. Both children wrote four, but one used short squares and the other used longer rectangles. Their strips are not the same length. The teacher places the unit samples beside the reports and asks what information was missing.
They repeat the measuring with matching squares, then compare the strips directly. Each child gets a turn placing units and explaining the result, rather than sharing one answer that hides their individual thinking.
Keep the two original reports as discussion material. Measuring errors can reveal a sensible next question. A corrected result becomes more useful when its maker can explain why the method changed.
Seven worthwhile things to notice
Measuring offers more to observe than a final count. Look for these opportunities while the learner works:
- Specific language: Longer, shorter, and equal in length replace a general claim about size.
- Endpoint awareness: The child identifies where a comparison or unit row should begin and finish.
- Repeated units: Copies of one chosen length cover a distance without changing their job halfway through.
- Purposeful counting: Each count word refers to one placed unit, rather than to a nearby spare piece.
- Useful prediction: A guess about how many units will fit becomes something to investigate.
- Clear communication: A number travels with a unit name, drawing, or sample so someone else can interpret it.
- Revision: Checking the arrangement gives the learner a practical way to improve an uncertain result.
These are reasons to make room for measuring, not a checklist every child must complete at a particular age. A careful comparison can be a valuable contribution without a written numeral.
Keep the measuring record as simple as the question
A useful measuring record needs an object, a number if one was found, and the unit used. Draw the object, add the child's marks, and include a sample-sized sketch of one unit. An adult can write the explanation exactly as dictated.
Inspect the maths printable previews for a task that matches your current question. Use the number activities separately if the child wants practice recording a count, and the writing resources when pencil control is the focus.
Printing can change a page's size, so test one copy before comparing results across different printers. This measuring guide provides missions to make with your own materials; it does not include a separate worksheet pack.
Finish with a finding the child can explain
If a child wants a ruler, explore one together: choose a single scale and align the object's start with its zero mark, rather than assuming the plastic edge is zero. The earlier work with repeated units gives those marks something to refer to.
When measuring becomes frustrating, return to two strips that can be placed together. Ask for a demonstration instead of a sentence. A changed method is a finding worth keeping. The goal is an understandable comparison, not the fastest answer.
Close by asking, “What made your result fair?” The reply might mention the same starting edge, matching units, or a gap that disappeared. Measuring has become a way to make a decision and show another person how it was reached.