Texture: 5 Brilliant Projects for Happy Young Artists
Ridges, rubbings and crumpled paper invite fresh art decisions. Explore five material projects with three existing colouring pages and room for children’s ideas.
Scrunch a scrap of paper and a child may hear a mountain, see a cloud, or invent a prickly dinosaur. Texture gives those discoveries a place in early art. These five projects pair everyday materials with existing colouring worksheets, so parents and teachers can offer a familiar starting shape without deciding the finished picture. Designed for supported preschool and kindergarten exploration, the activities move between touching, looking, rubbing and mark making. Keep blank paper beside every printed page: a learner who leaves the outline behind may be following the most interesting idea of the afternoon.
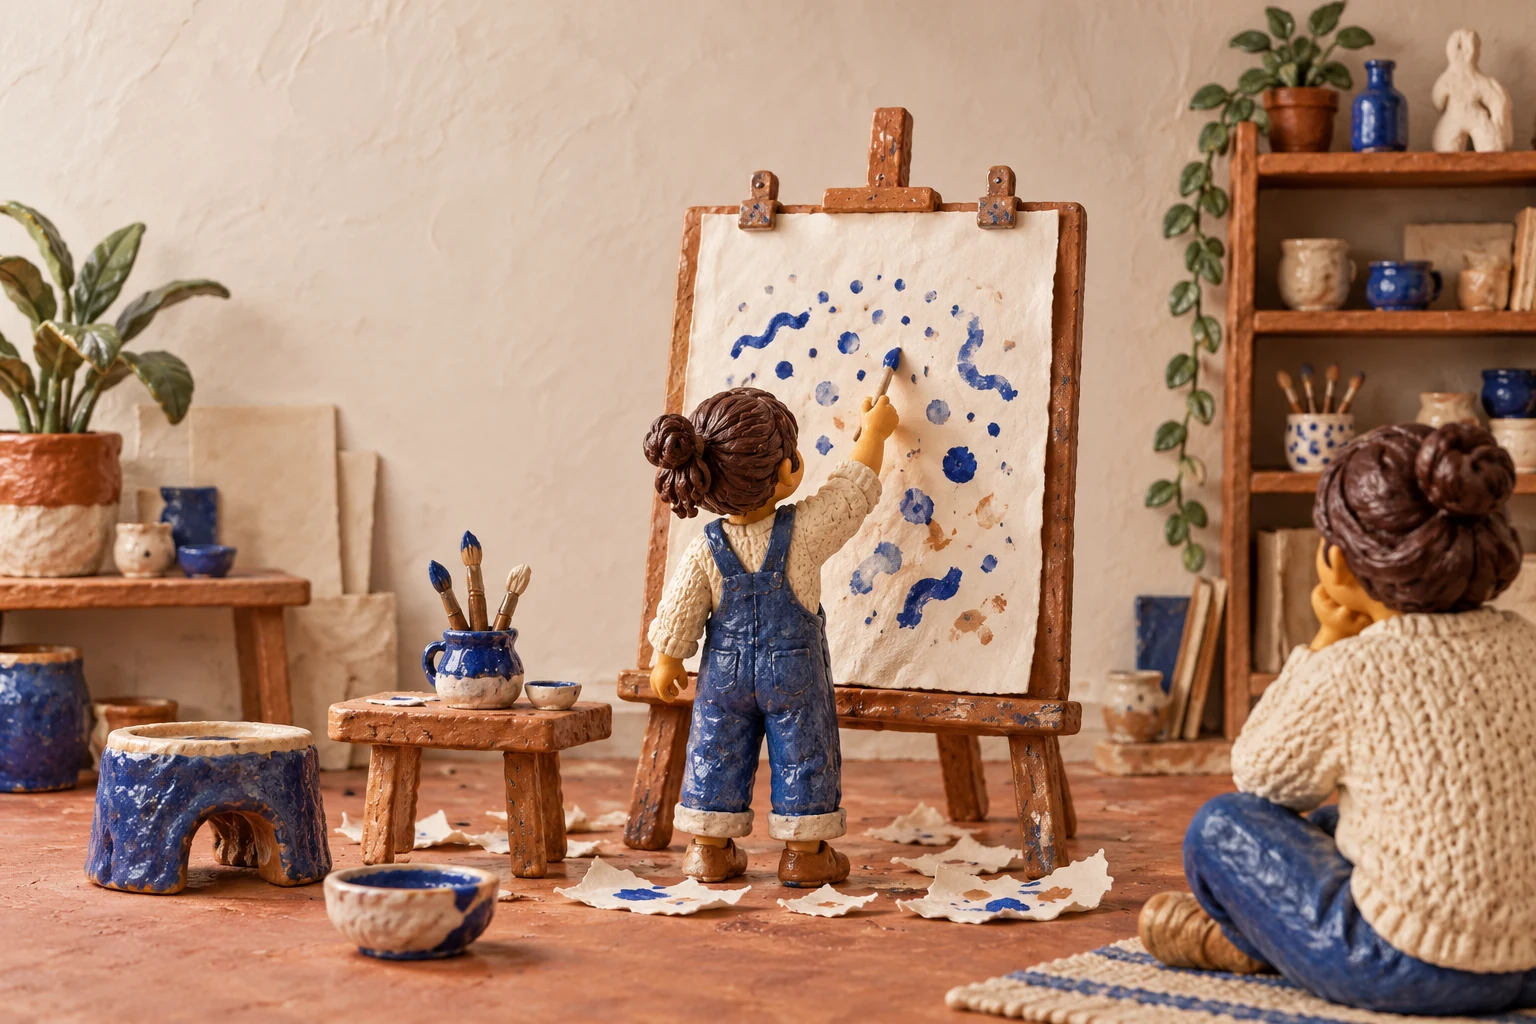
A standing easel holds exploratory dots and curves while an observing adult leaves the painting decisions with the young artist.
🎨 Texture begins with noticing, not filling a shape
Run a finger across corrugated card, then look at a drawing of short parallel lines. The card has a surface you can physically feel; the drawing suggests a surface through marks. That distinction separates actual texture from visual texture. Young children do not need to memorise the terms. They can compare the texture of ridged packaging with a striped patch they have drawn and describe what is similar or different.
A smooth printed giraffe can look bumpy after scattered dots, yet still feel like paper. Glued, crumpled tissue changes the actual surface. Ask, “Could your finger feel this change, or can your eyes see it?” Accept pointing, gestures and home-language descriptions. Looking is a complete way to participate; nobody needs to touch an uncomfortable material to prove they understand texture.
For children around three, begin with one large surface and a broad tool. Older preschoolers and kindergarten learners may compare two effects or revisit a choice. Readiness matters more than producing the same page at the same age.
A current reason to make space for texture
A September 2026 study of visual inquiry in early childhood settings describes art materials as ways children develop and revisit ideas. That supports an invitation to explore texture, without promising that a particular craft produces a measured learning gain. The projects below are practical adaptations, not the study’s tested programme.
NAEYC’s guidance on supporting creativity also encourages material exploration and blank paper. A colouring outline already supplies a shape, so it is a structured option rather than fully open process art. Offer both. The important decision is what the child wants to investigate.
Prepare a small texture workshop in five moves
- Choose an invitation. Put out a blank sheet and one printed picture. Ask whether the child wants to explore marks, add a surface to a picture, or simply look at the materials. Finishing a page is optional.
- Limit the first tray. Two broad crayons, a large clean leaf and a few large paper scraps are plenty. Use age-appropriate art supplies and adult supervision; skip small loose pieces for children who mouth objects.
- Make room for a texture trial. Save a scrap for testing pressure and glue. Keep the worksheet flat on a firm surface; a slipping sheet can hide what the tool is doing.
- Demonstrate one action briefly. Show the side of a crayon or a gentle paper scrunch on your own scrap. Then return the choice of texture, colour and placement to the artist.
- Leave a stopping place. Reserve a dry area for wet work and a tray for unfinished pages. Ask what should stay out for tomorrow before clearing away the materials.
The photographs and drawings here show possible material arrangements. Use the linked worksheet previews to inspect the actual downloads. House and dinosaur pages currently offer a free watermarked, single-page PDF; the giraffe page offers a free watermarked sample and a clean PDF requiring active membership. Check the displayed access details when downloading.
Project one: reveal a leaf’s hidden texture
Place a clean, dry, flat leaf beneath thin paper, with its raised veins facing upward. Hold the paper steady and move a broad crayon sideways across a small area. If the rubbing stays faint, change the pressure or reposition the leaf before switching tools. Ask the child which branching texture lines have appeared. Keep the texture investigation on scrap paper first, where a torn sheet does not interrupt a valued picture.
Once the child has a texture rubbing they enjoy, invite a background on a separate blank sheet. They might draw a giant leaf, arrange rubbings into a garden, or keep a single mysterious patch. A rubbing near a printed scene can suggest grass or a tree canopy, but there is no need to push the whole worksheet over a leaf. Dense printed outlines can obscure the new texture.
Adult role: steady the paper if invited, then describe a visible change. “The middle line appeared before the little branches.” That gives texture talk a concrete starting point without turning the activity into a quiz about leaf names.
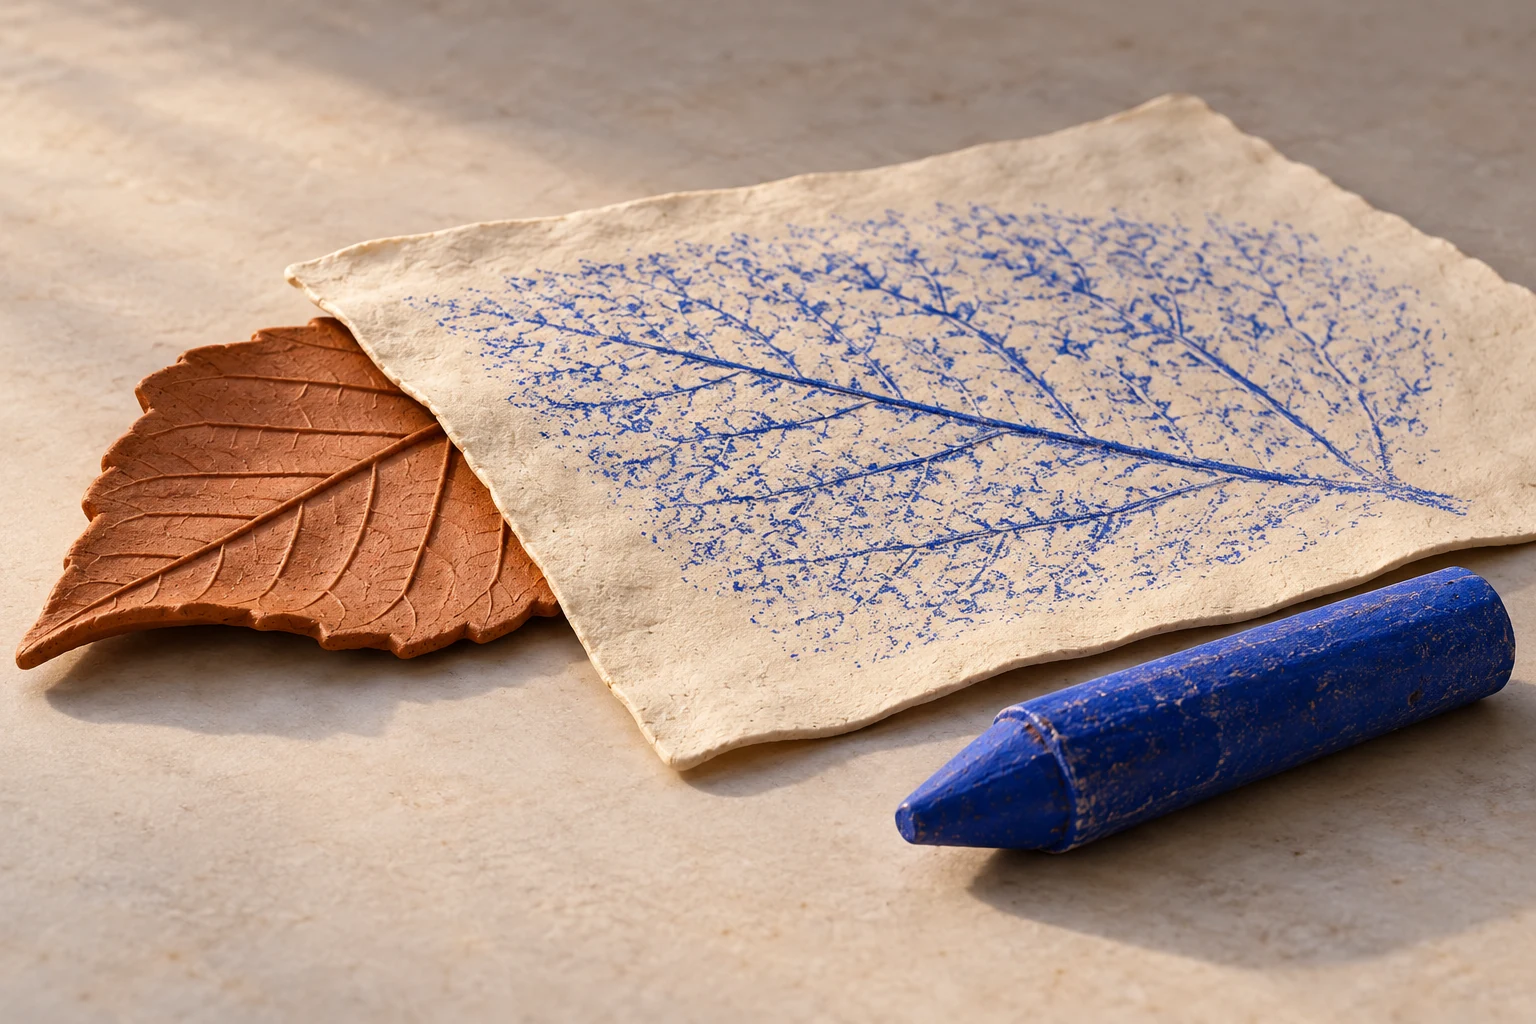
The leaf edge and branching marks show the connection between a raised surface under the sheet and the rubbing above it.
Project two: build a wall of marks on a familiar house
Open Color the house: 5 Amazing Steps for Creative Learning!. Its preview contains a house, two trees and a sun, plus a smaller coloured guide. The listing is aimed at ages four to six. Instead of copying the guide, propose a different purpose: investigate what marks could make the roof look tiled or the wall look dotted. Explain that you are adapting the colouring task for texture exploration.
Start with two small texture trials beside the page. Closely spaced strokes may look like roof tiles; scattered dots may suggest a speckled wall. Ask the artist where either texture effect belongs. They can leave the door unfilled, invent a purple roof, or move entirely onto blank paper. There is no required colour match for this invitation.
Compare the imagined surface with the actual sheet. “Your roof looks ridged. Does the paper feel ridged?” This returns attention to visual texture instead of judging neatness. Avoid adding wet layers across the whole thin page; test a small corner first and use dry marks if the print runs or the sheet buckles.
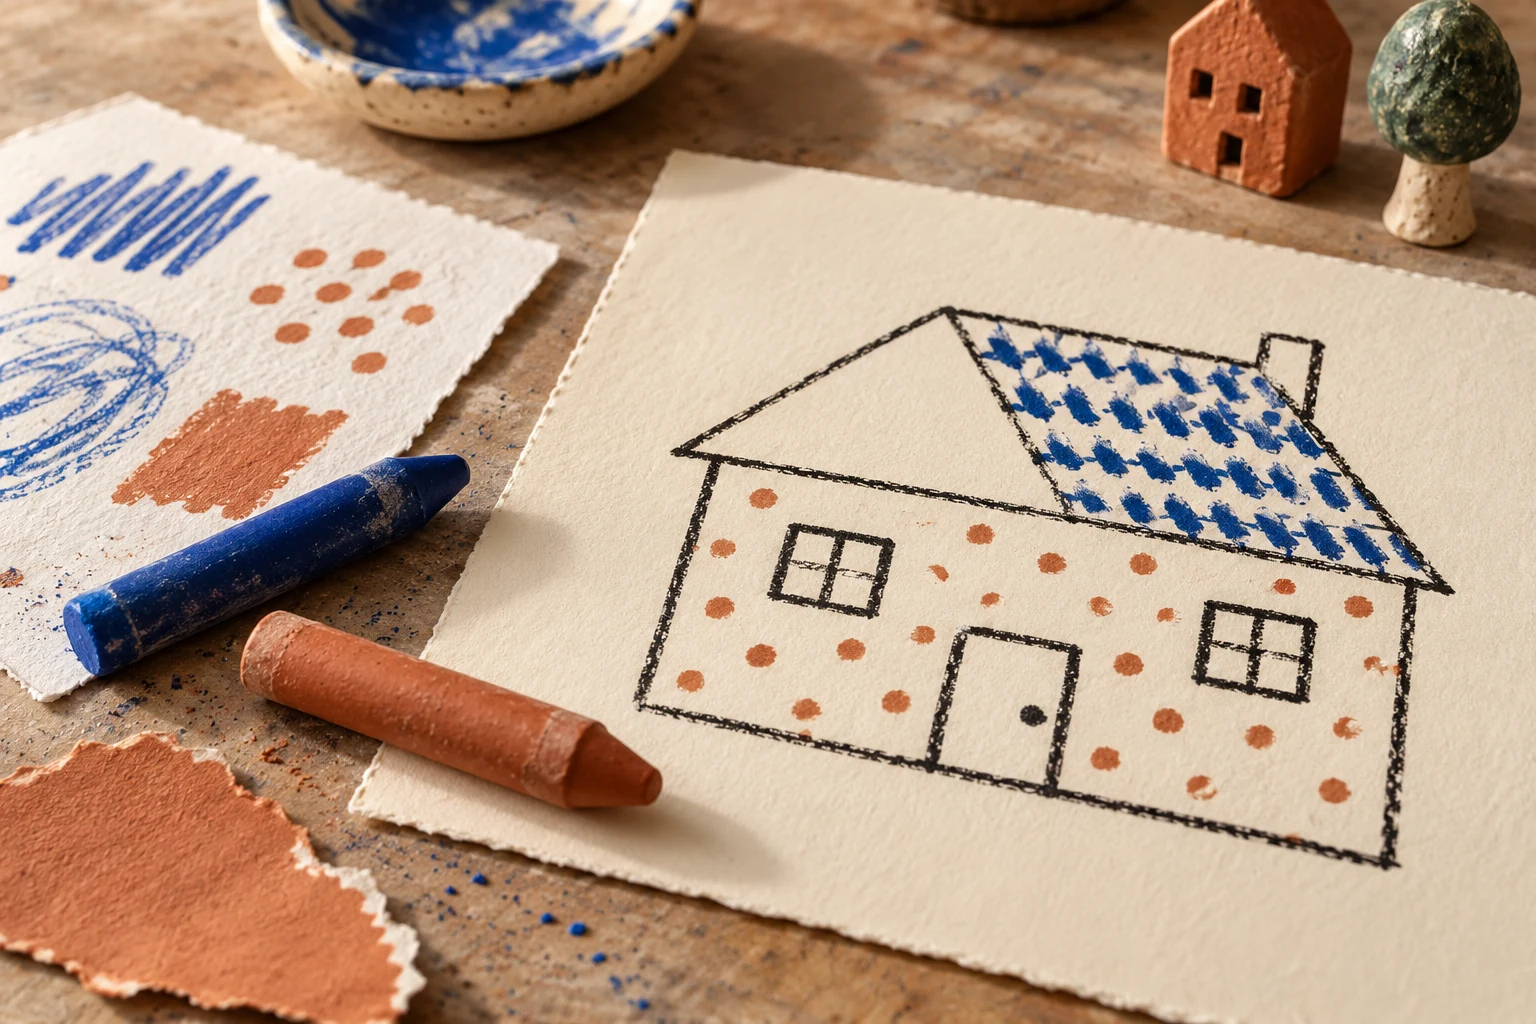
This simple house example shows possible repeated marks and a nearby testing sheet; inspect the linked resource for the actual worksheet layout.
Project three: invent a dinosaur’s surface story
For a learner who prefers an animal adventure, choose Joyful Dinosaur Coloring: 7 Amazing Steps for Creative Fun. The preview shows a friendly dinosaur in a landscape with rocks, clouds and a sun. The broad body offers room for a patch of repeated marks, while the background can remain untouched. The page is listed for ages three to six; adjust the amount offered to the child’s interest and control.
Invite two imagined texture ideas on a separate practice sheet: tiny marks for a pebbly patch and longer curved strokes for a rippling patch. Which would suit a made-up dinosaur? Let the child explain or point. This is an invented surface story, not evidence about the skin or colours of a particular prehistoric species.
Keep the texture experiment small enough to compare. A learner might add just one dotted texture patch on a knee and tell a story about walking through sand. Another might fill blank paper with giant swirls. Both responses give you something specific to discuss: mark direction, spacing, or a change from one patch to another. The printed creature supplies an invitation, not a demand for a polished picture.
Project four: investigate giraffe spots as visual texture
1 Amazing Giraffe Coloring Worksheet with Guided Colors for Kids provides a large outlined giraffe with irregular spots and a smaller coloured reference. Use the existing spots as boundaries for contrasting texture marks: perhaps a few short strokes in one spot and quiet, unmarked paper in another. The three-to-six age label is a guide; a child who finds the small areas frustrating can draw a much larger spot on blank paper.
Compare a filled patch with a dotted texture patch. Do both look equally dense? Can a few marks suggest texture without colouring every gap? These are observation questions, not tests of animal knowledge. Keep a natural-colour reference available for children who want it, while making clear that invented colours belong in their art too.
The giraffe outline remains smooth to the touch after crayon marks. Say that directly when comparing it with the next project’s raised paper. Repeating the distinction through two different materials is more useful than asking a child to recite a definition of texture.
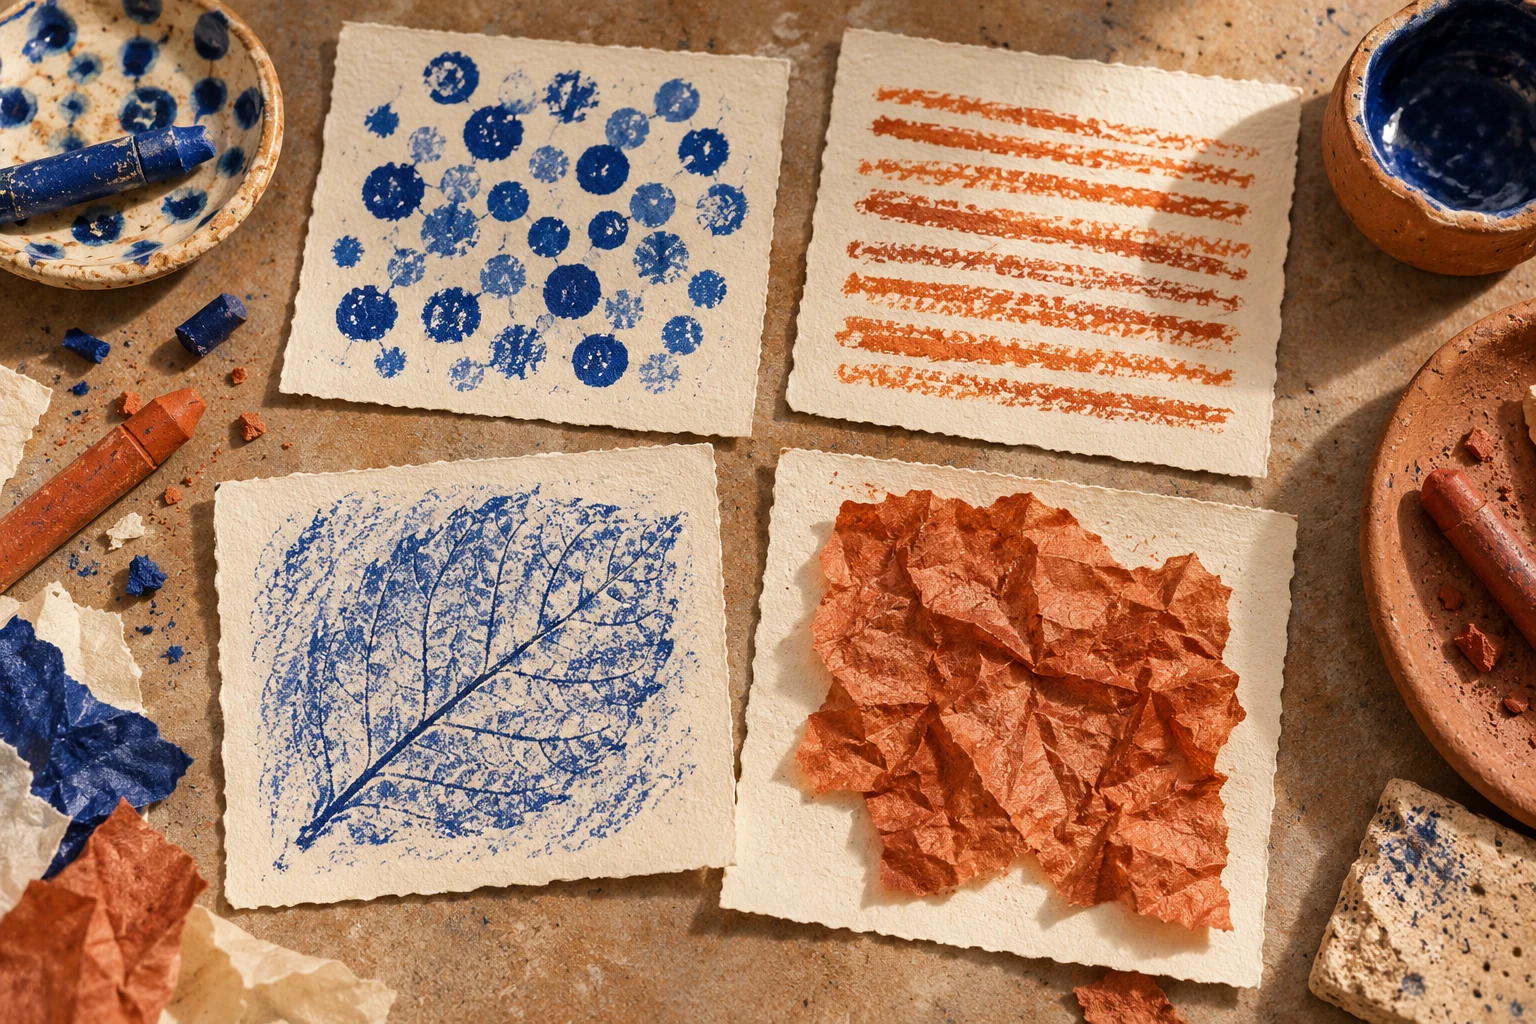
Separate material studies contrast flat marks and a rubbing with the actual ridges of attached paper, without a required finished design.
Project five: let paper stand up from the page
Offer large scraps for a texture collage, using tissue or ordinary lightweight paper. Invite the child to scrunch one, flatten another, and compare how each catches the light. Use a little child-appropriate glue to attach a chosen piece to sturdy scrap card. An adult can manage the glue container while the learner decides the position. Keep loose scraps away from mouths and clear the floor afterward.
This time texture changes physically: a raised ridge remains even when the colour is the same as the base. Once dry, compare the collage with a drawn patch. Ask which surface would cast a tiny shadow under a side lamp during a texture comparison. Children can answer by moving their own heads rather than handling a light.
Use a worksheet only if the artist wants a familiar setting. A separate paper landscape beside the dinosaur or house may work better than covering the printed picture. Thick collage belongs on sturdy backing; a thin downloaded page is a poor support for heavy layers. Keep the original visible if it still matters to its owner.
A texture conversation that fits the materials
| What you notice | A useful invitation | A manageable adjustment |
|---|---|---|
| A rubbing slips | “Would holding this edge help?” | Steady the paper or use a larger leaf |
| Dots become a solid patch | “What changes when the marks spread out?” | Offer a fresh texture scrap, without erasing the first experiment |
| The child avoids glue | “Would you like to watch, draw, or choose the paper?” | Keep a dry texture option beside the collage |
| A printed area feels too small | “Where could this mark have more room?” | Move the same idea onto blank paper |
| Two surfaces share one colour | “How else can we tell them apart?” | Compare their ridges, direction and reflected light |
Keep texture vocabulary close to what the child can observe: wrinkled, smooth, ridged, scattered, dense, faint. Introduce one useful word in conversation, then allow time for another attempt. A long list of adjectives can distract from an artist who is trying to solve a texture problem.
Six gains worth noticing in the making
- Careful comparison. Looking between a rubbing and a drawn patch gives texture differences something visible to rest on. Notice what the child selects, rather than counting correct descriptions.
- More precise communication. A learner can point to a ridge, repeat a gesture or describe a rough-looking patch. These choices help an adult understand the idea being explored.
- Tool awareness. A crayon’s side and tip leave different marks. Changing the contact surface offers a practical reason to adjust a hand movement.
- Material reasoning. Thin paper and sturdy card behave differently under glue. Small trials let the artist see why a plan may need a different support.
- Ownership of decisions. Choosing where to stop, which mark to repeat and whether to use an outline makes the work personally meaningful.
- Willingness to revisit. Saving a test patch offers a reason to return. The next texture attempt can build on an observation instead of replacing a supposedly unsuccessful picture.
Two ordinary afternoons, two texture discoveries
At home: roof texture turns into weather
Imagine a four-year-old trying short roof marks on the house page. Halfway through, the strokes become long rain lines outside the roof. A parent could redirect them back inside the outline. Instead, the parent asks what changed. The child says a storm arrived, then requests blank paper for a larger cloud. Texture has opened a story rather than ended in a completed sheet. Save both pages together if the child agrees; the link between them explains the afternoon better than either page alone.
In class: a disagreement about texture
Picture a small kindergarten group comparing a crumpled-paper collage with a giraffe spot drawing. One learner calls both rough. Another points out that the drawing feels flat. The teacher brings their observations together: one has actual ridges; the other uses marks to suggest texture. Nobody needs to win the discussion. Place the works side by side and let children point to the evidence. These are illustrative situations, not reports of observed children or promised outcomes.
Four ways to keep a texture investigation alive
- Become a surface curator. Collect two large, clean packaging samples and invite a child to choose which belongs beside a saved rubbing. Talk about the visible relationship, without requiring touch.
- Make a texture sound story. Pair a paper scrunch with a spoken weather sound, then draw marks for the imagined scene. Let the child decide whether the sound belongs in the picture.
- Trade tool ideas. Two artists demonstrate a mark on their own scraps. Each may borrow, alter or decline the other’s idea; nobody draws on a partner’s work without permission.
- Return in different light. Look at a dry collage near a window, then farther away. Ask which ridges remain visible. Keep the artwork still and change the viewpoint together.
End with the artist’s decision
A child may love a single patch and dislike the rest of a page. Ask what should happen next: keep it, revisit it, or set it aside. “You found a mark you wanted to try again” recognises a decision without assigning a grade. Texture play can finish with a question still open. Leave the broad crayon and one scrap ready for another day; the next discovery might need only a minute and a little room.