Teach Letters: 6 Powerful Tracing Activities for Happy Kids
A model, a movement and a message give early writing a useful focus. Explore six tracing and copying activities with existing A, L and E resources.
The first recognisable letter in a homemade message often matters more to its writer than a whole completed tracing row. Teaching letters works best when a clear model, a manageable movement and a reason to write come together. These six activities help parents and teachers support alphabet tracing without expecting every preschool or kindergarten child to work at the same size or pace. Three existing worksheet pages provide visible models to inspect. Choose a form that matches current teaching, offer a broad tool and spare paper, and notice the route the child takes as well as the mark left behind.
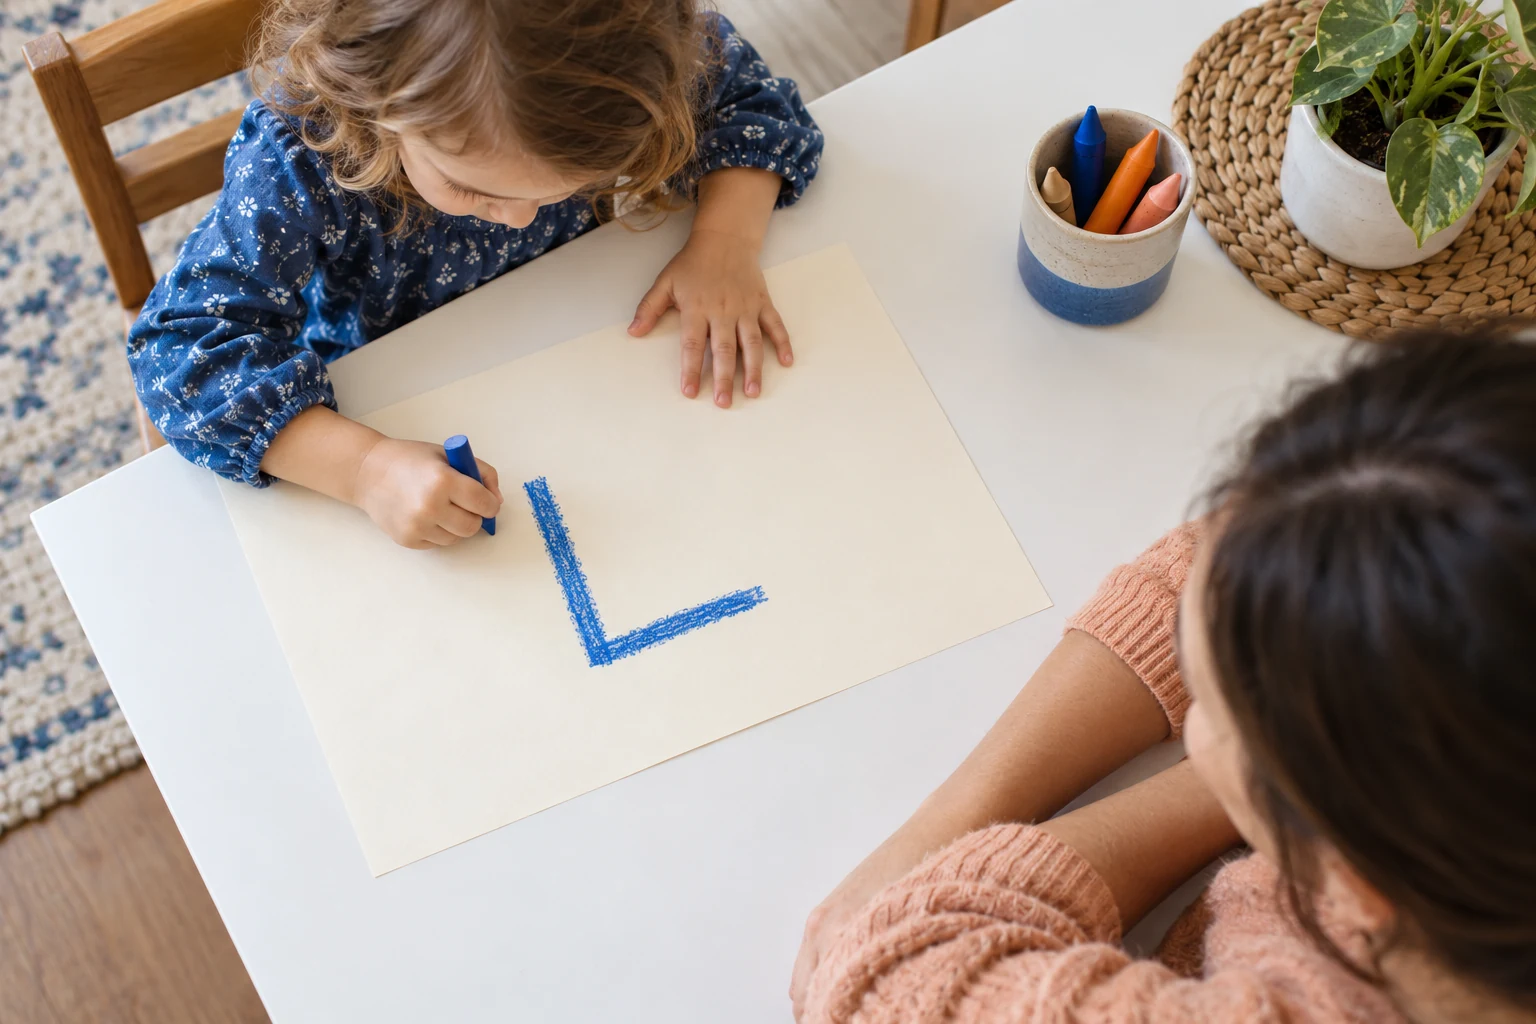
The child has room for the paper and supporting hand while the adult observes without guiding the child’s hand.
✍️ Begin with what making letters asks the child to do
Recognising a shape, naming it and forming it involve different actions. A child may identify letters in a book yet need help beginning a stroke. Another may trace a route successfully while still learning the letter’s name. Keep the purpose visible: are you noticing a model, practising its movement, copying beside it or trying to recall it?
Tracing supplies a route on the page. Copying asks a learner to look at a separate model and reproduce it. Writing from memory removes that visible support. These are useful distinctions for adults choosing the next invitation, not fixed stages that every child must pass in one session. Letters can be revisited with more support after an uncertain attempt.
Before demonstrating, ask which handwriting style the school uses. Books and screens may display different forms of the same lowercase character. A single-storey a and a double-storey a can both be recognised as a, while the child practises the specific written form currently taught. Consistent models reduce an avoidable source of confusion about letters.
Six useful things to notice while letters take shape
- Chosen starting points for letters. The child attends to where the adult begins, rather than treating the outline as an area to fill with colour.
- Planned movements for letters. A finger or crayon follows a route that can be described and demonstrated. Watch the action before judging its neatness.
- Comparing letters with a model. The learner looks back at the printed letters and notices a difference they want to explore.
- Letters at a suitable size. A larger mark may be more manageable than a small row. Adjust the space before asking for more repetitions.
- Letters with a meaningful use. A sign, label or card gives letters a job in a message, even when an adult supplies the remaining writing.
- Support while forming letters. Asking to see the model again tells the adult something useful. Welcome the request instead of treating it as a failed memory test.
Activity 1: make letters visible in the air
Choose one familiar written form and show it clearly. The adult slowly demonstrates its movement using the route taught in the child’s setting. The child can watch, point or make a broad air movement. Keep the same orientation as the child; facing them while demonstrating can make a route look reversed.
Name the character and talk briefly about the action. A large movement is a rehearsal, not evidence that the child can already write letters independently on paper. If the learner prefers watching, offer another turn later. There is no need to insist that every child imitate a gesture publicly or use exactly the same amount of arm movement.
Activity 2: give letters a clear corner route
Ll Worksheet: 4 Powerful Lion Corner Learning Wins presents uppercase L and lowercase l, tracing sections and a lion picture-word cue. Select one model rather than moving between both cases immediately. The capital has a clear corner; the lowercase form on this page is a long upright. Explain which of the two letters you are using before the child follows its route.
Model on spare paper, then invite a finger or broad crayon along one large guide. Keep the sheet steady. A child who colours across the outline may be interpreting it as a picture; demonstrate the intended path again rather than demanding a whole new row. Practice with letters can be short and still give an adult a clear view of what to show next.
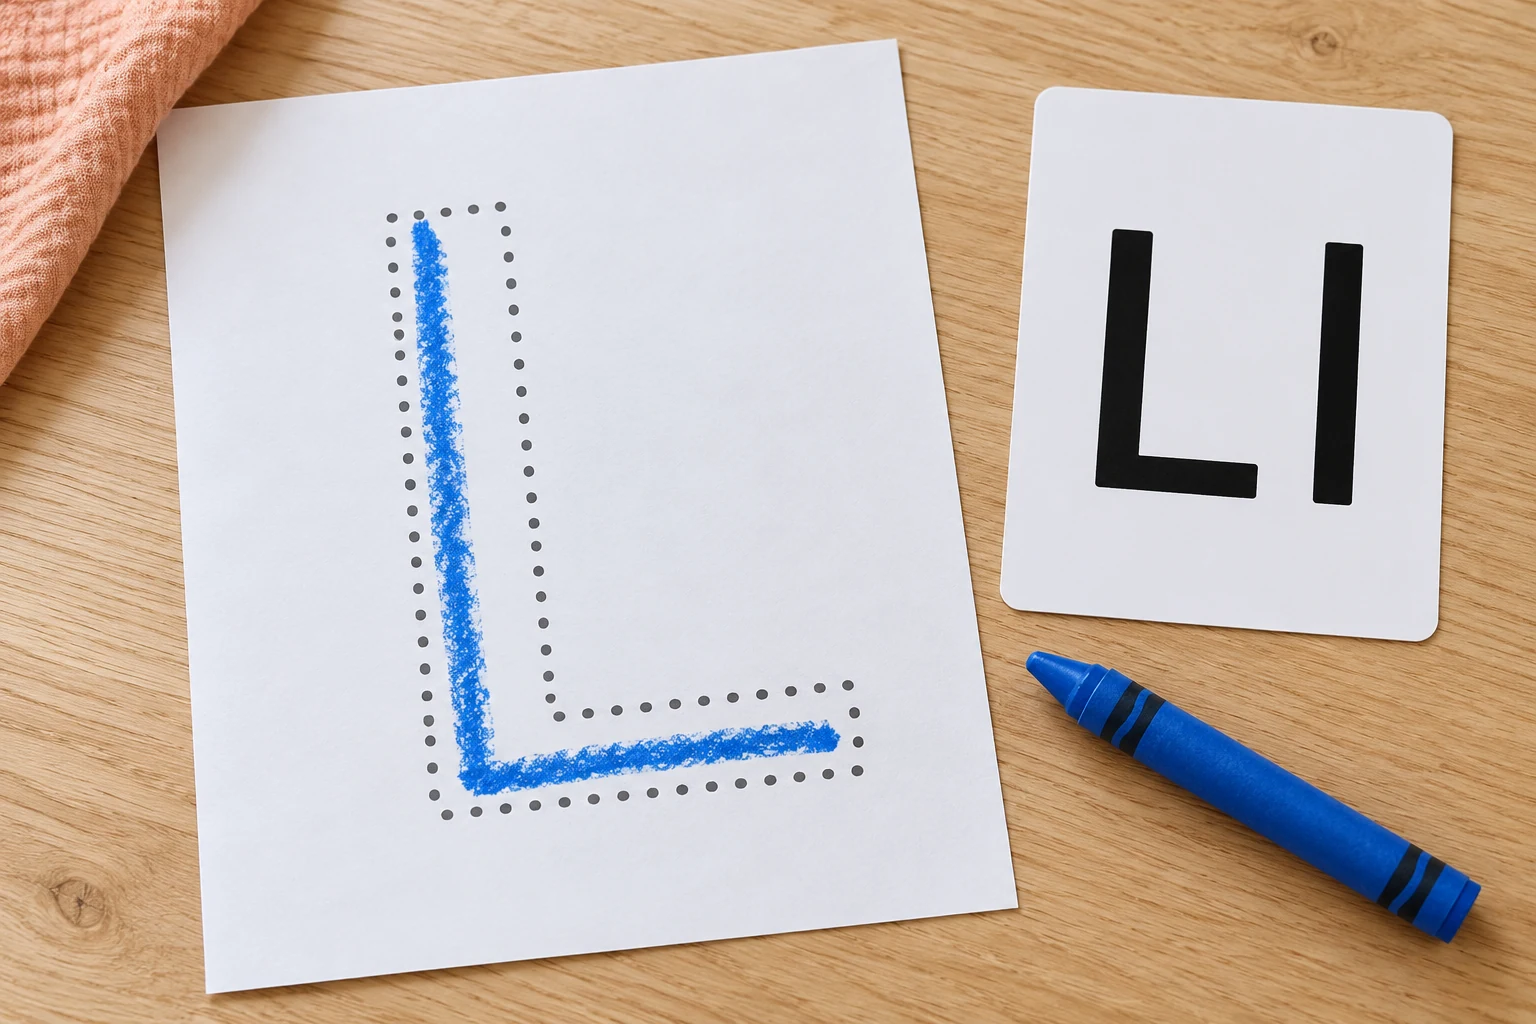
The generic study shows a guided mark and a separate letter model; the linked resource contains the actual printable layout.
Activity 3: compare letters without copying everything
Aa Worksheet: 5 Brilliant Orchard Message Games shows uppercase A, a single-storey lowercase a and an apple cue, with tracing rows and a picture word. Compare the capital’s sloping sides and crossbar with the lowercase oval and short upright. Choose one form that matches current instruction; the page is not a reason to switch a child to an unfamiliar style.
Place a blank scrap beside the selected model. Invite one attempt next to it and look back together. Ask which part the child wants to inspect, rather than listing every difference at once. Comparing letters can lead to another demonstration, a larger space or a decision to stop. It does not require the adult to redraw over the child’s work until it resembles a finished example.
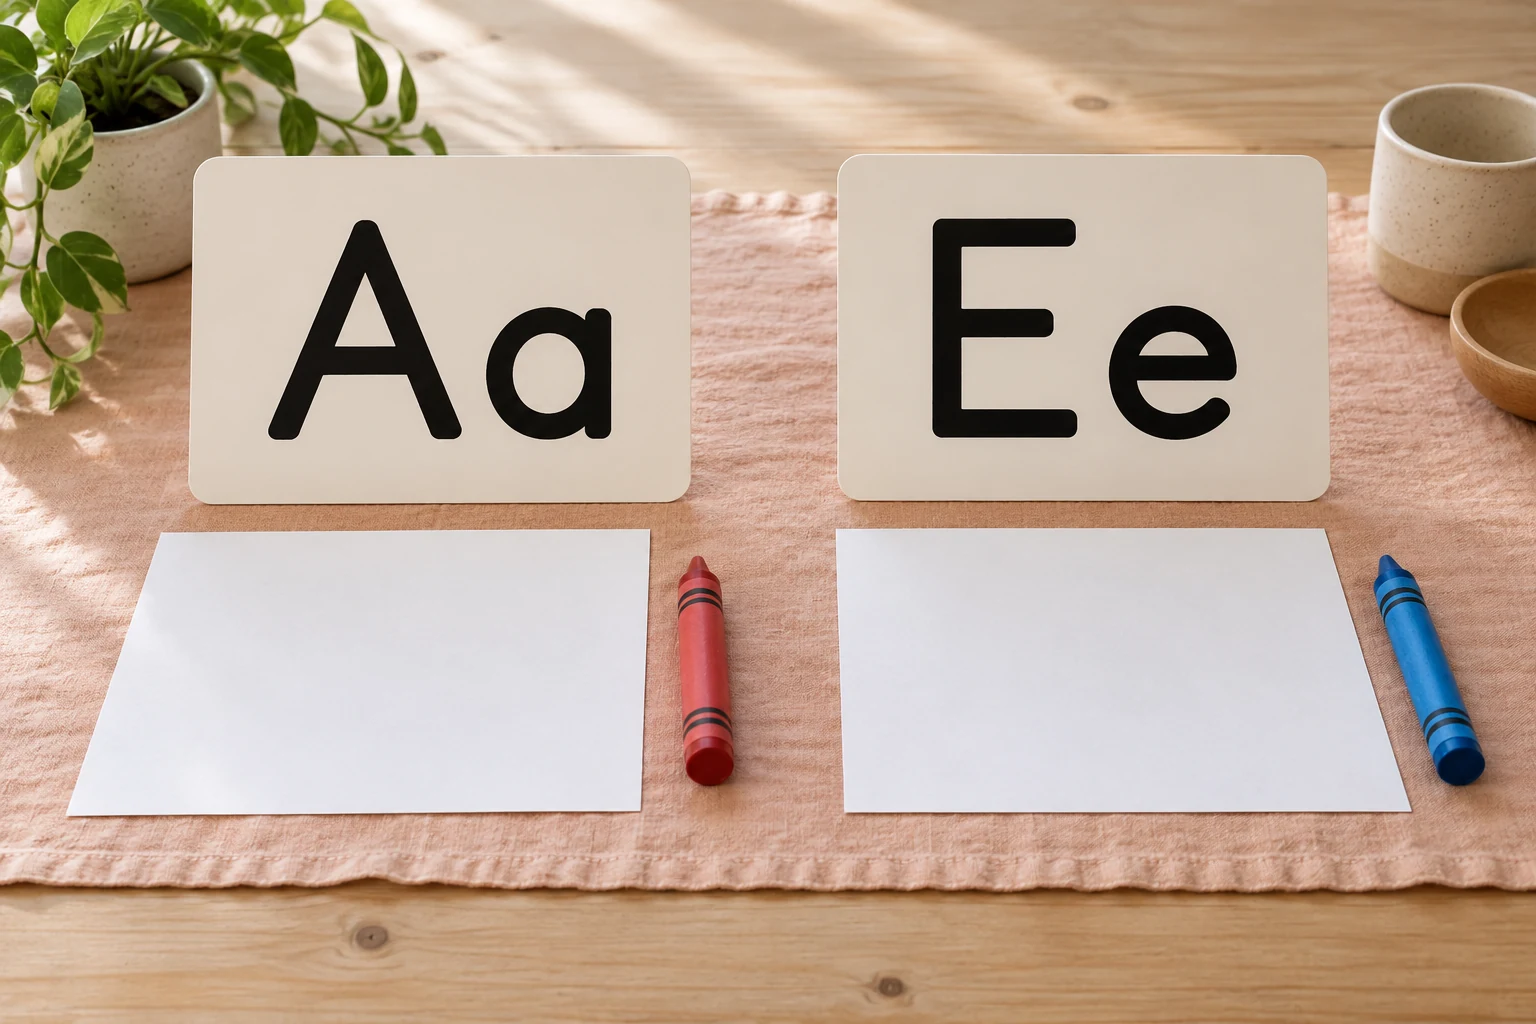
The A card uses a single-storey lowercase a. Match the school’s written model before choosing which form to practise.
Activity 4: commentate how letters take shape
Ee Worksheet: 6 Brilliant Elephant Note Games offers uppercase E and lowercase e, tracing and an elephant picture-word cue. The uppercase has an upright and three bars; the lowercase follows a different connected form with an opening. Keep the selected letters visible while an adult demonstrates the taught route on another sheet.
Invite the child to describe or gesture what they saw. They might say “across,” point to an opening or ask where the pencil lifts. Their words can help the adult notice a misunderstood action. Then offer a turn with the model nearby. This activity focuses on how letters are formed; naming the elephant or completing the whole word can remain a separate conversation.
Activity 5: look, try, and compare letters again
When copying a chosen form feels manageable, ask whether the child wants to look at it, cover the model briefly with loose paper and try on a blank scrap. The cover is optional and removable. Bring the model back whenever requested. The child does not have to earn another look.
Compare the attempt with the visible example and choose one useful observation. Perhaps the corner is present, but the route began in a different place. Show that point calmly if it matters to the taught form. Letters written from memory can be discussed without treating them as a test score or requiring a younger child to work without support before they are ready.
Activity 6: put familiar letters into a message
Offer a folded card, a pretend toy label or a sign for a play corner. Ask what the child wants it to communicate. An adult can write most of a dictated message while the learner contributes one familiar character, a traced form or invented marks. Use a name initial only when it is relevant and the child wants to include it.
For example, a large L might begin an adult-written “lion” label beside the lion picture cue. The learner does not need to independently spell or copy the rest of that word to take part. Letters now serve a purpose beyond practice. Read the message back with the child and let them choose its destination or whether to keep it for another day.
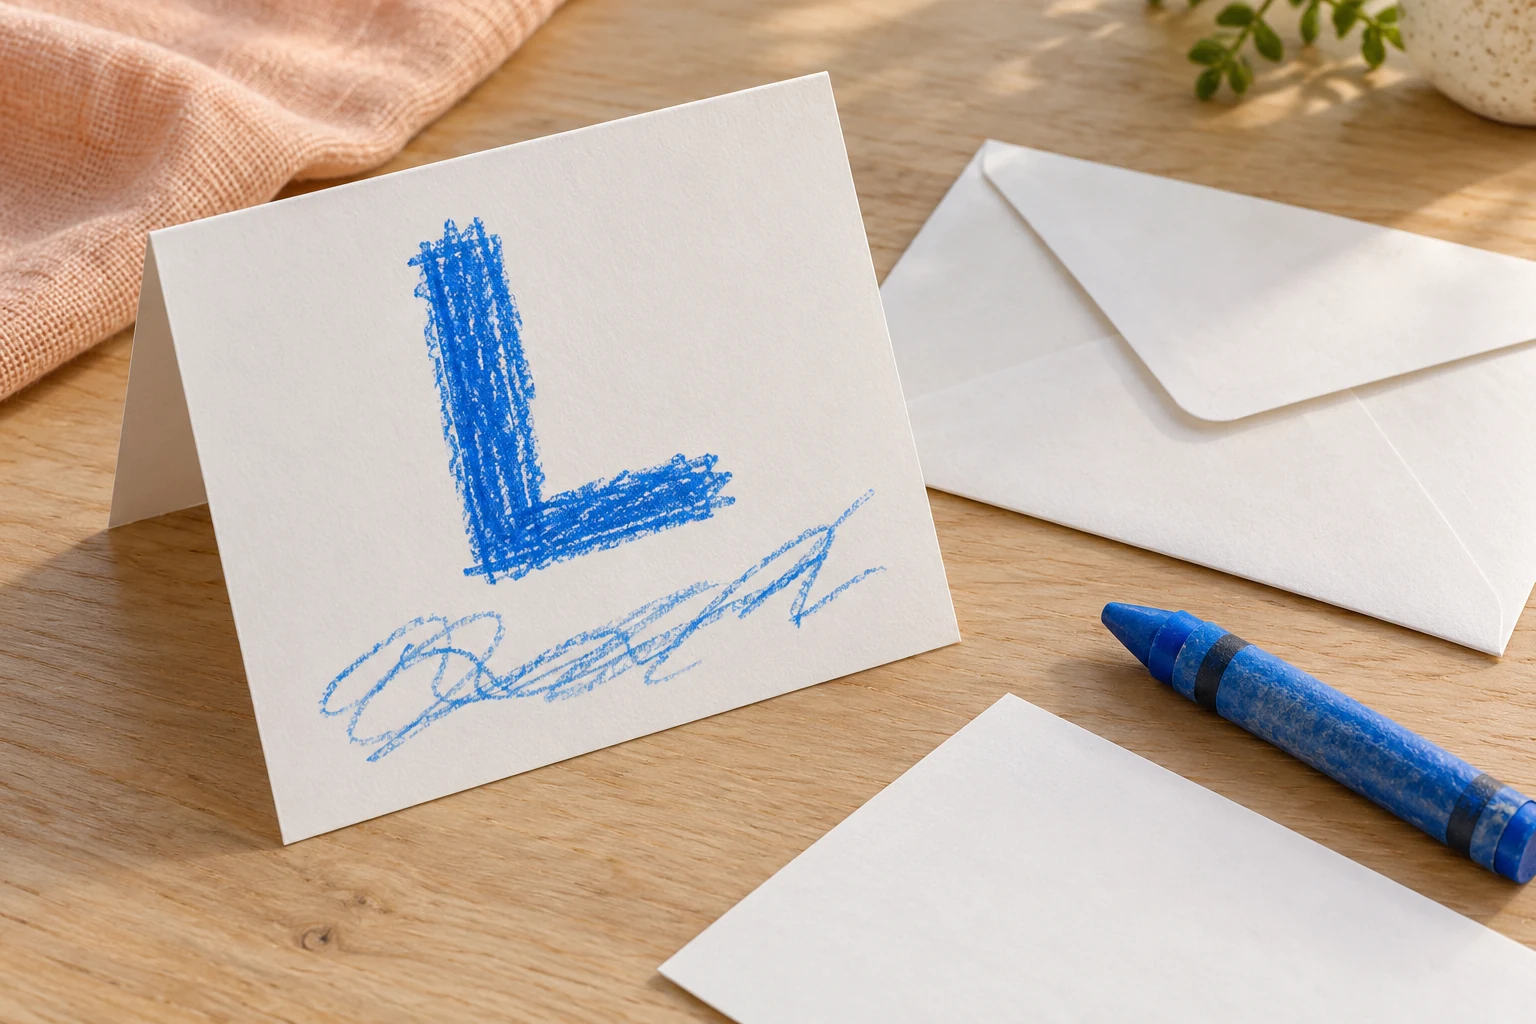
The simple card leaves room for an adult to record a dictated message while the child contributes a familiar character or other marks.
Set up a short session for letters in five moves
- Choose a model for letters. Confirm the form and movement used in current teaching. Start with one selected character, not the full alphabet.
- Make room for letters. Use a comfortable position, a stable surface and paper the child can reach. Give the non-writing hand room to help steady the sheet.
- Offer a manageable tool for letters. A broad crayon may suit a large guide better than a fine pencil. Respect the child’s hand preference and avoid taking control of their hand.
- Demonstrate letters briefly. Show the route on your own paper while the learner can see it. Then offer a supported attempt with the letters still available as a model.
- Choose the next response. Repeat one movement, enlarge the space, change the tool or pause. More rows are not the automatic answer to an uncertain attempt.
Stop when the activity becomes uncomfortable or tiring. If forming letters remains difficult, share specific observations with the teaching team so support can match the child’s needs. Avoid comparing a single page with another child’s work or attaching a diagnosis to a reversed or uneven mark.
The support changes when the model moves
| Invitation | What remains visible | What the adult can notice |
|---|---|---|
| Finger-trace a guide | The route lies under the finger | Does the learner understand where to begin? |
| Trace with a crayon | The route lies under the tool | Is the space or tool manageable? |
| Copy beside the model | The example is nearby | Does the child look back at its useful features? |
| Try after a brief look | The model can be uncovered again | Which parts were remembered, and what support helps? |
| Add letters to a message | A model can remain available | Does the child understand what the mark contributes? |
Current guidance supports clear models and meaningful writing
Oxford Owl’s family handwriting guidance recommends matching the school’s style, supporting comfortable positioning and offering varied writing opportunities. Those points inform the practical preparation here. The six activities are suggestions for using existing resources; they are not a particular commercial handwriting scheme.
England’s 2026 writing guidance for early-years providers discusses letter formation, guided writing and communicating meaning. Its assessment requirements belong to a specific setting and stage. This article uses the broader principle of appropriate adult guidance, without turning local expectations into a universal deadline for forming letters at preschool age.
Two everyday situations with different starting points
At home: the big model is the useful one
Imagine a child following a large L with a finger, then becoming unsure when offered a small tracing row. The parent returns to the larger guide and offers a broad crayon. The child makes one clear corner and asks to put it on a card. In this hypothetical scene, changing the size preserves the purpose of forming letters. Finishing the small row is not necessary for the adult to notice the useful attempt.
In class: the model needs to be consistent
Picture a teacher hearing that a child has seen two different forms of lowercase a at home and school. The teacher explains which form is being practised and provides a matching model. The family can still discuss the other printed form as the same character. This illustrative classroom conversation prevents a difference in models from being mistaken for a child’s refusal to form letters correctly.
Four playful ways to return to letters
- Make a tiny gallery. With permission, display one attempt beside its model and let the child dictate what they noticed about it.
- Use a pretend sign maker. An adult plays a customer asking for one familiar character. The child can use the visible model and decide where the sign belongs.
- Change the surface size. Try a large sheet before returning to a smaller one. Keep the same taught form so the comparison concerns scale rather than new letters.
- Let the learner demonstrate. The child shows an adult a familiar route with a finger or spoken directions. Ask a respectful question when a step is unclear.
Leave a reason to write letters again
The A, L and E pages list ages three to six and currently offer free watermarked one-page PDF samples, with clean files requiring active membership. Check their live access panels and previews before downloading. Their picture words and other sections can wait when the purpose is one formation model.
Notice a useful movement and make the next attempt manageable. “You looked back at the corner before trying again” describes a strategy the child can recognise. Letters become worth revisiting when they help say something, so leave spare paper ready for the next message rather than a compulsory stack of rows.