
Tent Triangle Trails: 4 Wonderful Pointed-Shape Games
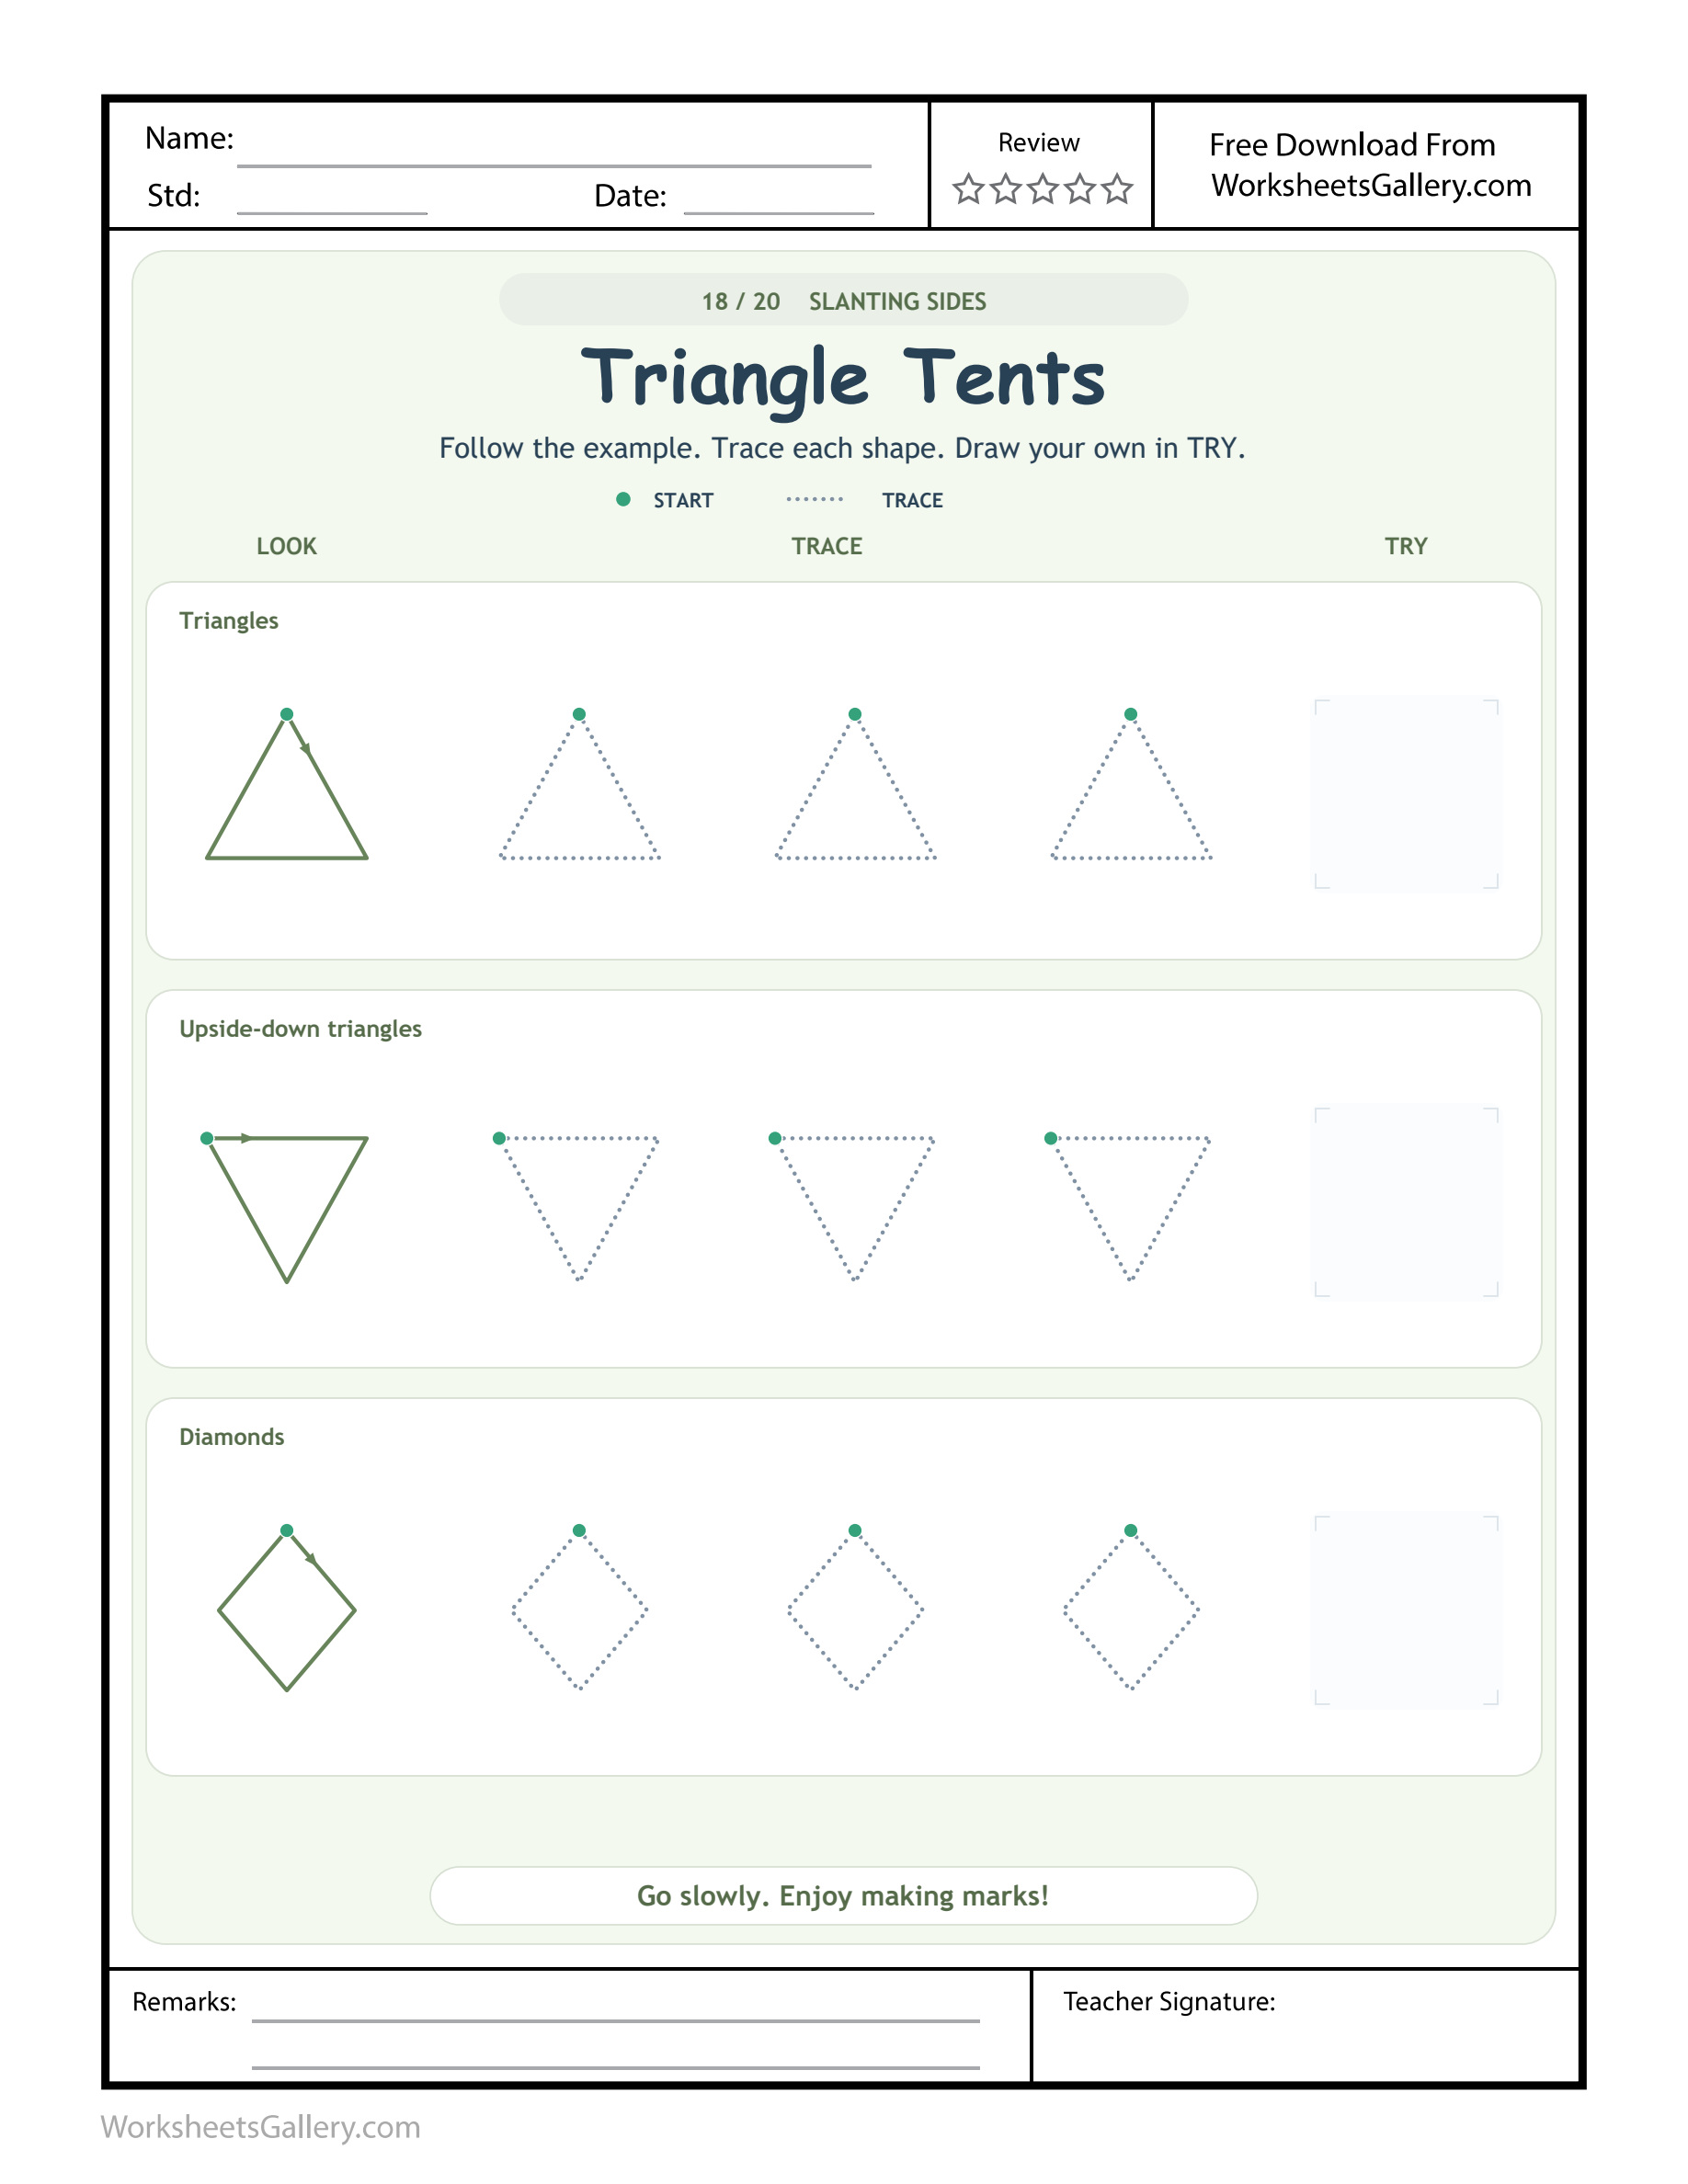
Pointing down does not give a triangle an extra side. Tent Triangle Trails invites children to compare upright and upside-down triangular outlines before meeting the four-sided diamond in the last row. The Triangle Tents worksheet combines solid examples, dotted shapes and independent drawing windows. A learner can point around a boundary, notice its connections and follow the starting information before using a pencil. The tent theme makes a playful setting, but the important comparison is visible on the page: orientation can change while a three-sided shape remains three-sided, and a diamond follows another plan.
Tent Triangle Trails separates position from side count
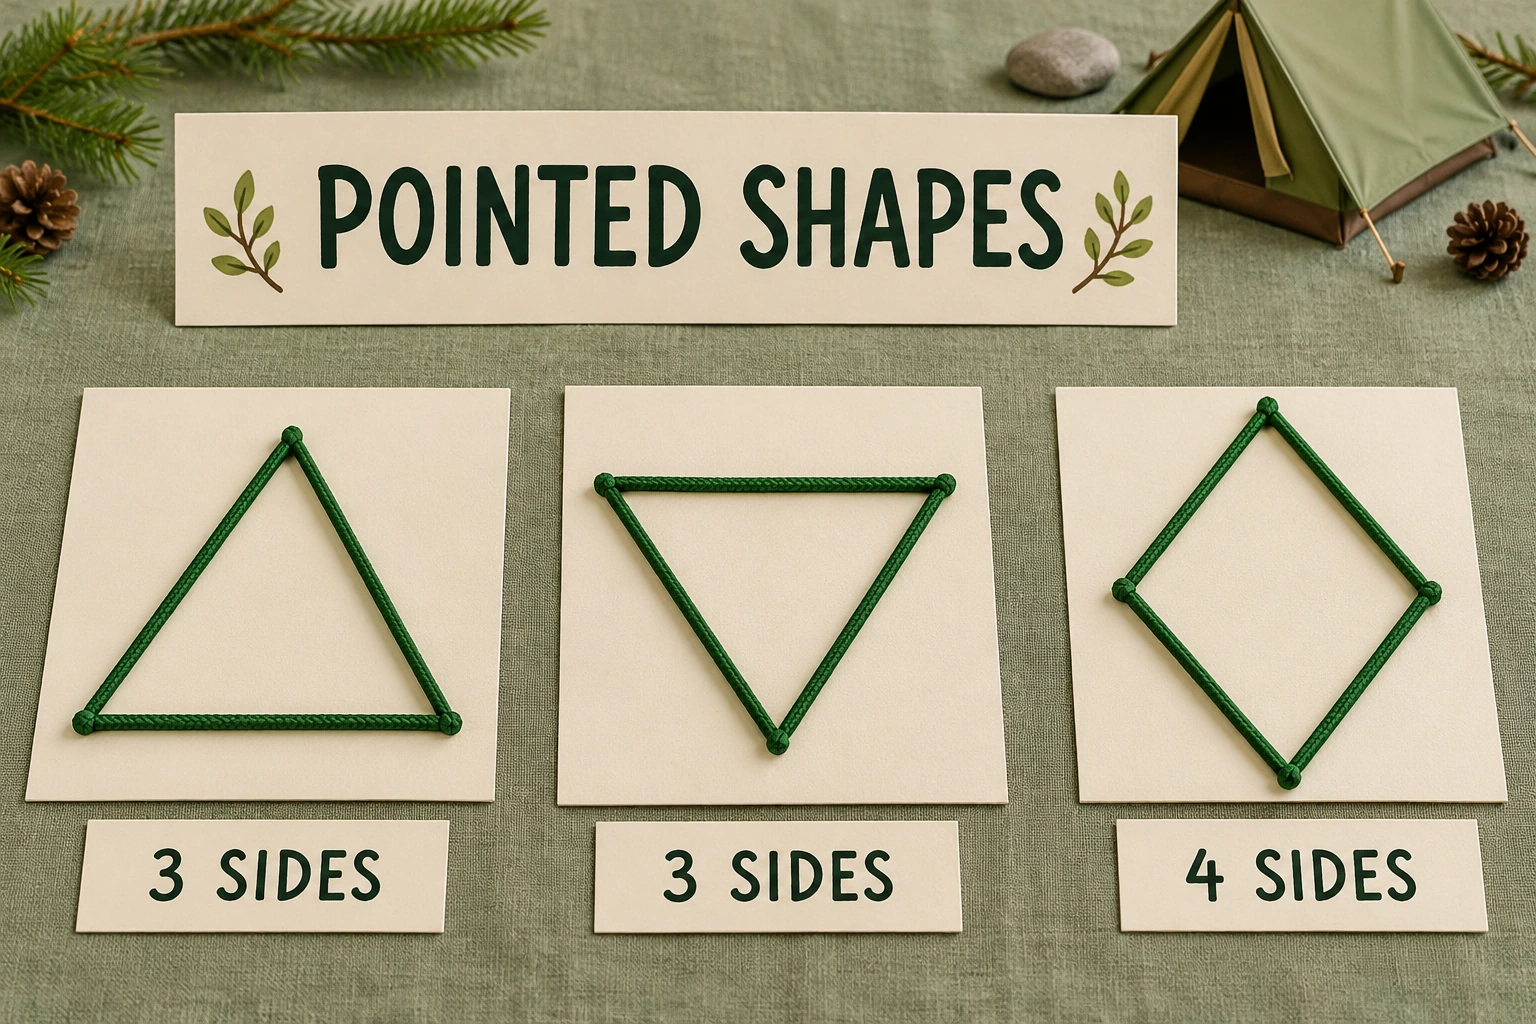
The supporting display places an upright triangle, an inverted triangle and a diamond together. Both triangles carry a 3 SIDES label; the diamond carries 4 SIDES. This lets an adult and child discuss orientation without assuming every pointed outline is the same shape.
Tent Triangle Trails is prewriting exploration rather than a formal geometry examination. Use simple language such as points up, points down and four sides. A child can show a comparison with a finger before being asked to name it or produce a compact drawing.
Anya asks Tent Triangle Trails a campsite question
Anya is drawing a pretend campsite with her teacher. She makes an upright tent outline, then turns a separate triangular card upside down and calls it a new shape. Her teacher asks them to follow its sides together before deciding what changed.
Their Tent Triangle Trails visit starts with pointing. Anya follows the three sides in both orientations and notices the downward point. She tries a dotted triangle, then creates a separate campsite sign with a diamond outline. Her teacher asks about its extra side, keeping the two comparisons distinct.
Tent Triangle Trails gives Anya's marks a design purpose. Her sign can carry a dictated word, and her tent can remain a simple outline. There is no requirement to add doors, pegs or scenery to the worksheet's supplied shapes.
Read Tent Triangle Trails beginnings for each model
The first source row, Triangles, starts at the upper apex and follows a slant downward toward the right. Upside-down triangles begins near the upper-left corner and travels across first. Diamonds starts at its top point. Inspect each green marker and arrow rather than assuming all pointed shapes share a beginning.
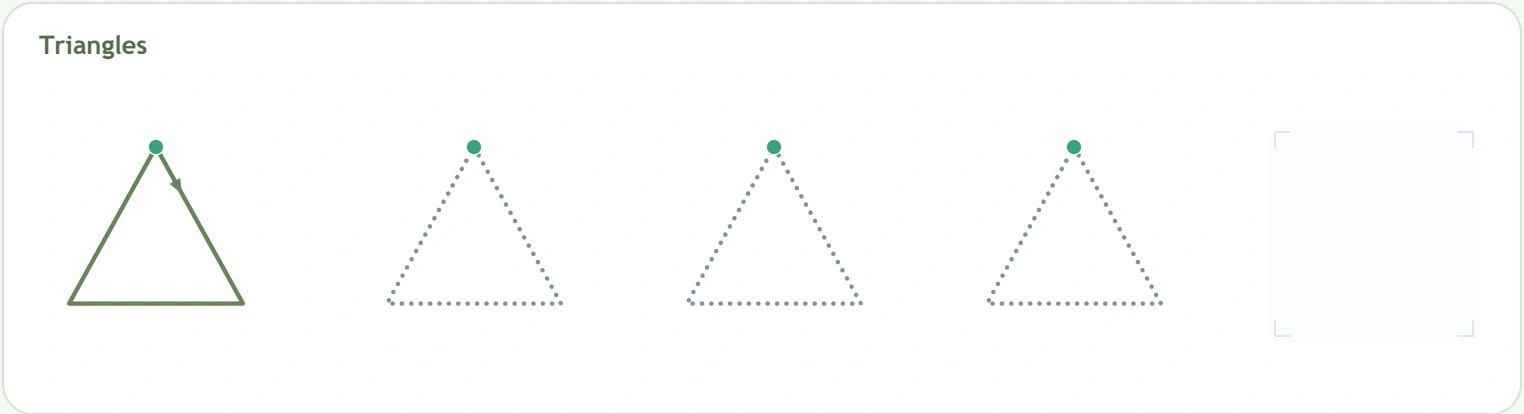
Tent Triangle Trails asks for a complete boundary, not just the two sloping sides of a roof. The lower connection matters in the upright triangle. In the diamond, four slanted sides complete the outline. A child can trace the air above each section before selecting a dotted attempt.
A Tent Triangle Trails field guide to the page
There are three shape rows. For Tent Triangle Trails, each LOOK example introduces three dotted shapes, then an independent TRY window. The whole sheet offers nine guided versions and three copying windows. The TRY areas intentionally leave the drawing choice to the learner.
| Source row | Compare | Check |
|---|---|---|
| Triangles | Upright orientation | Three connected sides |
| Upside-down triangles | Downward point | Still three sides |
| Diamonds | Four slanted sides | A different boundary |
Tent Triangle Trails labels support a conversation, while the models provide the actual routes. Read the chosen example before drawing from a remembered tent picture. A picture association can be enjoyable without replacing the supplied movement plan.
Four Tent Triangle Trails campsite investigations
Try an optional investigation on separate paper or cards. Each makes a shape feature useful in a pretend setting, while preserving the source exercises. Choose one question rather than adding all the activities as required work after tracing.
1. Tent Triangle Trails opens a turn-the-sign station
Draw a triangle on a card and rotate the card between upward and downward pointing positions. A partner follows the boundary and checks its three sides. Tent Triangle Trails sign turning makes orientation visible without requiring a new pencil drawing for every position.
Ask the child what changed and what remained. Accept a gesture along the sides as an explanation. The adult can supply a simple word afterward without demanding a formal shape-name answer.
2. Give Tent Triangle Trails a missing-connection repair
On scrap paper, draw two sloping roof-like lines without a lower connection. Beside them, draw a closed triangle. The learner identifies which makes a complete boundary. Tent Triangle Trails repairs focus on closure rather than judging the unclosed mark as a useless drawing.
Invite a new version with the intended connection. An uneven side can still close the outline; describe that visible success before adding concerns about straightness or symmetry.
3. Tent Triangle Trails sends a diamond sign request
Pretend a campsite needs a four-sided sign. The designer looks at Diamonds, sketches a separate outline and dictates a word for the sign. Tent Triangle Trails requests give the extra side a purpose and keep the diamond distinct from the two triangle orientations.
A receiver follows all four sections and explains where the boundary returns. The sign can be larger than the source and need not match its exact angles to communicate the intended four-sided plan.
4. Make Tent Triangle Trails a starting-point postcard
Each partner draws one pointed outline and adds a coloured start with an arrow. Exchange cards and follow the indicated route before making a fresh attempt. Tent Triangle Trails postcards give the beginning a communication role rather than treating it as decoration.
If the receiver is unsure where to go, the designer points along the next side. This exchange makes route reading part of the drawing conversation, instead of relying only on recognising a familiar shape name.
Six Tent Triangle Trails observations worth keeping
- Boundary awareness: notice which connections complete the outline.
- Orientation comparison: distinguish pointing upward from pointing downward.
- Side count: recognise the diamond's fourth section.
- Start inspection: use the selected model's marker and arrow.
- Directional control: plan a change at each pointed corner.
- Explanation: use side, point, across, down and closed in a visible context.
Tent Triangle Trails engages cognitive comparison, spatial language and visual planning alongside hand control. A child can understand a three-sided boundary while needing larger paper to draw its corners. These observations are possibilities for support, not a checklist of required achievements.
Tent Triangle Trails at home can follow one boundary
Put Tent Triangle Trails upright in a comfortable drawing place and offer a tool the child knows, plus spare paper. Read the chosen row's label. Find its solid example, green beginning and arrow, then point around the route before inviting a dotted attempt.
For Tent Triangle Trails copying, keep the model in view and choose a single feature: a closed triangle, a downward point or four diamond sides. Offer the TRY window or a broader separate version. Ask the child to show the feature they intended to preserve.
A brief Tent Triangle Trails visit can end after that explanation. Adults do not need to complete all nine dotted outlines to make the activity useful. Let a manageable stopping point preserve interest in returning to another boundary later.
Tent Triangle Trails counts four around the diamond
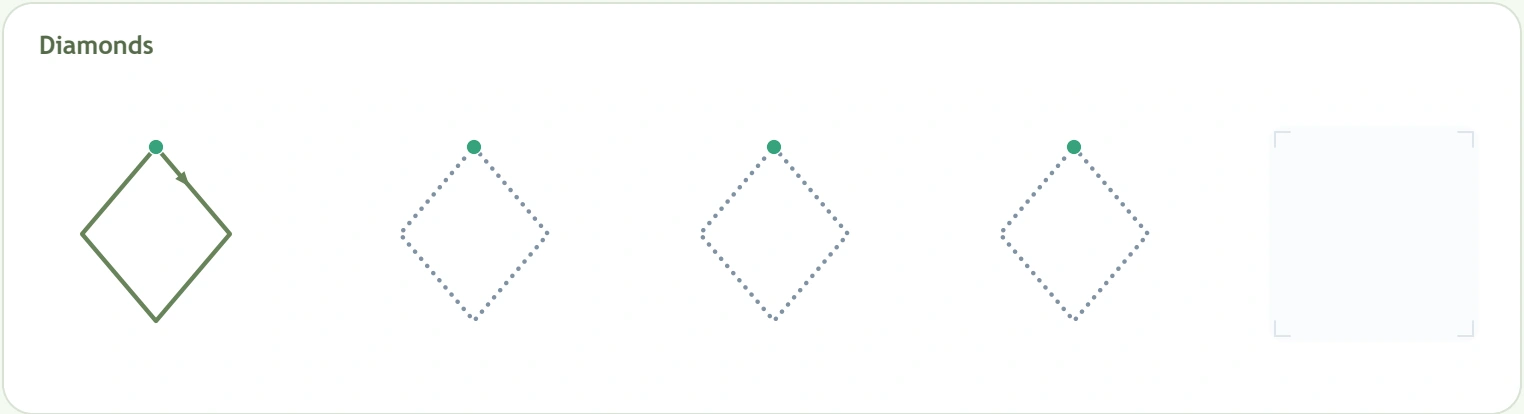
The last source row is not a third triangle orientation. Its diamond boundary has four slanted sides. Follow from the top point around every section and back, checking that the last connection remains part of the planned route.
Tent Triangle Trails feedback might sound like “You included the fourth side before coming back.” If a child draws a triangle instead, inspect the diamond model rather than simply asking for a neater version of the same remembered mark.
A classroom Tent Triangle Trails campsite bureau
A teacher provides individual cards for a pretend campsite map. Some children choose a triangular tent outline, others an inverted marker or a diamond sign. They point to the source that inspired the boundary and dictate a label for a partner.
Tent Triangle Trails partners follow the chosen outline and ask about its starting point or sides. The teacher offers label reading, gestures and larger work areas as needed. Record how a child explains the route instead of comparing all the designs by uniform size or completion speed.
Tent Triangle Trails mistakes can reveal a chosen feature
An open roof may retain the slants but omit closure. An upright triangle in the second row may retain three sides but overlook orientation. A three-sided attempt in Diamonds may show that the child repeated a familiar plan before inspecting the new model.
Tent Triangle Trails support begins by identifying the actual difference. Keep one comparison small enough to see. Do not correct every angle, side length and join together. Offer another look or a larger fresh attempt instead of repeatedly erasing a crowded small corner.
Keep Tent Triangle Trails suitable for the current learner
The page can suit adult-supported preschool or early kindergarten drawing, commonly around ages three to six. Experience varies considerably. Before a compact Tent Triangle Trails attempt, offer finger movement or an explanation through gestures. Reading the labels can remain the adult's job.
Tent Triangle Trails should allow the pleasure of making a plan someone else understands. Stop when the hand tires or frustration takes over. The adult need not move the child's pencil to secure a smooth outline or require a perfect final shape before allowing a break.
Regular Tent Triangle Trails practice can return through a new sign request or a card turned another way. Retain one remembered observation, then give it a fresh purpose. A short comparison with the labelled scene can be enough on a day when another pencil attempt is unwelcome.
Tent Triangle Trails downloads for another drawing day
For the clean member file, sign in and check that your current plan grants premium access to this worksheet. Select its unbranded PDF separately from the original sample, save it and inspect the one-page US Letter layout before printing. Choose scaling that leaves all borders and TRY windows visible. The clean edition contains no watermark, promotional domain text or advertisements inside the printable; site advertising remains outside the file.
When later letter forms interest the learner, explore letter-A slants, letter-V direction changes or letter-M stroke planning, each using its specific formation route. Wider adult inspiration is available from NAEYC's family writing guidance and the PBS Parents collection for literacy at four.
Popular Worksheets
Printable resources families and teachers are downloading now.
 Free
 Free
 Free
 Free