
Shell Spiral Routes: 6 Wonderful Round-and-Round Games
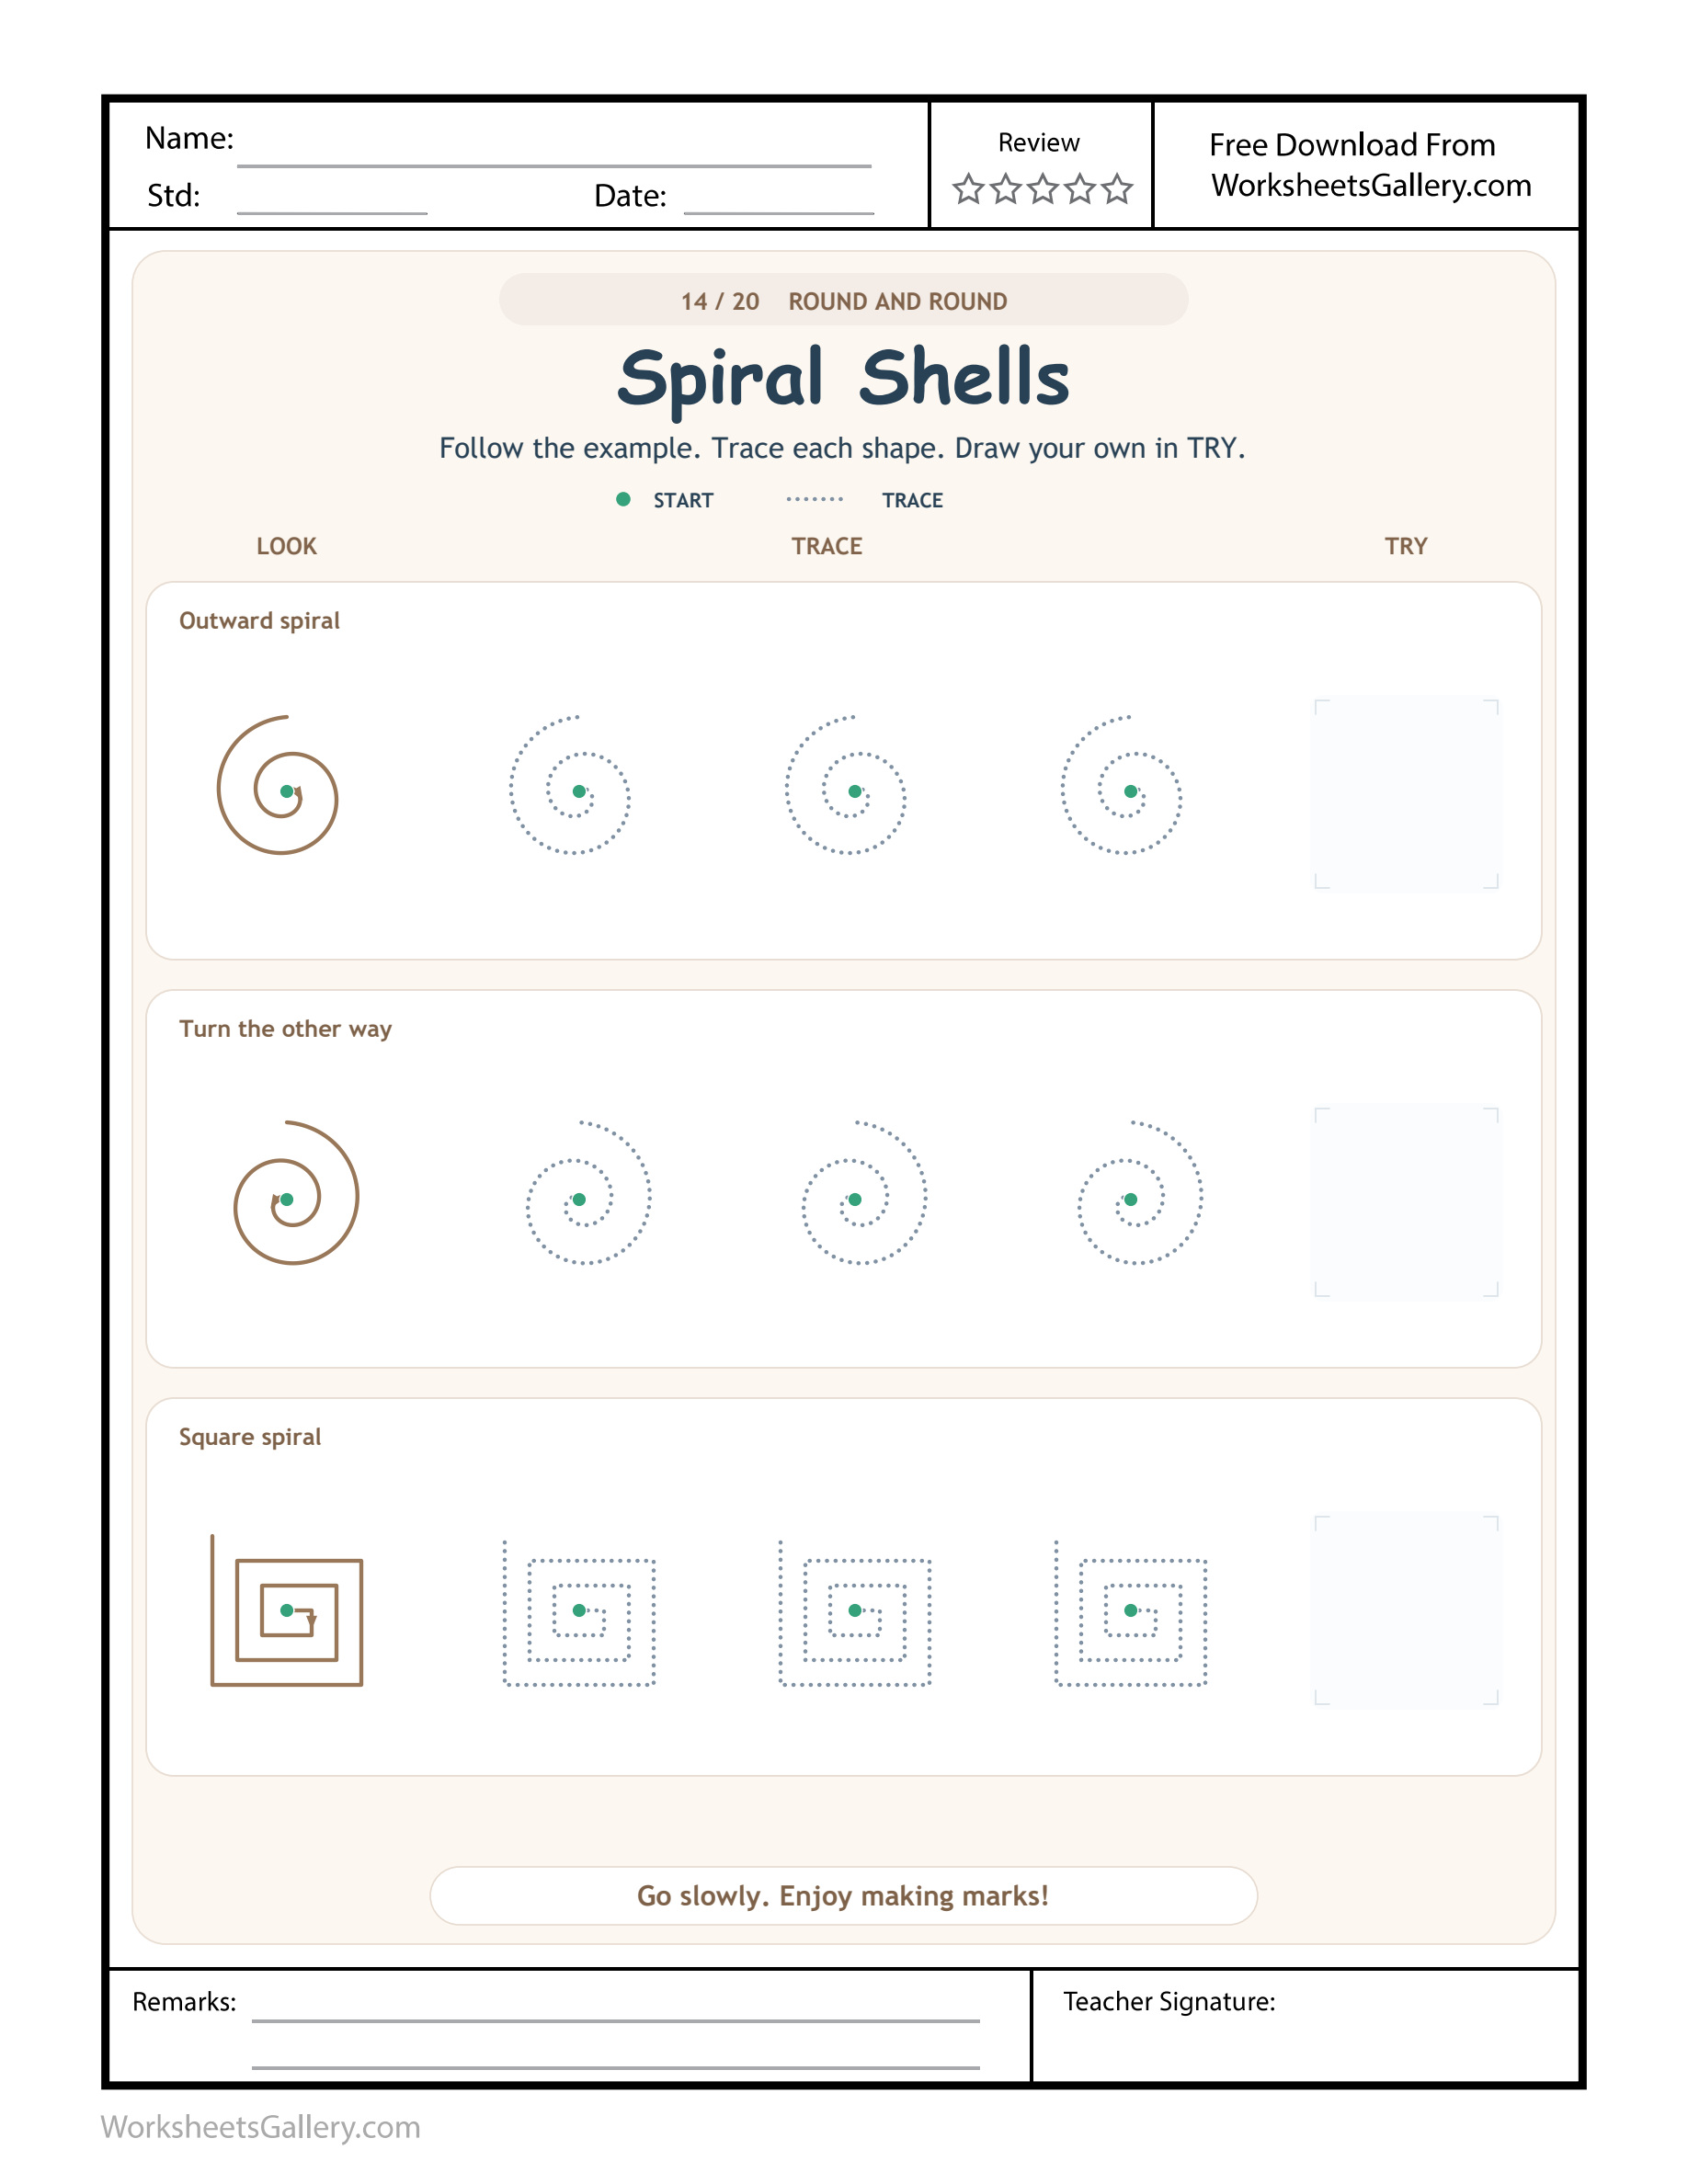
Start small in the middle and let the route grow. Shell Spiral Routes explores a line that turns outward without closing into a ring. The Spiral Shells worksheet offers two curved directions and a square-cornered version, each with a solid example, three dotted attempts and an independent window. Look for the green central beginning before moving. The challenge is not simply going round and round: neighbouring turns need room, and the ending stays outside. A child can investigate that growing route with a finger before choosing how much pencil work feels comfortable.
Shell Spiral Routes begins where the coil is smallest
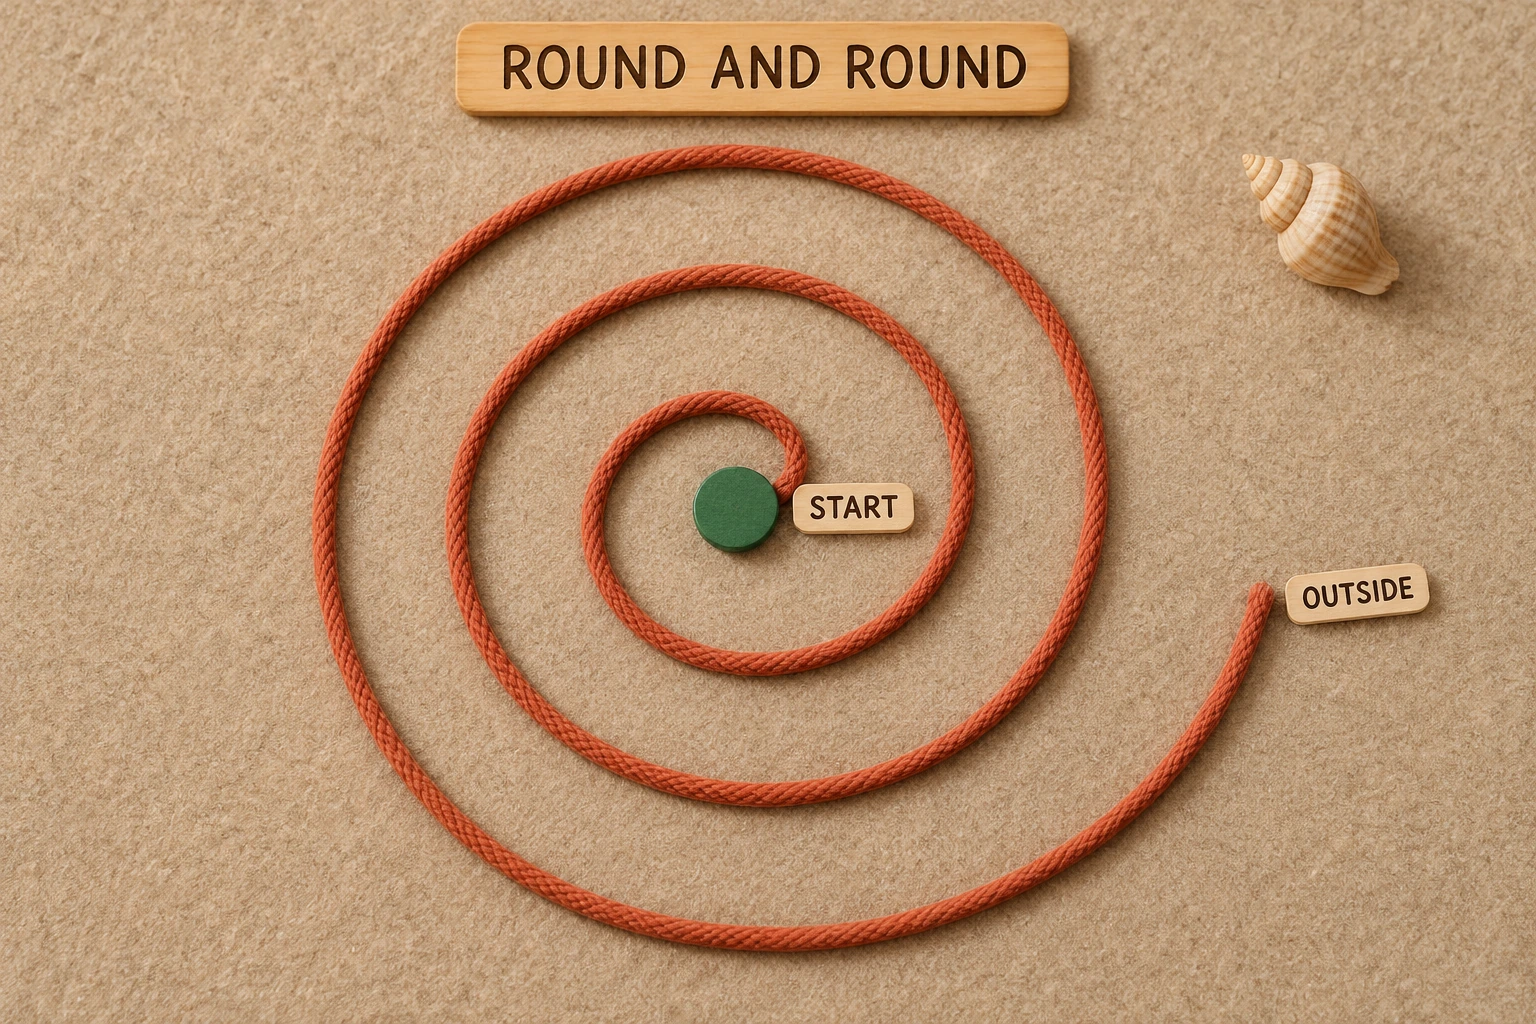
The first model is named Outward spiral. Its green start lies centrally, and the route travels away from that beginning as it turns. Following Shell Spiral Routes inward from the outside would reverse the source instruction. Locate the start together rather than assuming that the most visible outer end comes first.
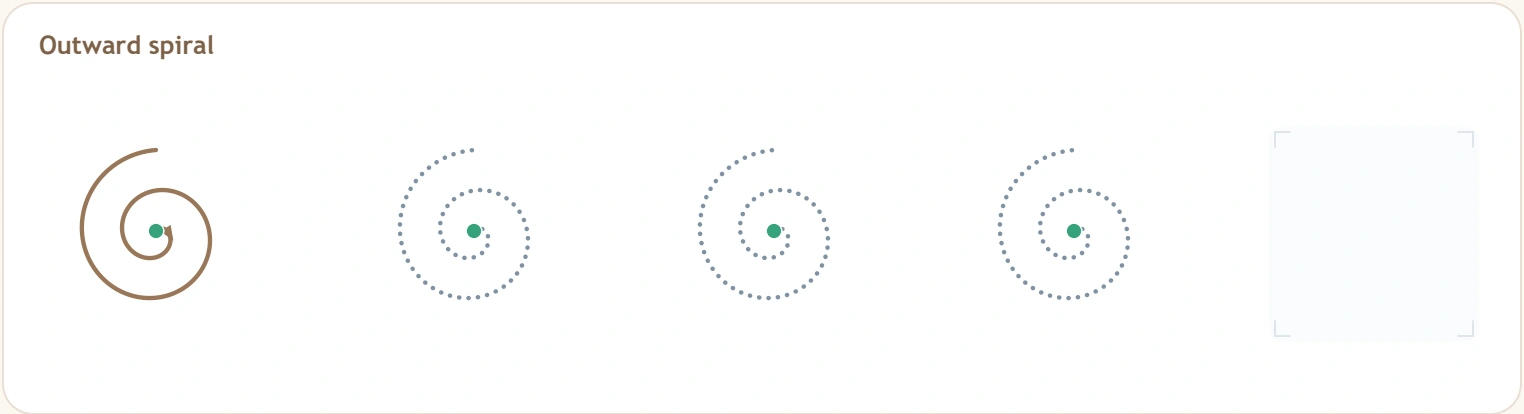
Shell Spiral Routes also differs from drawing a stack of closed circles. The line keeps travelling outward, with space between neighbouring turns. Its end does not reconnect to the central start. A finger can show that distinction while the adult describes growth instead of asking for repeated rings.
Lina gives Shell Spiral Routes a treasure-map role
Lina and her older sister draw a pretend shell museum map. Lina makes several circles inside one another, then asks how a visitor could travel from the middle to the outside. Her sister brings the solid spiral model into view and follows its open route slowly.
Their Shell Spiral Routes discussion focuses on the gaps. Lina points to the space between two turns and calls it a “little corridor.” She tries one dotted spiral, then sketches a larger museum route on separate paper. Her sister recognises the open ending instead of demanding equal spacing everywhere.
Shell Spiral Routes makes a useful home reference because it connects a mark to a chosen design problem. Lina's drawing can remain uneven yet readable. The point of their conversation is how the visitor keeps travelling outward, not whether the route resembles a perfectly manufactured shell.
Three Shell Spiral Routes models to inspect separately
The labels are Outward spiral, Turn the other way and Square spiral. Across the three Shell Spiral Routes rows there are nine dotted outlines and three TRY windows. A solid model begins each row. The windows intentionally leave space for the learner's own version rather than an answer to be supplied by the adult.
| Model | Decision |
|---|---|
| Outward spiral | Grow from the central beginning. |
| Turn the other way | Inspect the reversed curved direction. |
| Square spiral | Keep straight portions and deliberate corners. |
Shell Spiral Routes asks for a fresh inspection when the model changes. Remembering the first turning direction is not enough for the second row, and a smooth curling action alone does not describe the square route.
Six Shell Spiral Routes discoveries with spare drawing cards
Use these optional Shell Spiral Routes activities away from the printed exercises. Large paper can make a growing turn easier to inspect than a compact pencil mark. An adult can write the suggested words beside a drawing so every label has a meaningful purpose.
1. Shell Spiral Routes opens an outside finder
Draw an outward spiral with a marked centre. A partner follows it with a finger and places an OUTSIDE card beside the endpoint. Shell Spiral Routes outside finding distinguishes an open growing route from several closed rings, without requiring another traced outline.
Change roles and let the child create a route for the adult. If the line accidentally joins a neighbour, inspect that place together and discuss whether the corridor is still visible. A fresh larger attempt can be easier than repeated erasing.
2. Give Shell Spiral Routes a corridor conversation
Make a spacious spiral and a cramped one on separate cards. Ask which has easier-to-see gaps between turns. Shell Spiral Routes corridor talk uses the child's eyes to compare available space, rather than asking for a technical measurement or an equally spaced perfect coil.
The learner can point to one crowded region and design a more open version beside it. Describe the change they chose. The activity supports a decision about spacing without declaring the whole earlier drawing wrong.
3. Shell Spiral Routes runs a reverse-turn exchange
One partner draws a loose curved spiral in one direction; the other inspects the second source model before trying the opposite direction on a new card. Shell Spiral Routes exchanges keep the start central while changing the turning plan.
Point along each model first, and avoid relying only on directional terminology the child may not know. The adult can read Turn the other way while the visible route explains what that means here.
4. Build a Shell Spiral Routes corner map
Use a broad marker to create an expanding square spiral on large paper. The child points to a straight section and the next corner, then describes how the route grows. Shell Spiral Routes corner maps connect the third source row with a separate planning conversation.
Compare it with a curved spiral afterward. Both grow outward, yet the hand changes direction differently. Let the learner explain that difference through gestures if a long spoken account would distract from the visible idea.
5. Send Shell Spiral Routes a central-start invitation
The child designs a route card for a pretend museum visitor and dictates START beside its centre. A receiver follows the line outward, checking that the beginning is easy to locate. Shell Spiral Routes invitations give the start marker a communication job.
The receiver may ask for clarification if the mark is crowded. The designer can point or make a new version. Drawing becomes something a partner reads, not simply a shape the adult grades after completion.
6. Make Shell Spiral Routes a cord exhibit
Under adult supervision, arrange a cord in one open spiral on a tray. Put ROUND AND ROUND nearby and START at the centre. Shell Spiral Routes exhibits let a child inspect the route without requiring a pencil grip or small controlled turns.
Sketch the arrangement beside the tray if the learner wants. Keep the cord as a table demonstration and do not draw directly over loose material. End by locating its separate beginning and outside endpoint.
Shell Spiral Routes reverses a familiar movement
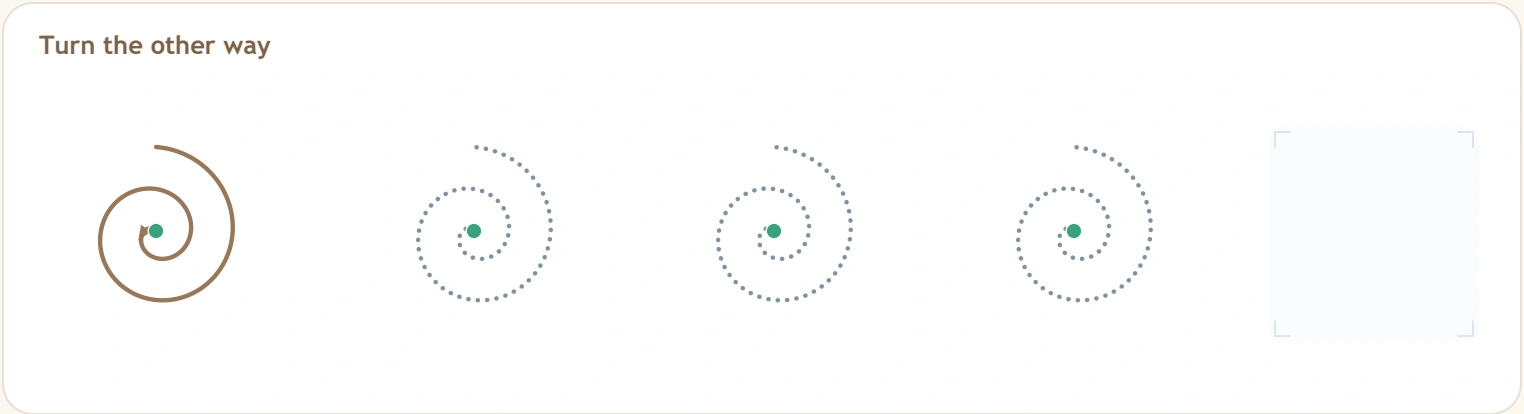
Turn the other way keeps the central beginning but changes the curved direction. A child who automatically repeats the first model may have remembered the growing spiral idea while overlooking this new orientation. Ask them to follow the second Shell Spiral Routes solid line before another attempt.
Shell Spiral Routes feedback can recognise both parts: “You kept the route open; now let's inspect this other turn.” The comment preserves what worked while making the next choice specific. Avoid correcting size, smoothness and direction simultaneously.
Seven Shell Spiral Routes learning opportunities
- Start awareness: identify the central beginning before choosing a movement.
- Outward growth: notice that the route moves away from its centre.
- Spacing: keep neighbouring turns visually distinct.
- Direction comparison: inspect two different curved turning plans.
- Corner planning: distinguish a square spiral from a smooth one.
- Hand coordination: steer the drawing tool while stabilising the sheet.
- Explanation: use centre, outside, turn, gap and corner for visible features.
Shell Spiral Routes brings cognitive comparison, spatial vocabulary and motor work together. These are opportunities for supported exploration, not a promise that one page produces handwriting readiness. A child can understand outward growth before managing compact, evenly separated turns.
A Shell Spiral Routes visit at the kitchen table
Place the worksheet upright and offer a familiar drawing tool. Read one label, find its green central dot and follow the solid example with a finger. Invite a dotted attempt only after the learner has had time to inspect the growing route.
For Shell Spiral Routes copying, keep the model visible and choose one feature to retain. A TRY window can hold a brief independent version, or the child can use larger separate paper. Check the route together without demanding that all nine dotted outlines be completed during one sitting.
Shell Spiral Routes can grow through square corners
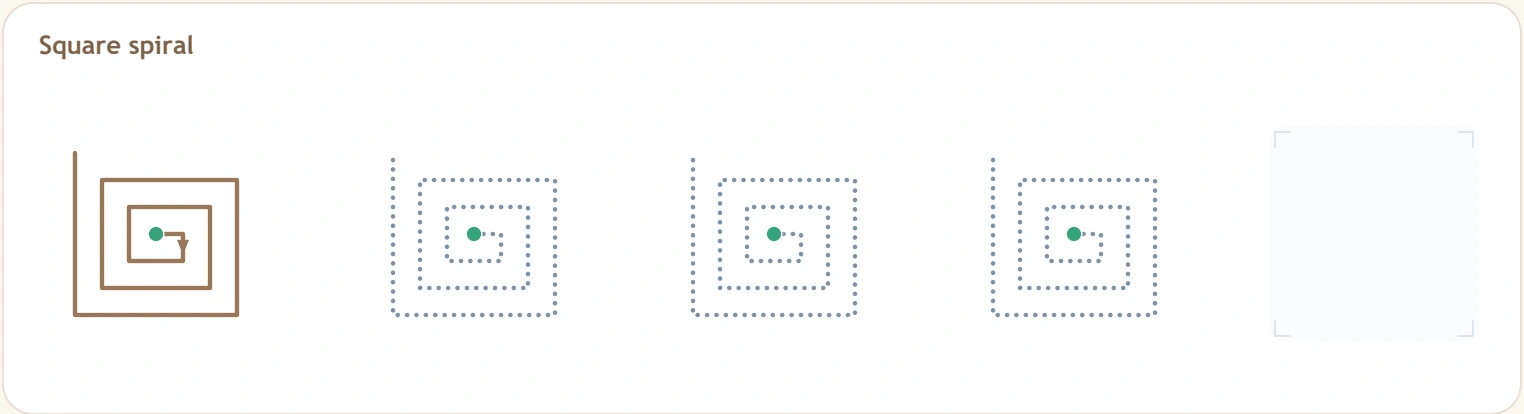
The last row uses straight segments and corners to expand outward. Do not round every bend into the earlier curved movement. Look ahead to the next segment and give the hand time to change direction deliberately.
Shell Spiral Routes square turns offer a fresh challenge because the overall growing idea stays familiar while the local movement changes. A learner may need a larger independent card to express that distinction clearly. Adjust the space before assuming the child did not understand the model.
Shell Spiral Routes in a classroom museum
A teacher invites a small group to make route exhibits for a pretend shell museum. Each child chooses a curved direction or a square route, draws on an individual card and dictates a label. Partners locate the centre and follow outward with a finger.
Shell Spiral Routes classroom observation can record a chosen gap, an open endpoint or an explained corner. Offer label reading and gestural answers as needed. Give each designer room to work without comparing their spirals by speed, amount finished or decorative neatness.
Keep Shell Spiral Routes comfortable enough to revisit
Children in preschool and beginning kindergarten, often aged three to six, can explore the sheet with adult support matched to their current drawing experience. A large finger route is a useful starting option. The labels need not be read independently by the child.
Shell Spiral Routes common difficulties include starting outside, closing into a ring, crossing neighbouring turns or carrying the first direction into the reversed model. Inspect one issue, then offer a manageable attempt. Save a clear observation instead of chasing a flawless coil.
Return to Shell Spiral Routes through a new museum card or a cord exhibit when interest allows. Pause for tired hands or frustration. The complete clean printable contains no watermark, domain branding or embedded ads. To obtain it, sign in, confirm premium access through an eligible active membership and select the member PDF rather than the original sample. Open the saved US Letter page and check that printer scaling preserves the outer border and all TRY windows.
For later symbol work, explore letter-Q outline and tail, letter-O closed outlines or letter-G curves, observing their separate formation rules. Adults can find wider contexts in NAEYC's everyday writing guidance and PBS Parents' literacy resources for four-year-olds.
Popular Worksheets
Printable resources families and teachers are downloading now.
 Free
 Free
 Free
 Free