
Button Grid Designs: 6 Delightful Junction Studies
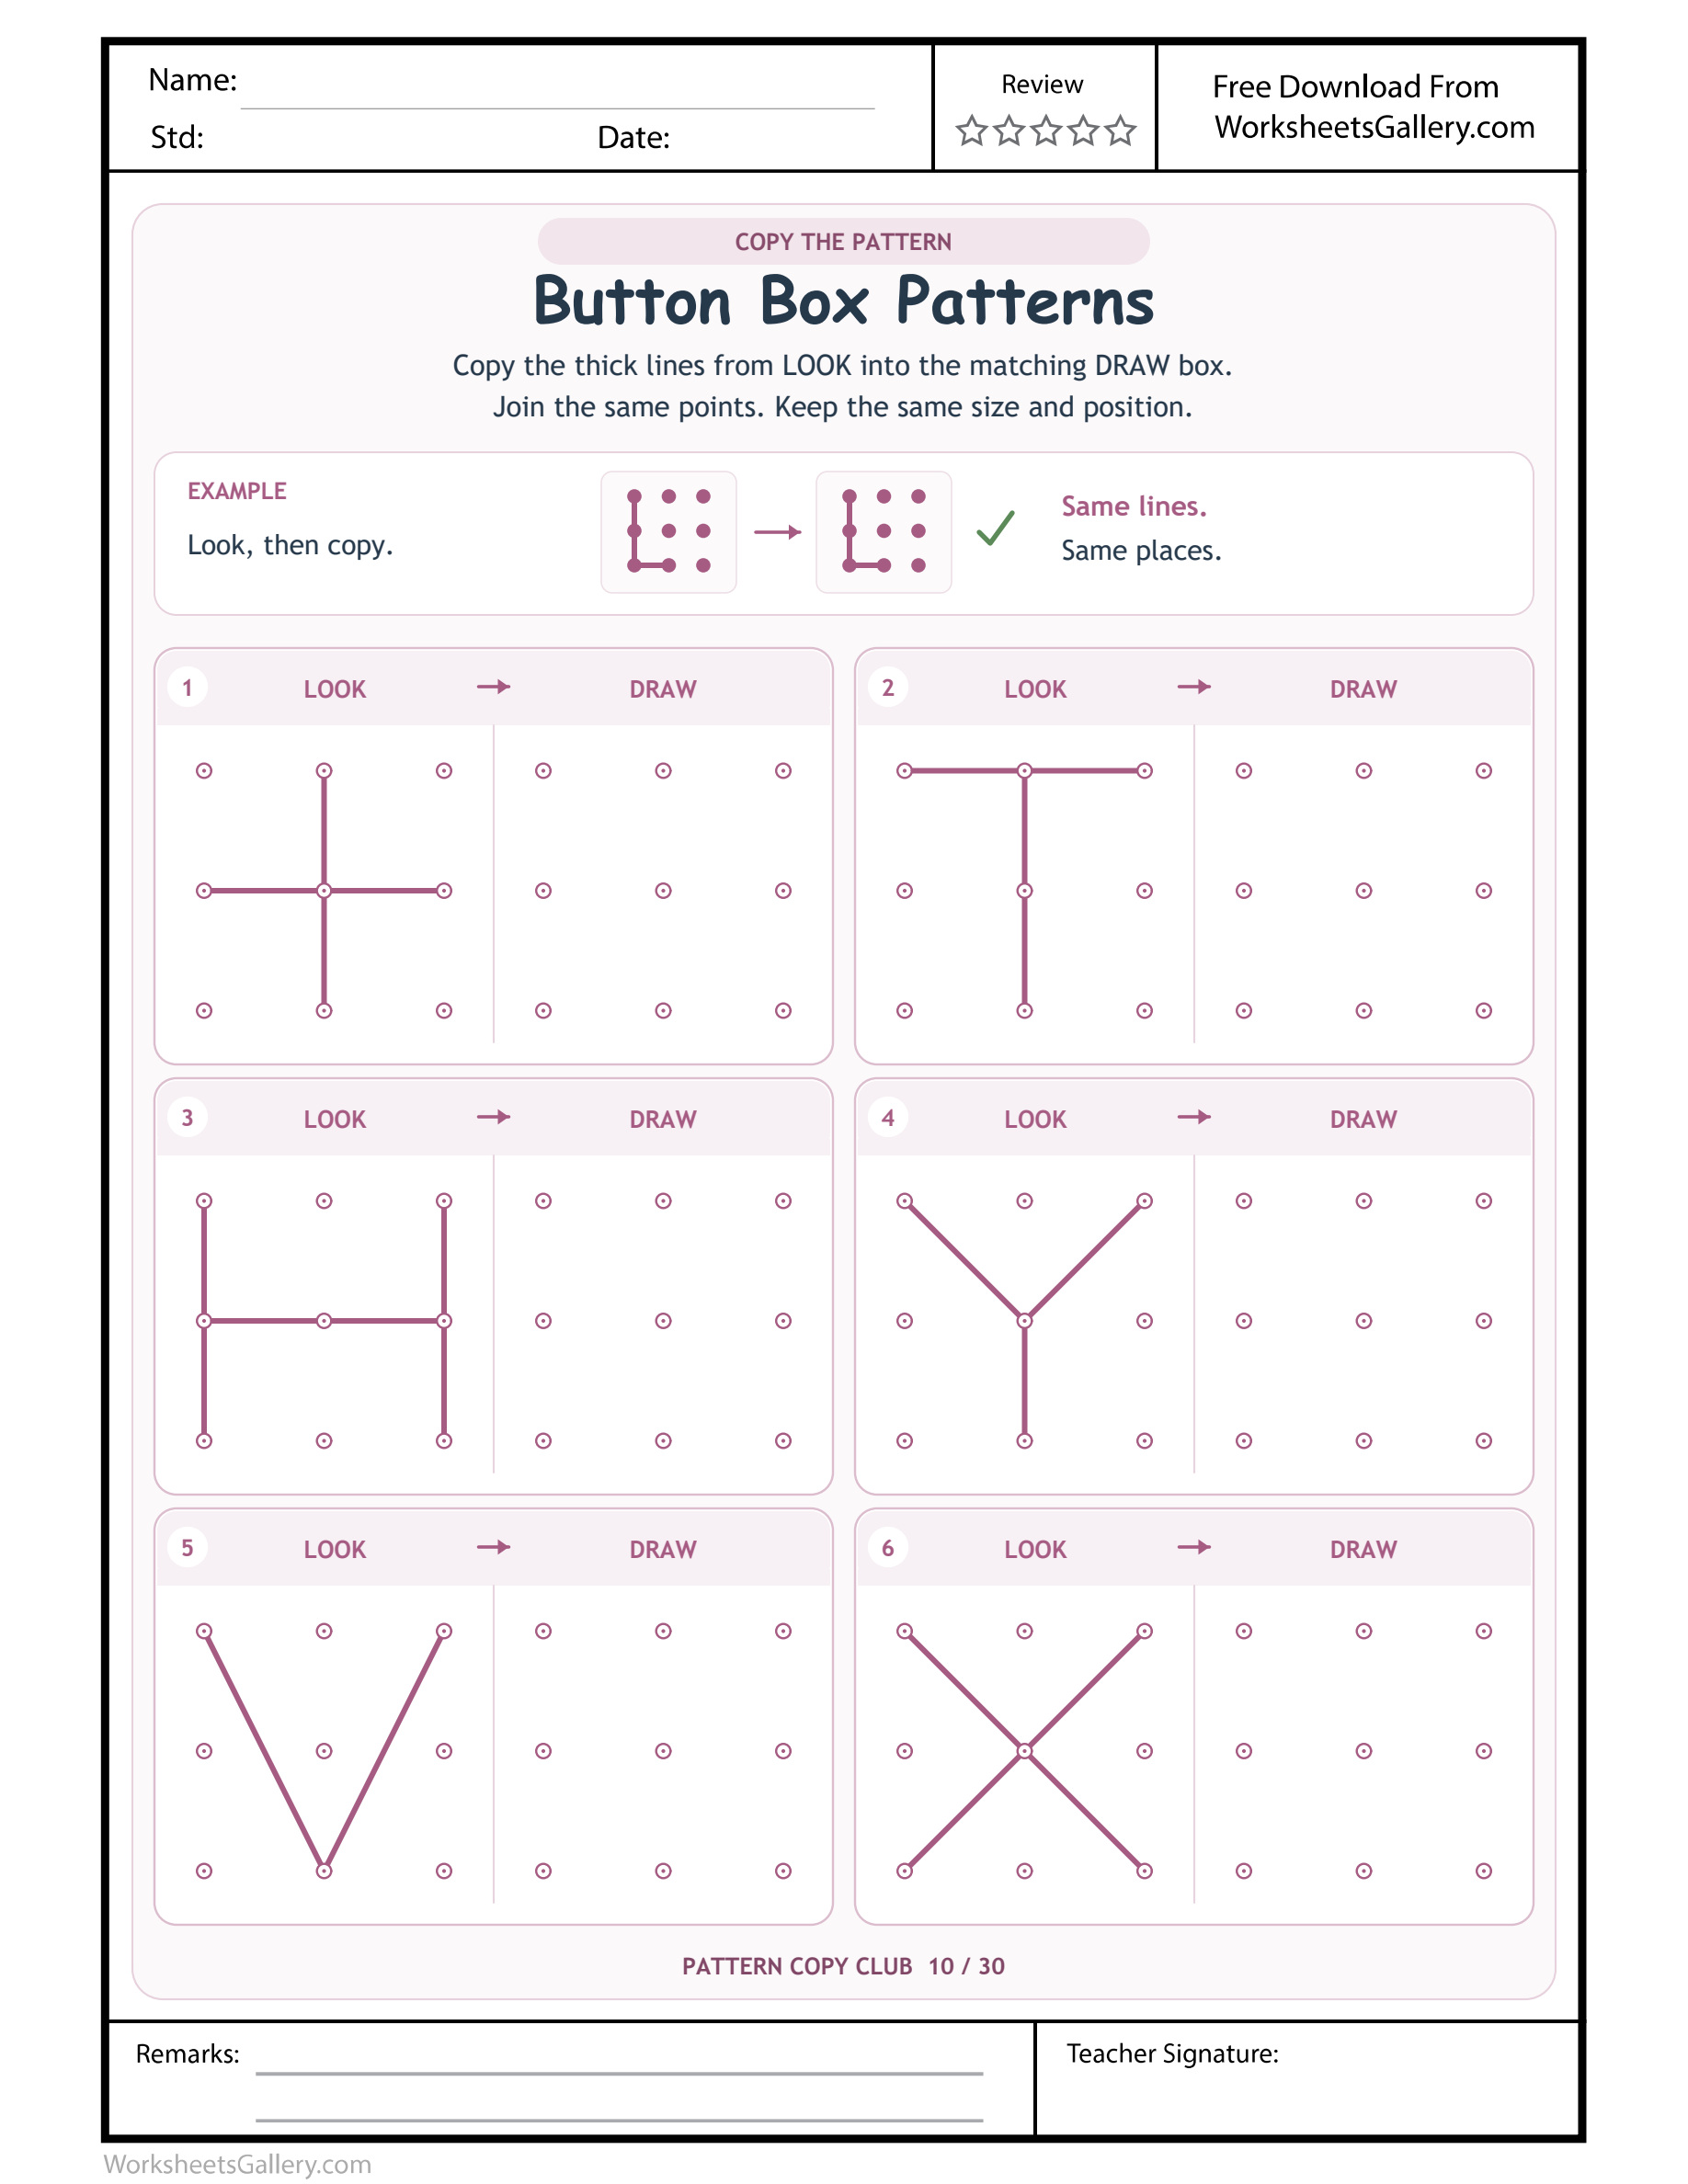
Button Grid Designs: Choose the centre and outer anchors of plus, T, H, Y, V and X models.
Centre points do useful work in even the simplest-looking designs. Button Grid Designs brings together a plus, T, H, Y, V and X on six pink nine-point fields. Children inspect each LOOK arrangement and draw its matching lines in the adjacent field, comparing arms, uprights, slants and shared joins. The Button Box Patterns source starts with a completed example, so the copying relationship is visible before independent work begins. This printable suits a short prewriting session in which familiar-looking forms become a reason to check exact positions rather than draw from habit.
Six forms that make different use of the middle — Button Grid Designs
The plus model in Button Grid Designs reaches outward along the middle row and column. The T places its horizontal bar high, while the H joins two outside uprights. Those familiar shapes can invite quick recognition, but the point field still matters: the copy needs the printed span and location.
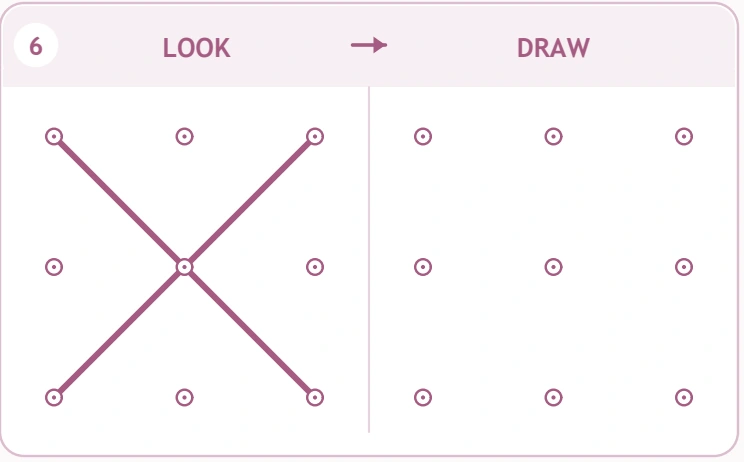
The Y and X share a central join in different ways, and the V reaches a low centre point. Ask how the middle is used in each Button Grid Designs pattern. The page is a drawing-copy activity rather than a lesson in reading letters, calculating with a plus sign or writing these forms in a prescribed handwriting order.
Read the button board before moving the pencil: Button Grid Designs
| Button Grid Designs pair | Visible Button Box Patterns model | Model structure |
|---|---|---|
| 1 | Plus sign reaching four sides | Button Box Patterns: 4 selected segments / 9 markers |
| 2 | T attached to the top row | Button Box Patterns: 4 selected segments / 9 markers |
| 3 | H connecting both uprights | Button Box Patterns: 6 selected segments / 9 markers |
| 4 | Y meeting at the centre | Button Box Patterns: 3 selected segments / 9 markers |
| 5 | Wide v ending at the bottom centre | Button Box Patterns: 2 selected segments / 9 markers |
| 6 | X through the central point | Button Box Patterns: 4 selected segments / 9 markers |
The table's Button Grid Designs segment totals describe the small point-to-point pieces printed in LOOK. A continuous straight bar can include two such pieces through a middle marker. Children do not have to lift the pencil at every dot. Their goal is a corresponding line arrangement, with intentional gaps and unused markers left as the model shows.
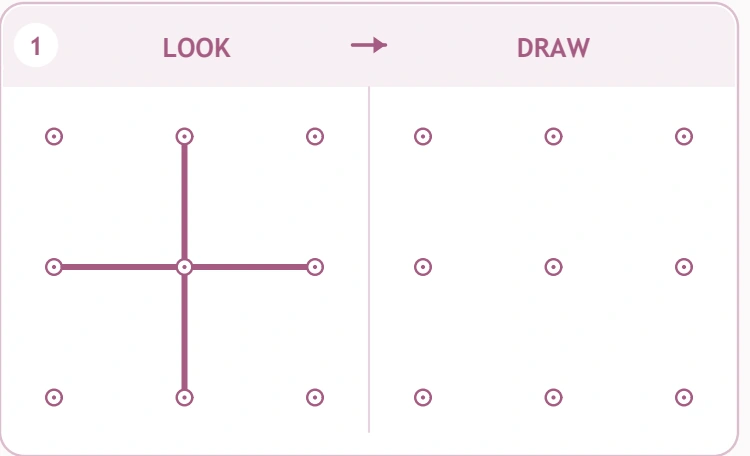
What happens when the centre is misplaced?: Button Grid Designs
On Button Grid Designs, moving a junction can change several arms at once. A plus with an off-centre meeting point may still look like a plus, but its spans no longer agree with the model. Compare the centre first, then inspect each arm's endpoint. This isolates a useful decision instead of treating the whole drawing as wrong.
For the V, the important landing is the low centre rather than the field's middle. For the T, a long horizontal bar stays at the top. A familiar name is an invitation to look again. Let the child point to the printed evidence before deciding whether a line needs to move.
A five-step board inspection: Button Grid Designs
First, read LOOK and DRAW aloud while showing their paired fields. Second, inspect the little L example and notice that its position is preserved. Third, choose one Button Grid Designs practice model and identify its most useful landmark. Fourth, copy a small connected part after locating both endpoints. Finally, compare that part before adding another.
The child can choose a sensible starting point and lift the pencil between separate components. Keep the model available for repeated glances. Button Grid Designs does not ask for a memory performance, and a quick adult drawing over the answer field would hide which locations the child could identify independently.
Who is ready for a shared-junction task?
Offer Button Grid Designs to interested learners in preschool or the first school years, roughly ages four to seven, with the amount adjusted to pencil comfort. Some children may readily identify a Y shape but need help drawing two slants into the same point. Others can draw the lines while needing position words modelled orally.
Try a single plus or V before deciding on more. Broad strip shapes or large chalk marks can introduce the relationships away from the small page. A learner who finds the printed points difficult today can revisit Button Grid Designs later without losing the opportunity to enjoy hands-on shape play in the meantime.
Six useful skills at the button board: Button Grid Designs
- Shared-point awareness. Several arms can belong to one junction, and each needs the same destination.
- Position comparison. A high bar and a middle bar have different jobs even when their lengths match.
- Span control. The learner checks how far each arm extends instead of assuming all arms use one gap.
- Movement switching. Uprights, horizontals and diagonals ask the hand to follow different planned courses.
- Pattern discrimination. T, H and plus forms can be distinguished through the arrangement of otherwise simple straight lines.
- Clear verbal reasoning. Naming a bar, arm or lower join gives a child a precise way to explain an intended copy.
These Button Grid Designs practices combine thinking, movement and language without requiring a written answer about the shape names. An adult can accept a gesture and then supply a word. Keep the feedback specific to a visible connection rather than making broad claims about a child's future handwriting ability.
Jia's pretend sewing tray at home
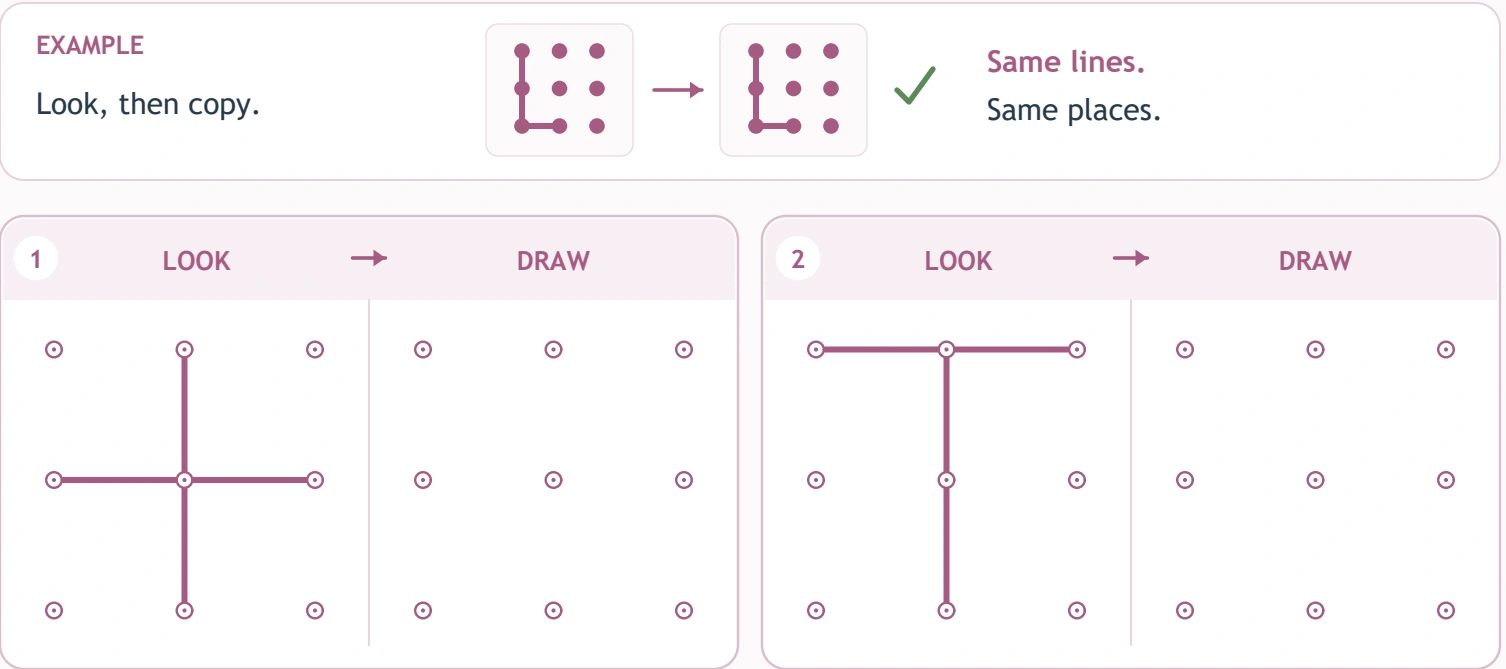
Imagine Jia arranging large felt strips on a tray. An adult makes a plus and offers Button Grid Designs's corresponding model. Jia draws the horizontal line correctly but places the upright beside the centre instead of through it. They compare where the felt strips overlap and locate the paper model's matching join.
This hypothetical example supplies one possible useful conversation. The adult does not need to take the pencil or insist on the remaining five designs. Once Jia has inspected that central meeting place, the felt pieces can become an original pattern. Button Grid Designs and free construction can share a table while serving different purposes.
A classroom station for arm-and-bar descriptions: Button Grid Designs
In a possible classroom use of Button Grid Designs, a teacher asks each child to select one model and describe its long bar. Some point to an upright, while another identifies the top of the T. The teacher can add the words horizontal and vertical when they help the child explain the choice.
Children then copy on personal sheets. A partner may point to a source feature, but each learner chooses their own destination in DRAW. The adult notes whether a child compares the middle before adding arms. Finishing the whole Button Grid Designs page is less important than observing how that particular spatial decision is made.
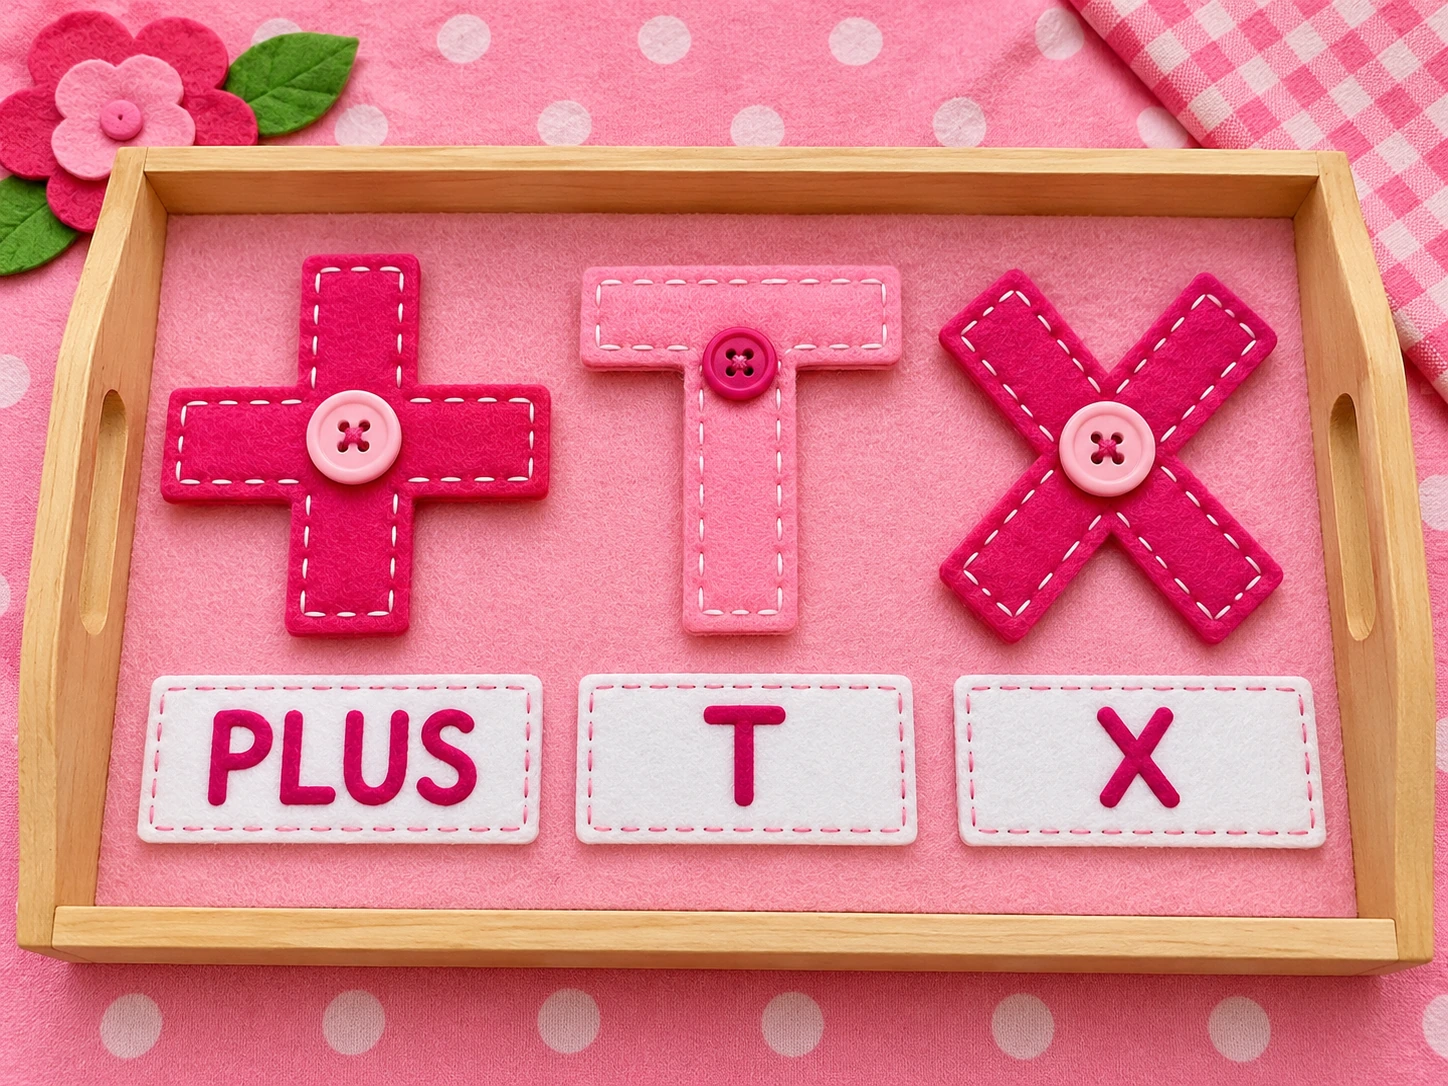
Five button-board games without tiny drawing: Button Grid Designs
Assemble a giant plus: Button Grid Designs
Cross two broad paper strips at their middles. Slide one strip slightly and discuss the changed arm lengths. Put it back beside a matching physical model. This larger construction makes a central Button Grid Designs relationship easier to inspect without extra pencil repetitions.
Run a top-bar repair shop
Build a T with its bar placed too low beside a correct reference. Let the child explain which piece needs moving. Then exchange roles. The repair game keeps the attention on position rather than whether the child can name the letter independently.
Make an arm-length gallery: Button Grid Designs
Create several plus-like shapes with different arm spans. Choose one and ask a partner to copy it with strips. Compare the spaces between endpoints. Return to Button Grid Designs with a concrete reason to notice how far a line travels.
Tell the meeting-point story: Button Grid Designs
Use three ribbons as paths leading to one large central disc. A toy character waits at the shared point while the child narrates which path arrives next. Keep the story short and treat it as an extension, not a numbered route hidden in the worksheet.
Invent a family of marks
After one exact Button Grid Designs copy, let the child combine strips into an original symbol and give it a name. Sketch the invention elsewhere if wanted. Discuss which part was copied from a model and which part the child designed freely.
Frequent mix-ups in otherwise recognisable forms: Button Grid Designs
Children may draw from memory and shift a Button Grid Designs bar by a row, use the middle point where the V needs the bottom point, or omit one arm from the X. Compare the distinctive feature first. “Where does this arm end?” gives a clearer task than asking for the whole shape to look better.
Avoid imposing a single-stroke handwriting rule on these copying models. Some contain separate parts, and lifting the pencil can be practical. Keep the correct join even when you restart a stroke. A line can be redrawn on spare paper if repeated erasing has made the small answer field difficult to read.
Let a return visit have one purpose: Button Grid Designs
The recognisable forms can make Button Grid Designs inviting because a child can explain what they see quickly. Use that interest to select a particular challenge: a T's high bar today, or a V's low meeting point next time. Give the learner a choice and a clear stopping place.
“Those arms arrived at the same point” acknowledges a useful decision. Save a dated copy only when the child is comfortable revisiting it, and keep sessions short enough to finish willingly. Regular Button Grid Designs use can alternate with strip construction, chalk marks and free drawing rather than becoming an obligation to complete six boxes every day.
Print the board with its markers intact
Choose the free download for the supplied Button Box Patterns sample. The clean Button Grid Designs premium PDF is available through the member variant when your signed-in account has eligible active membership access. Its printable page removes website watermarks, domain branding and promotional ads while preserving every model and marker.
For the full series, the native package card links to the thirty-sheet collection sold separately for $3. Save the PDF authorised by your account, then check the printer preview using US Letter paper and Actual Size or 100% scaling. Keep Button Grid Designs's full portrait layout so the small joins remain easy to compare across the paired fields.
Look for another spatial challenge: Button Grid Designs
Compare Button Grid Designs with Path Copy Thinking. After Button Box Patterns, try Drawing Size Choices. For Button Box Patterns, consider Shape Border Journeys.
To extend Button Grid Designs with practical play, adults can browse the family play resources published by NAEYC. For further everyday learning invitations, see PBS Parents' Learn and Grow collection. Both are independent educational resources; their pages are optional reading rather than included components of this worksheet.
Popular Worksheets
Printable resources families and teachers are downloading now.
 Free
 Free
 Free
 Free