
Kite Grid Pictures: 3 Delightful Tail Challenges
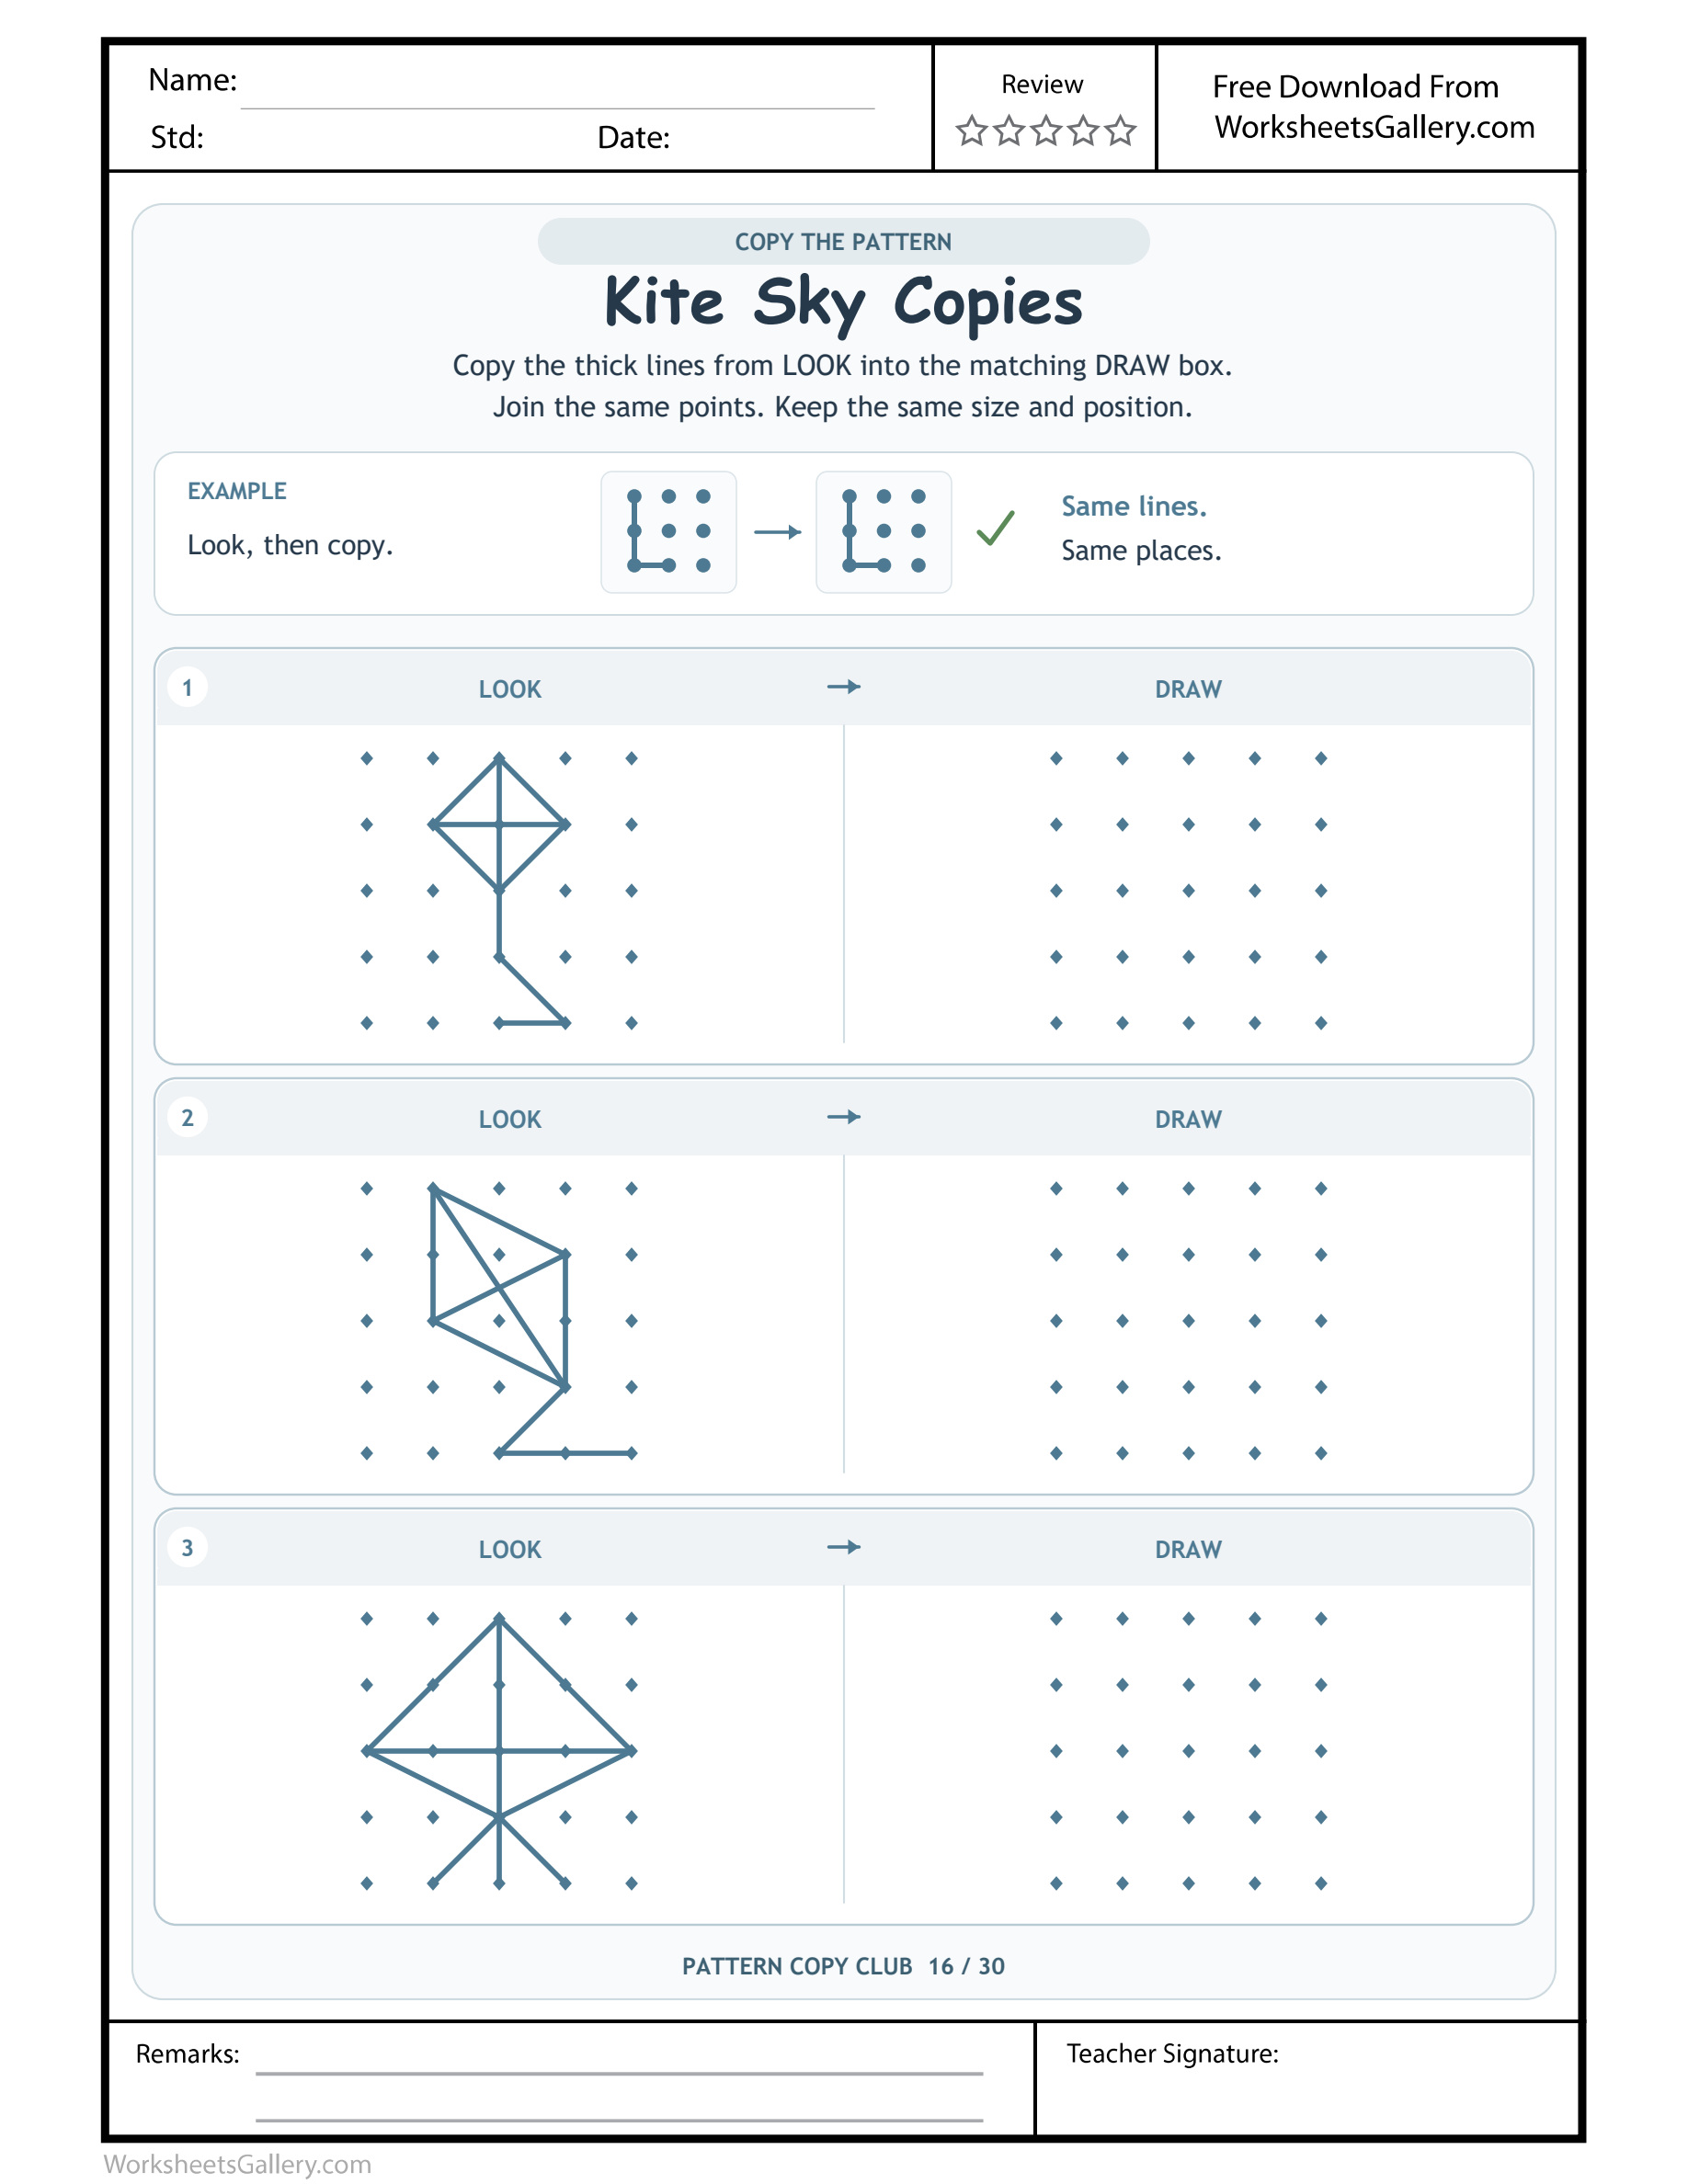
Kite Grid Pictures: Keep kite spars, outline and tail as separate visual parts on a five-by-five field.
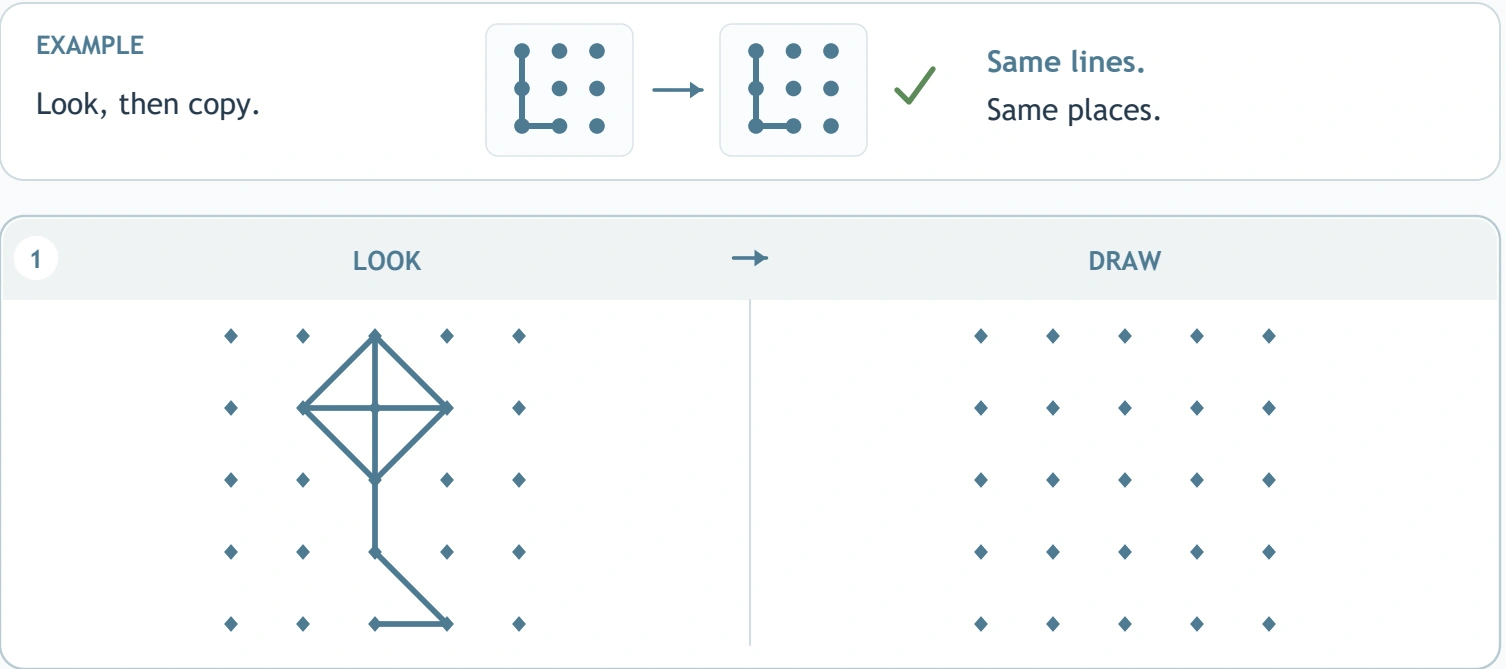
Kites carry more than an outside diamond. Kite Grid Pictures invites children to separate an outline, crossing spars and an angular tail before copying three blue models onto matching twenty-five-point fields. The Kite Sky Copies source begins with a completed example, then offers upright, slanted and wider designs. This printable gives a learner a reason to inspect picture parts carefully instead of drawing a remembered kite symbol. A short, supported session can focus on one spar or one tail bend, keeping the model's location and proportions visible while the pencil learns to follow a plan.
Give each kite part its own job — Kite Grid Pictures
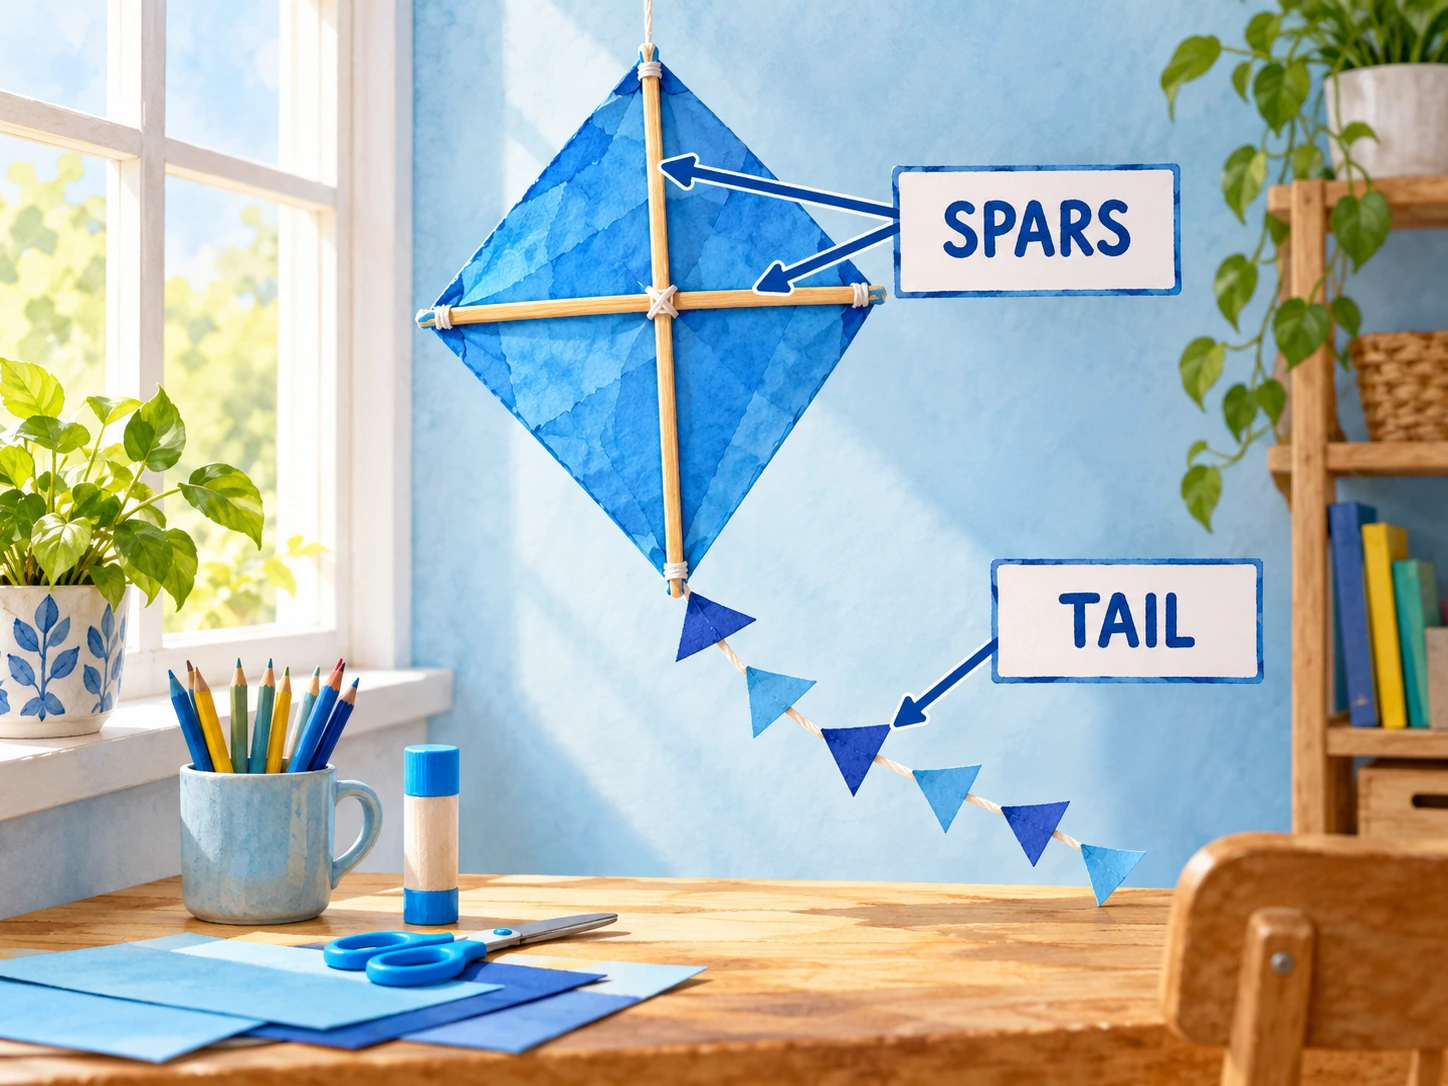
The outline defines the kite's outside shape. The spars cross inside it, and the tail continues beyond the body. In Kite Grid Pictures, those parts can meet or overlap without becoming interchangeable. An adult can point to one part at a time and help the child decide where it belongs in DRAW.
The source does not ask for a realistic airborne kite, a coloured sky or decorative bows. Copy the lines the model actually supplies. A child may add an invented kite picture on another sheet afterward. Keeping that creative activity separate helps Kite Grid Pictures stay clear about which endpoints and tail bends need to match.
Three models, twenty-five possible anchors each
| Kite Grid Pictures pair | Visible Kite Sky Copies model | Model structure |
|---|---|---|
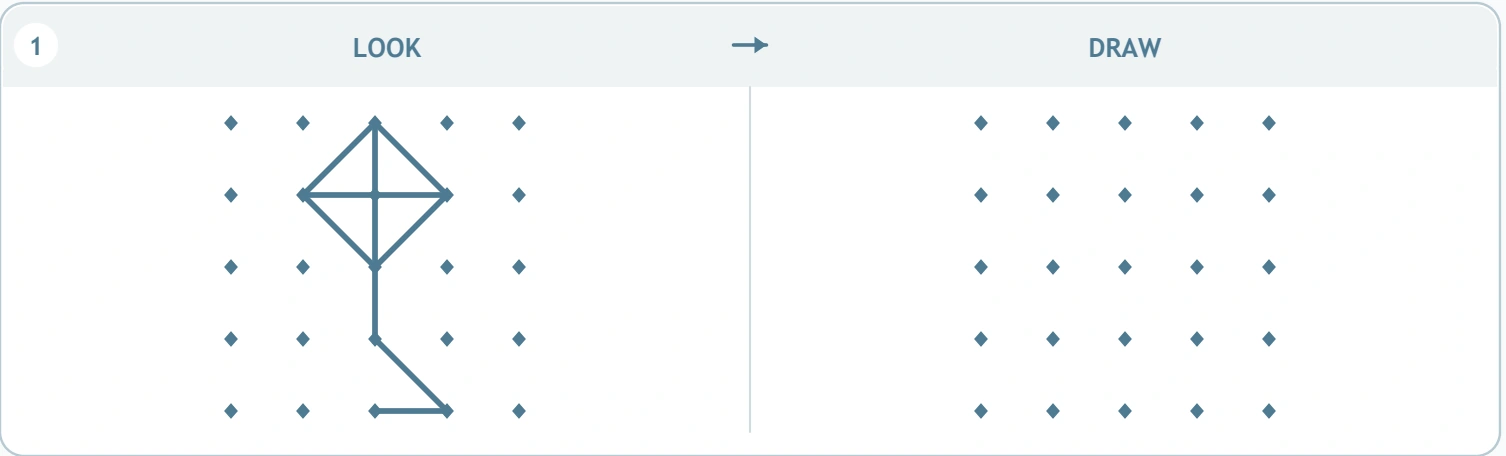
| 1 | Upright diamond kite with crossbar and tail | 25 anchors / 11 bold pieces in Kite Sky Copies |
| 2 | Slanted kite with crossing spars and bent tail | 25 anchors / 11 bold pieces in Kite Sky Copies |
| 3 | Wide kite above a crossed angular tail | 25 anchors / 16 bold pieces in Kite Sky Copies |
The five-by-five field in Kite Grid Pictures offers many possible landing places. Some markers remain unused. The printed bold segment totals include straight pieces separated by intermediate anchors; they do not prescribe a particular pencil rhythm. A learner can pause at useful landmarks and return to LOOK whenever another part needs checking.
Inspect the body before following the tail: Kite Grid Pictures
Start Kite Grid Pictures by locating the highest and lowest points of the kite body. Compare its left and right corners, then find those positions in the neighbouring field. Copy a short outside section and inspect whether its span agrees with the model before completing more of the outline.
Next, compare the internal spars. A crossing can occur where a printed anchor sits, or it may simply be the overlap of two lines. Finally, inspect the tail as its own angular part. This body-spars-tail plan divides the picture into useful groups without imposing a compulsory stroke order or asking the child to draw the whole model from memory.
Keep the slanted kite slanted: Kite Grid Pictures
The middle Kite Grid Pictures model does not face exactly like the first. A learner who remembers a standard upright diamond may rotate it mentally and produce a familiar kite that does not match the reference. Ask which corner is highest and where the tail begins before drawing.
The last design changes the body's width and includes a more involved lower arrangement. Return to its actual anchors rather than borrowing the previous kite's proportions. In Kite Grid Pictures, recognising the picture family can create interest, but the individual model still supplies the answer. A pleasant-looking invented kite is a different drawing task.
A comfortable age and amount: Kite Grid Pictures
Learners from approximately four through seven in preschool or early primary learning, may explore selected parts of Kite Grid Pictures with adult support. The twenty-five-point field can feel more demanding than a small corner grid. Notice whether the child can locate a chosen anchor without losing track among its neighbours.
Offer one part rather than all three pictures at once. A child might copy a body outline today and inspect its spars on another visit. Larger string-and-strip constructions can introduce the relationships first. Kite Grid Pictures is useful when the amount fits the learner's present attention and hand comfort, not when the page becomes a test of finishing despite fatigue.
Six things to notice as the kite takes shape: Kite Grid Pictures
- Part recognition. The learner separates body, spars and tail instead of treating the entire picture as one confusing tangle.
- Proportion comparison. A wide kite and a narrow kite require different spans across the same kind of field.
- Orientation preservation. The slanted design retains its printed direction rather than being turned into a standard upright symbol.
- Crossing attention. Internal lines keep their courses as they pass one another.
- Endpoint planning. The hand moves toward selected anchors among several nearby alternatives.
- Descriptive language. Words such as spar, tail, upper corner and wider give an adult and child precise things to discuss.
These Kite Grid Pictures observations concern practical copying decisions. They do not promise a set rate of improvement or require the learner to master formal geometric vocabulary. An accurate pointing explanation can be worth acknowledging before the child attempts a difficult short slant.
Pia's paper-kite afternoon, imagined: Kite Grid Pictures
Imagine Pia looking at a paper kite hanging by a window. An adult offers Kite Grid Pictures and asks which lines support the body and which belong to the tail. Pia copies the first outline but begins extending an internal spar as though it were another tail.
This fictional home scene suggests a way to focus the conversation. They compare the spar's actual endpoint and then locate the separate tail start. Pia can decorate a homemade kite later. On Kite Grid Pictures, a small decision about where one line stops can provide a satisfying achievement without requiring all three designs to be completed that afternoon.
A classroom drawing lab with picture parts: Kite Grid Pictures
For an imagined class session, a teacher shows a large kite model and names its outline, spars and tail. Children point to the corresponding ideas on Kite Grid Pictures, then choose one printed kite to inspect. Each learner works on a separate sheet and can begin with a different manageable part.
The teacher watches whether a child returns to the model when moving from body to tail. A note about separating those components gives a useful next step. There is no need to rank the finished pictures by how decorative they look. Kite Grid Pictures's central question is whether the selected line relationships have been preserved.
Five kite-workshop extensions: Kite Grid Pictures
Build an outline with two removable spars
Arrange broad strips into a diamond and add two inside strips. A partner copies the construction with another set. Remove one spar and compare the changed model. This physical task makes a part distinction from Kite Grid Pictures available at a larger scale.
Tell a tail's short journey
Make an angular tail from cord and place a toy at its beginning. The child narrates each bend and the final stopping place. Keep the invented journey on the mat rather than presenting it as a numbered code hidden in the worksheet.
Compare a wide kite and a tall kite: Kite Grid Pictures
Create two paper outlines with different proportions. Discuss which stretches farther sideways and which reaches higher. An adult can sketch both on spare paper while the child points out the difference, then relate the idea to Kite Grid Pictures's varied models.
Open a slant inspection desk
Place one upright and one slanted kite cutout on a board. Ask a partner to describe their highest corners and tail positions. Recreate a chosen arrangement using another pair of cutouts. The game supports orientation without asking for more small pencil work.
Design a freely decorated flyer: Kite Grid Pictures
After exact copying, invent a new kite picture elsewhere and give it a completed name label. Bows, colours and scenery are welcome in that creative turn. Explicitly separating invention from Kite Grid Pictures allows children to enjoy both accuracy and imagination.
Untangle the most common kite mix-ups: Kite Grid Pictures
A child may add bows absent from the model, draw every kite upright, merge a spar with the tail, or choose an adjacent anchor that changes the body's width. Compare the component involved before commenting on the whole picture. A specific question about one endpoint is easier to act on than “make the kite look right.”
Keep the tail's bends separate from the body's corners. If several pencil attempts overlap, use a larger spare-paper demonstration to discuss the intended course. The learner can explain a repair or revisit a clean Kite Grid Pictures field later. Repeated dark tracing over a mistake may obscure the model comparison rather than clarify it.
Return for a small piece of the sky: Kite Grid Pictures
The kite theme can make Kite Grid Pictures feel like picture-making rather than a page of unrelated lines. Let the child describe what they imagine while preserving the supplied geometry in the copy. Their spoken story does not need to be limited to the printed activity, even when the drawn answer does.
For regular practice, choose a narrow goal: inspect a crossbar, preserve a slant or stop at the final tail point. “You found where the tail begins” recognises a useful observation. Alternate Kite Grid Pictures with construction and free drawing, ending each invitation while the learner still has comfortable energy.
A gentle final comparison
Ask the child to show one feature they think matches well. Compare it with the reference, then choose one nearby detail for another look. This starts review with an understood relationship and makes any correction a nearby question to explore together.
If the child prefers a different kite shape, acknowledge the idea and offer separate paper for it. In Kite Grid Pictures, the printed model remains the agreed reference. A learner can decide whether to attempt a repair now or explain the difference and return later, keeping exact copying purposeful without making invention unwelcome.
Download the printable kite models
The free sample control offers the uploaded Kite Sky Copies original. For the clean Kite Grid Pictures premium file, request the separate member PDF from an account with eligible active membership. The clean file omits website promotion, watermark and domain text while preserving the twenty-five-point fields and every kite line.
The native package card links to the full thirty-sheet collection, available as its own $3 product. Download the edition your access allows and check a US Letter preview before printing. Use Actual Size or set scaling to 100%, retaining the complete portrait page. Kite Grid Pictures's original spacing makes its internal crossings and tail endpoints easier to inspect.
Continue looking at picture structure: Kite Grid Pictures
Compare Kite Grid Pictures with Path Copy Thinking. After Kite Sky Copies, try Drawing Size Choices. For Kite Sky Copies, consider Shape Border Journeys.
For wider play suggestions around Kite Grid Pictures, see NAEYC's guidance on play for families. Adults can also visit PBS Parents Learn and Grow learning ideas for everyday activity inspiration. These external education resources are optional reading, separate from the downloadable worksheet and collection.
Popular Worksheets
Printable resources families and teachers are downloading now.
 Free
 Free
 Free
 Free