
Toybox Route Cards: 5 Amazing Playroom Destinations
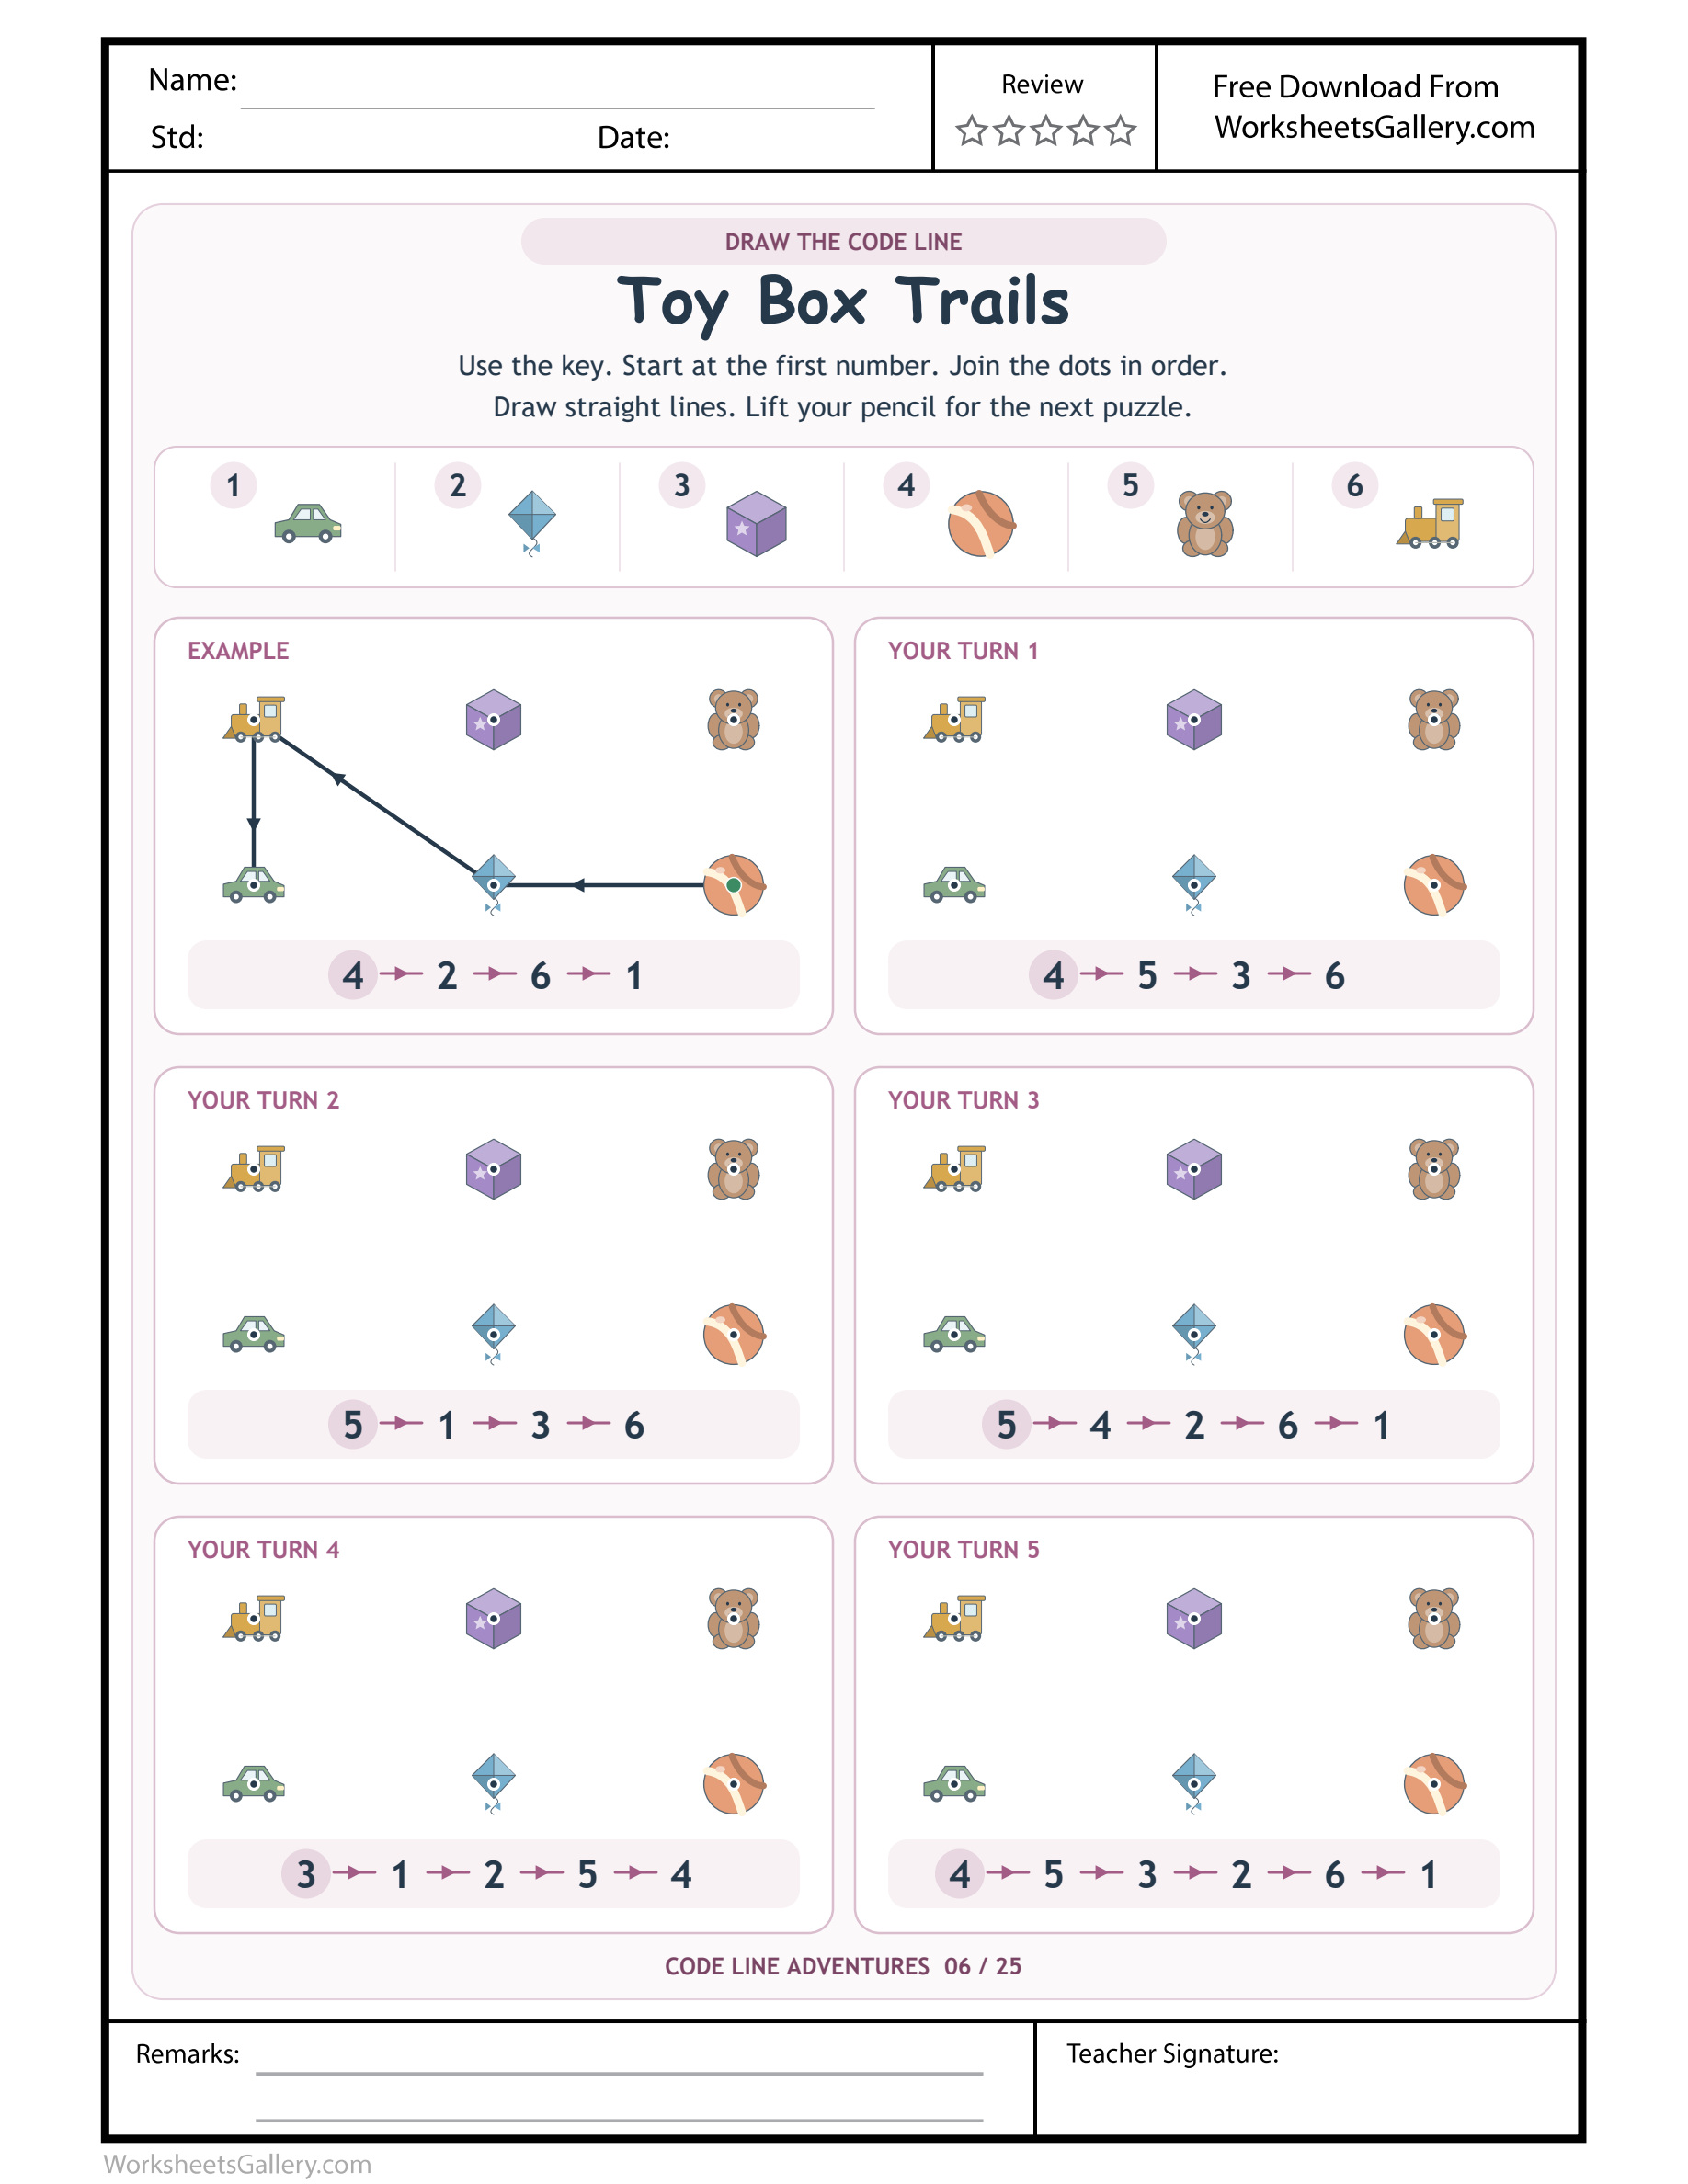
Move from the playroom to the full collection for $3. Toy-panel resets are one part of the 25-page clean PDF, which also offers coloured circles, patterned geometry and named-object destination keys.
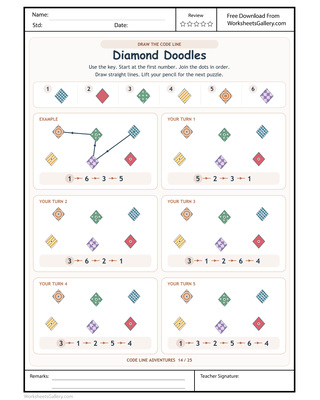
A toy train can finish one journey while a ball starts the next. Toybox Route Cards makes that fresh beginning visible through five separate drawing panels, each carrying its own number instruction. Children consult a six-picture legend, find the keyed toys and connect their centre dots in order. A completed example introduces the task, but its path is not an answer to copy into the remaining boxes. The useful habit here is resetting: lift the pencil, inspect the next code and choose a new starting point before another little playroom trip begins.
Give each playroom box its own beginning — Toybox Route Cards
The symbols in Toybox Route Cards are car, kite, block, ball, teddy and train. Although the pictures repeat, their requested order changes between panels. A child who keeps drawing from one box into another merges two independent instructions. Make a small pencil-lift gesture after a completed route to mark that boundary clearly.
Start Toybox Route Cards by pointing to a panel heading and reading its first numeral. Find that numeral in the top legend, then point to the toy inside the chosen box. The next puzzle does not inherit the previous endpoint. This is true even when the same toy happens to appear in both routes.
Toybox Route Cards legend at a glance
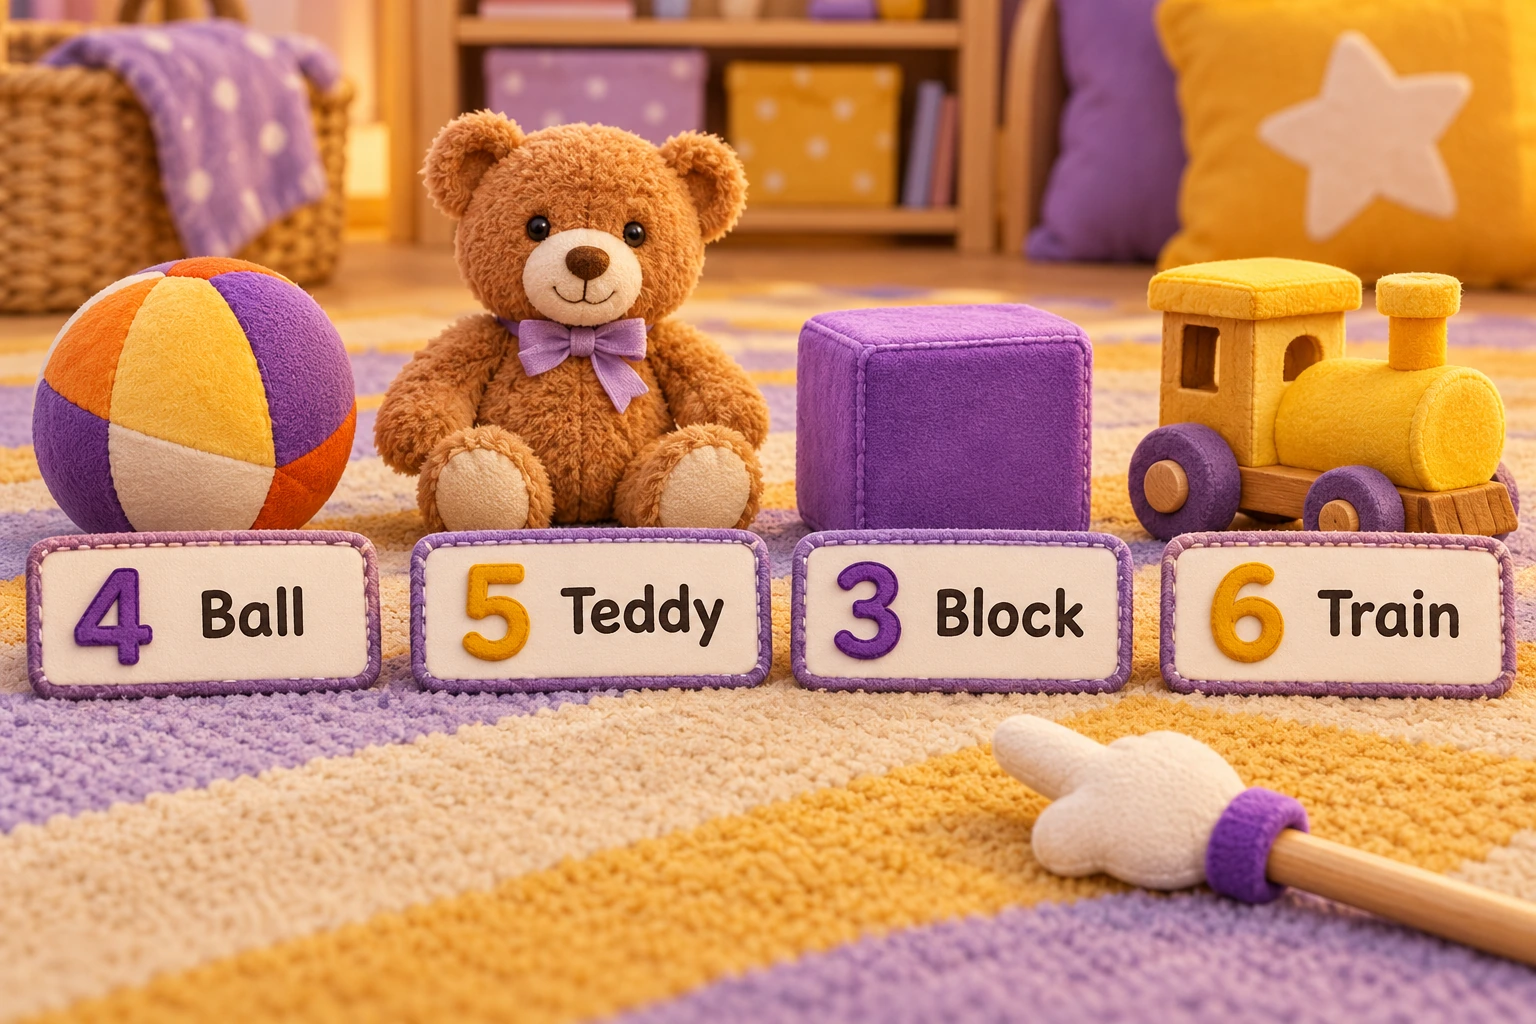
| Toy Box Trails numeral | Keyed picture |
|---|---|
| 1 | car |
| 2 | kite |
| 3 | block |
| 4 | ball |
| 5 | teddy |
| 6 | train |

Toybox Route Cards example before independent drawing
Toy Box Trails demonstrates 4 → 2 → 6 → 1. The Toy Box Trails itinerary is ball → kite → train → car. In Toy Box Trails, the green start selects ball. Toy Box Trails arrows lead to car. Toy Box Trails has 3 worked segments. The Toybox Route Cards example supports finger rehearsal. Inspect the Toy Box Trails practice strip separately.
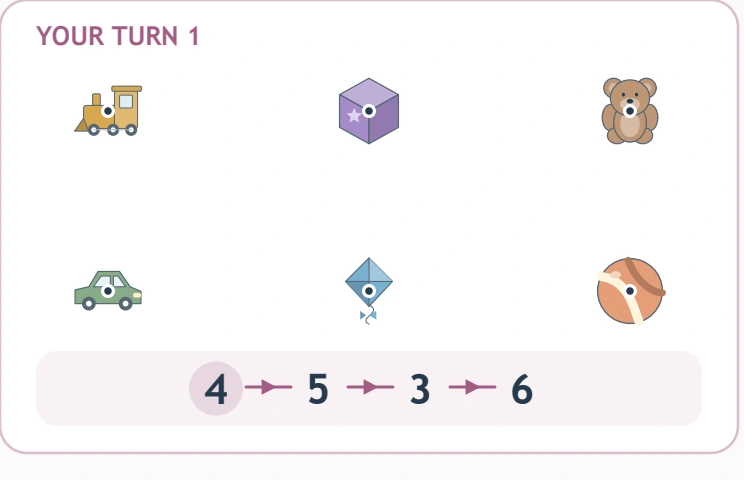
Toy Box Trails — practice 1
Practice 1 on Toy Box Trails: 4 → 5 → 3 → 6. Translate those Toybox Route Cards destinations as ball → teddy → block → train. Begin on ball for Toy Box Trails; next locate teddy. The Toy Box Trails centre-to-centre connections are ball to teddy; teddy to block; block to train. Segment count for Toybox Route Cards: 3, from 4 listed stops. The Toy Box Trails endpoint is train. Against the Toy Box Trails strip, verify final 6.
Toybox Route Cards leaves car, kite outside practice 1. Leave these Toy Box Trails alternatives unvisited. Practice 1 for Toy Box Trails requests 4 → 5 → 3 → 6.
Toy Box Trails — practice 2
Practice 2 on Toy Box Trails: 5 → 1 → 3 → 6. Translate those Toybox Route Cards destinations as teddy → car → block → train. Begin on teddy for Toy Box Trails; next locate car. The Toy Box Trails centre-to-centre connections are teddy to car; car to block; block to train. Segment count for Toybox Route Cards: 3, from 4 listed stops. The Toy Box Trails endpoint is train. Against the Toy Box Trails strip, verify final 6.
Toybox Route Cards leaves kite, ball outside practice 2. Leave these Toy Box Trails alternatives unvisited. Practice 2 for Toy Box Trails requests 5 → 1 → 3 → 6.
Toy Box Trails — practice 3
Practice 3 on Toy Box Trails: 5 → 4 → 2 → 6 → 1. Translate those Toybox Route Cards destinations as teddy → ball → kite → train → car. Begin on teddy for Toy Box Trails; next locate ball. The Toy Box Trails centre-to-centre connections are teddy to ball; ball to kite; kite to train; train to car. Segment count for Toybox Route Cards: 4, from 5 listed stops. The Toy Box Trails endpoint is car. Against the Toy Box Trails strip, verify final 1.
Toybox Route Cards leaves block outside practice 3. Leave these Toy Box Trails alternatives unvisited. Practice 3 for Toy Box Trails requests 5 → 4 → 2 → 6 → 1.
Toy Box Trails — practice 4
Practice 4 on Toy Box Trails: 3 → 1 → 2 → 5 → 4. Translate those Toybox Route Cards destinations as block → car → kite → teddy → ball. Begin on block for Toy Box Trails; next locate car. The Toy Box Trails centre-to-centre connections are block to car; car to kite; kite to teddy; teddy to ball. Segment count for Toybox Route Cards: 4, from 5 listed stops. The Toy Box Trails endpoint is ball. Against the Toy Box Trails strip, verify final 4.
Toybox Route Cards leaves train outside practice 4. Leave these Toy Box Trails alternatives unvisited. Practice 4 for Toy Box Trails requests 3 → 1 → 2 → 5 → 4.
Toy Box Trails — practice 5
Practice 5 on Toy Box Trails: 4 → 5 → 3 → 2 → 6 → 1. Translate those Toybox Route Cards destinations as ball → teddy → block → kite → train → car. Begin on ball for Toy Box Trails; next locate teddy. The Toy Box Trails centre-to-centre connections are ball to teddy; teddy to block; block to kite; kite to train; train to car. Segment count for Toybox Route Cards: 5, from 6 listed stops. The Toy Box Trails endpoint is car. Against the Toy Box Trails strip, verify final 1.
Toy Box Trails uses every Toybox Route Cards entry in practice 5 of Toy Box Trails: 4 → 5 → 3 → 2 → 6 → 1. First Toy Box Trails selection: ball; final selection: car.
Six forms of practice inside the toy box
Notice a boundary before acting
The separate fields in Toybox Route Cards provide clear stopping places. Lifting at the edge of a completed task can become a deliberate action rather than an interruption imposed by an adult. Ask the child to show where one puzzle ends before beginning another.
Reuse the legend, revise the itinerary
The Toybox Route Cards number-to-toy assignments stay available while the routes change. A child can practise applying a familiar lookup to a new sequence, checking the current strip instead of assuming the last route still applies. The reference stays steady; the decision changes.
Name a toy with a purpose
Saying “teddy, then block” during Toybox Route Cards communicates a useful instruction. A child can use a familiar toy name while the adult models the printed key's meaning. Long sentences are optional; clear pointing can support a brief spoken direction.
Control a line between known places
Each Toybox Route Cards centre is a target rather than a toy outline to trace. Find the next centre first, then move the pencil toward it. Notice a controlled stop and comfortable grip, even when a straight segment has a small wobble.
Track the present step
Five Toybox Route Cards panels need not be held in memory. Follow one strip at a time, using a finger under the numeral currently being interpreted. This makes place-keeping visible and helps distinguish forgetting a step from misunderstanding which toy the numeral represents.
Check a changed beginning independently
Before a new Toybox Route Cards route, ask whether its starting toy matches the one just used. Either answer is acceptable when supported by the new first numeral. The point is checking rather than automatically choosing a different toy or continuing from habit.
Set up for a comfortable reset
Children in the approximate four-to-seven range can use Toybox Route Cards with assistance matched to their numeral knowledge and pencil control. Read code entries aloud when needed. If drawing is tiring but lookup is clear, let the child direct a finger route or explain the next toy while an adult demonstrates a stroke.
Use a flat surface for Toybox Route Cards, with the upper key visible throughout. Begin with the worked example, then choose one practice panel. After completing it, set the pencil down briefly and point to the next strip. That physical pause can clarify the reset without adding rules or a demanding timed routine.
Finn's imagined toy-shelf pause
Imagine Finn working on Toybox Route Cards beside a toy shelf. He completes a route at train and carries his line toward the next box. His parent rests a finger near the new panel heading and asks where this instruction begins. Finn checks the strip, lifts the pencil and locates the new first toy.
The parent describes Finn's Toybox Route Cards correction as a fresh start, with no need to redraw the earlier successful route. They stop after that second beginning. Finn can choose another panel on a different day, keeping the toy theme enjoyable without requiring all five journeys in one sitting.
A classroom transition rehearsal, imagined
At a possible small-group station, a teacher uses Toybox Route Cards to talk about finishing one job before starting another. Each child completes a chosen panel and says its endpoint. Before moving on, they show the new code's first entry. The teacher watches the shift between tasks rather than who finishes first.
During Toybox Route Cards, some children need help reading the numeral; others need the reminder to lift. Providing those different supports preserves each child's part in the task. The teacher can record a simple observation about independent restarting rather than grading the whole page for neatness.
Four toy-room extensions
Give a toy two separate errands
After Toybox Route Cards, ask a toy courier to visit two labelled stations, pause, then begin a second short errand from a new instruction. Mark the pause with a gentle “finished.” Let the child direct the adult's courier next, maintaining the separation between errands.
Put a finished-route card away
Write a short completed toy itinerary on a clearly labelled card inspired by Toybox Route Cards. Set it aside before showing a new one. Discuss why yesterday's card cannot decide today's route. This makes changing instructions concrete without altering the printed worksheet panels.
Tell the train where to rest
Choose a Toybox Route Cards endpoint and invent a place where that toy waits while another journey begins. The story gives the finishing toy a satisfying role. Keep the new route governed by its own strip, even if the child wishes to bring the resting train along.
Spot a puppet's carried-over start
Let a puppet begin a Toybox Route Cards panel at the preceding route's endpoint without checking. The child compares the new strip and supplies the actual starting toy. Invite a clue or direct point, giving the puppet a friendly way to repair the error.
Keep stopping as satisfying as travelling
Common Toybox Route Cards slips include copying the example, moving between boxes without lifting or joining every visible toy. Return to the current strip and inspect its first pair. If the child already understands that pair, practise the physical lift separately rather than explaining the entire legend again.
A brief Toybox Route Cards routine can fit after toy sorting or before a story: one route, a deliberate lift and a chosen stopping point. Finishing a small task is enough. Praise a thoughtful restart and allow breaks. Repeated invitations work best when the child still has room to be curious about the next toy journey.
Take the playroom route to paper
Use the original sample option for the supplied Toybox Route Cards worksheet. Members with eligible active access can sign in for its clean premium PDF, with no watermark, domain text or printable-page ads. The complete set includes Toy Box Trails and costs $3 that places twenty-five supplied sheets in one file.
Save Toybox Route Cards, review the portrait print layout and keep the complete frame inside the margins. A clear colour copy supports quick toy identification. Print one test page if your printer's scaling is uncertain, then place it where the child can steady the sheet without covering the code.
Follow another kind of instruction next
Compare Toybox Route Cards with Exact Path Detective. After Toy Box Trails, try Castle Color Codes. For Toy Box Trails, consider Number Letter Switching.
For play around Toybox Route Cards, consider NAEYC's family guidance and the broader activity suggestions at PBS Parents. Adults can choose a shared game or conversation that suits the child's interests, then return to an untouched toy panel when another short drawing invitation feels welcome.
Popular Worksheets
Printable resources families and teachers are downloading now.
 Free
 Free
 Free
 Free